How to Install Cap Blocks on a Retaining Wall
Install cap blocks by dry-fitting each piece first, then run a continuous bead of polyurethane construction adhesive near both edges and set the caps to a snapped line before the glue skins. Bad layout leaves crooked joints, loose caps, and repairs that are hard to fix after cure. This guide covers layout, dry-fit checks, adhesive pattern, alignment control, and the first-hour fixes that prevent failure.
What you need before capping
Start with a wall top that is straight, clean, and close to level. The first course, or base course, controls the wall above it, and if that course drifted, the caps will show it. The base course is installed below final grade, so cap fit depends on the top few inches being consistent.
You also need the right tools: cap blocks, a polyurethane-type construction adhesive in tubes, a rubber mallet, a tape measure, a chalk line or string line, a clean rag, and a scraper or brush for dust. For the wall itself, the compacted gravel base should be stable under load, and the drainage pipe should be set behind the wall with the perforations facing downward.
Plan for the wall shape before you open the adhesive. Straight runs are the easiest. Corners, curves, step-downs, and exposed ends need cuts or a different layout, so check those spots first and do not assume the same fit works everywhere.
Before the first cap goes
- Confirm the top course is clean, dry enough for adhesive, and free of loose grit.
- Snap a line for the finished cap face or use the wall face as your guide.
- Sort caps by size and set aside pieces for ends, corners, and step-downs.
- Check whether the cap overhang matches the wall width and face style.
How do you dry-fit cap blocks first?
Dry-fit every cap before any adhesive goes down. Set the pieces in place, check the joints, and confirm the overhang on both faces where the cap is meant to project. This is where you catch a bad cut, a bowed wall top, or a cap that is too wide for the block below it.
For straight runs, the goal is a consistent line and even joints. For short return walls, corners, and steps, dry-fit the full sequence so you can see where the cap will land before you commit. If a cap rocks, adjust the block position rather than trying to force the adhesive to fix geometry.
Say your wall is 24 ft long and the cap units are sized so one block covers about 1 ft. Dry-fitting lets you see whether the last piece will need a cut before the adhesive is open, instead of discovering a mismatch after the first few blocks are already bonded.
What to check during the dry fit
- Joint spacing and whether the pattern stays clean across the run.
- How much the cap overhangs the wall face on both sides.
- Whether the top course has a high spot that lifts a cap corner.
- Where cuts, end caps, and corner pieces will land.
Cap installation checklist
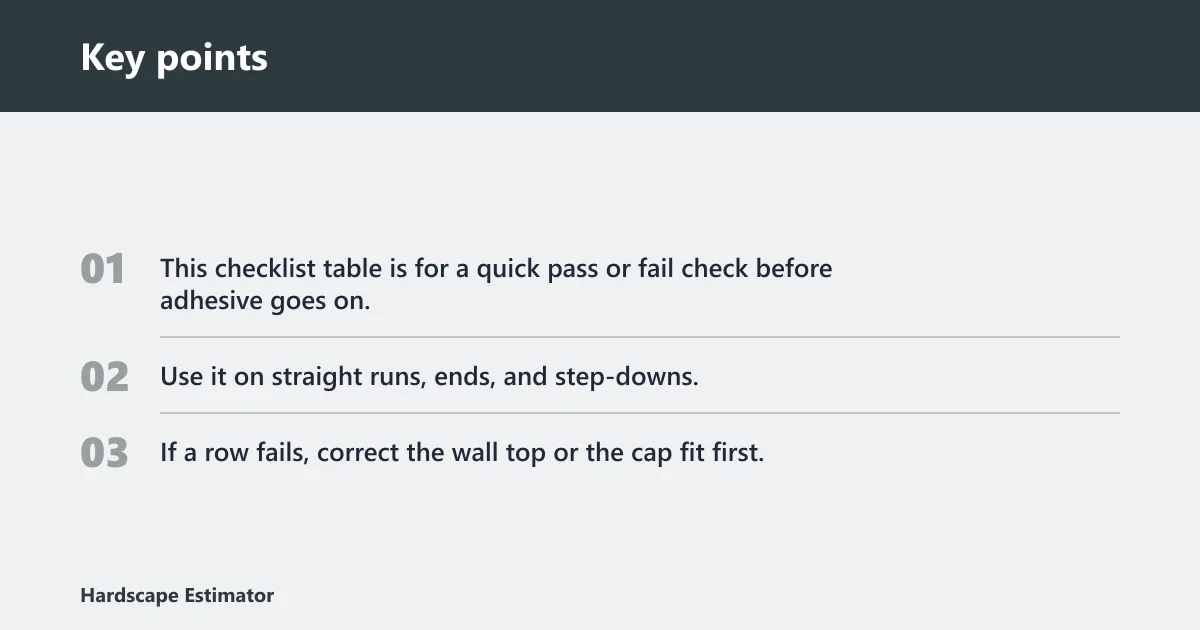
This checklist table is for a quick pass or fail check before adhesive goes on. Use it on straight runs, ends, and step-downs. If a row fails, correct the wall top or the cap fit first; do not try to glue your way through a bad layout.
| Wall condition | Cap fit check | Adhesive bead pattern | Clamp or weight need | Cure risk | Pass/fail notes |
|---|---|---|---|---|---|
| Straight run, top course clean and level | Cap sits flat, even overhang, joints line up | Two continuous beads near the outer edges | Usually none; light hand pressure may be enough | Low if the wall is dry and stable | Pass if the snapped line stays true across the full run |
| Straight run with a high or low spot | Cap rocks or leaves a visible gap | Do not add extra beads to bridge the gap | Use only after the wall top is corrected | High, because the cap can bond crooked | Fail until the wall top is reworked |
| End cap or exposed return end | Cut face is square and the overhang looks balanced | Beads must reach close to the edge without squeeze-out across the face | Often helpful on the first minutes of set | Medium if the end piece is narrow | Pass if the end does not drift while setting |
| Inside corner | Both legs meet without forcing the joint apart | Shorter bead segments at each bearing point | May need hand pressure or a light weight | Medium if the corner was cut tight | Pass if the corner stays aligned on both legs |
| Outside corner | Corner pieces align with the wall face and top line | Beads kept back from the visible edge | Often needed until the adhesive grabs | High if the corner is windy or dirty | Fail if the corner twists before skinning |
| Step-down or height change | Top edges match the step detail and do not bridge the drop | Separate bead patterns for each elevation | Usually needed to hold the higher piece | High because movement is easy at the step | Pass only if each level stays locked after placement |
What adhesive should you use?
What adhesive should you use for retaining wall cap blocks? A polyurethane-type construction adhesive is commonly specified for cap blocks because it bonds well in tube form and is made for this type of setting work. For most small and mid-size projects, tube adhesive is easier to meter than mortar and faster to place on a dry-fit wall top.
Weather and substrate matter. The wall top should be clean, and the adhesive should be rated for the temperature and moisture conditions on the label. Wet dust, frost, or loose grit can break the bond even if the cap looks tight on top.
For planning, Jobsite Calcs estimates 1 cap block per linear foot and suggests one tube of construction adhesive per 20 linear feet. That means a 40 ft straight run would plan for about 2 tubes before waste, then add a small margin for end cuts and squeeze-out losses.
How much adhesive to plan
For a simple straight wall, divide the length by 20 ft to estimate tube count, then round up. A 33 ft wall needs about 1.65 tubes, so a practical order is 2 tubes before allowing for waste. Add extra if the wall has several corners, short returns, or step-downs, because those details interrupt a clean continuous bead.
How do you set caps without drift?
Set caps without drift by placing the beads where the cap can actually grip, then lowering the piece straight down to your line. Tap with a rubber mallet only as much as needed to seat the block. If a cap slides, the usual causes are a wet top, dust, or too much pressure before the adhesive starts to bite.
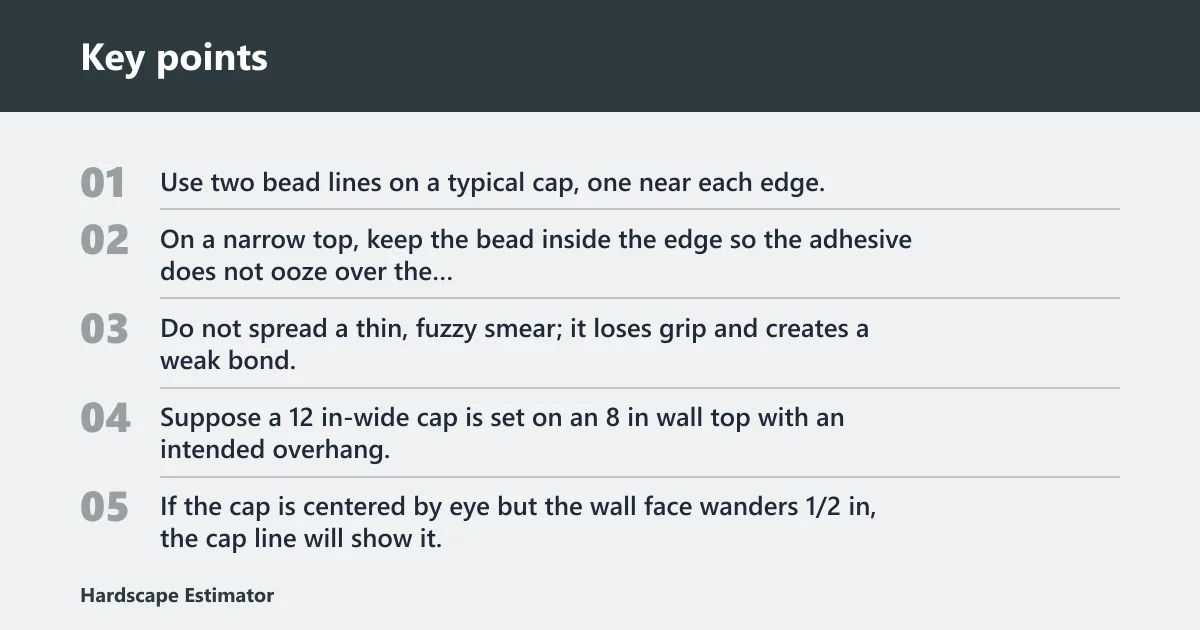
Use two bead lines on a typical cap, one near each edge, with spacing that helps keep squeeze-out off the visible face. On a narrow top, keep the bead inside the edge so the adhesive does not ooze over the front. Do not spread a thin, fuzzy smear; it loses grip and creates a weak bond.
Suppose a 12 in-wide cap is set on an 8 in wall top with an intended overhang. If the cap is centered by eye but the wall face wanders 1/2 in, the cap line will show it. Snap a guide line first, then follow the line rather than the block below it.
Clamp and weight use
Clamp or weight the cap only when the piece wants to drift before the adhesive skins. Use enough pressure to hold position, not enough to squeeze the bead flat. Clean any squeeze-out before it hardens, because cured adhesive lines are hard to hide on the finished face.
A common first-timer mistake is pressing down hard to “make sure it sticks.” That can force adhesive out of the joint and leave a thin bond line. Light pressure, a straight set, and a quick final alignment check are better.
How do you handle corners and steps?
How do you cap a retaining wall on a curve or corner? Treat each geometry as its own layout. Straight runs can use a running bond pattern where the cap joints are offset when the cap sizes allow it. Corners, curves, and step-downs usually need trimmed pieces or short returns that are dry-fit in sequence before adhesive goes on.
Inside corners need a tight fit without forcing one leg out of line. Outside corners need special care because the visible edges are easy to shift while the adhesive is still wet. Curves often work best with smaller cap segments or manufacturer-approved split pieces that follow the arc without fighting the wall top.
Step-downs are where caps often fail because the top line changes elevation. Fit the higher section first, then set the lower section so the transition reads cleanly. Do not bridge a step with a long cap unless the wall design is made for that detail.
Corner and step sequence
- Dry-fit the corner or step pieces in the exact order they will be installed.
- Mark cuts before opening adhesive.
- Set the first piece to the line and hold it until it stops moving.
- Work outward from the corner or step so the remaining joints stay true.
Capping materials and coverage
What is the right overhang for retaining wall cap blocks? The cap should match the wall width and leave a controlled overhang, not a random one. A modest overhang is enough to cover the face cleanly, but the exact amount depends on the block profile, the visible face, and the manufacturer’s cap shape. The fit should look intentional from both sides if the wall is visible on both faces.
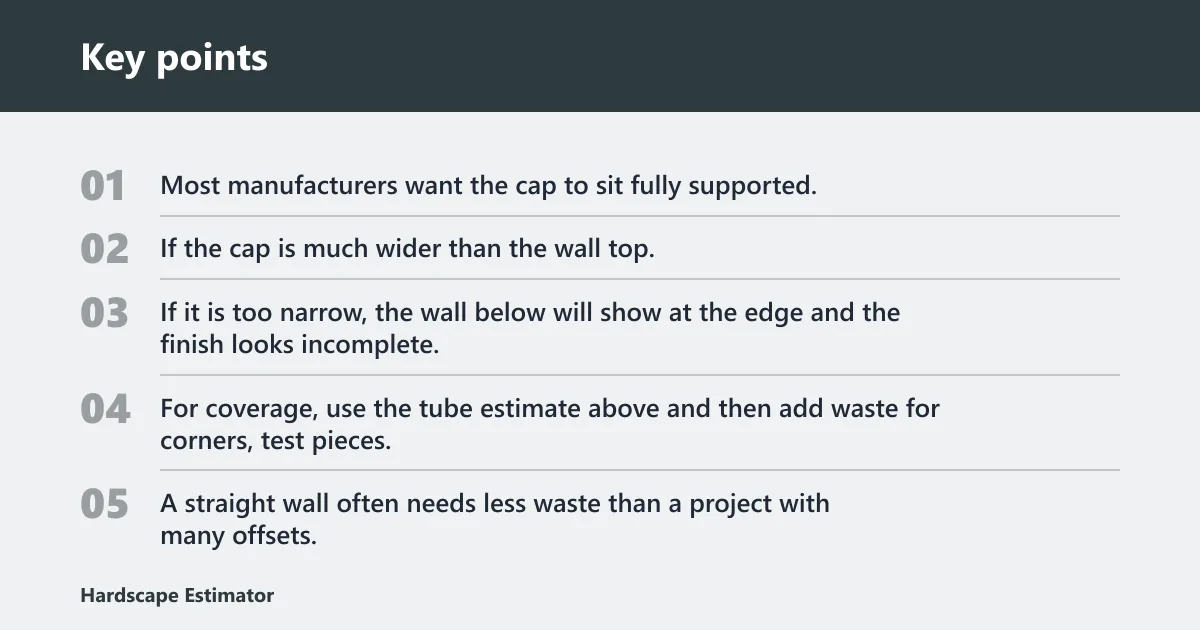
Most manufacturers want the cap to sit fully supported. If the cap is much wider than the wall top, the overhang becomes excessive and the bond line is easier to see. If it is too narrow, the wall below will show at the edge and the finish looks incomplete.
For coverage, use the tube estimate above and then add waste for corners, test pieces, and cleanup. A straight wall often needs less waste than a project with many offsets. Keep a little extra on hand so you do not stop mid-run with an open adhesive bead on the wall.
Cleanup, cure time, and loading
How long should cap block adhesive cure before backfilling? Follow the adhesive label, since weather and substrate change cure speed. As a practical rule, do not load the caps, backfill hard against a fresh top course, or push the wall until the bond has set enough to resist drift. If the forecast is cold or damp, allow more time.
Can you install cap blocks on a retaining wall without mortar? Yes. Many cap systems are set with tube adhesive instead of mortar, especially on segmental retaining wall blocks with a clean top surface. Mortar may still be used on some projects, but the wall and cap product instructions should decide that, not habit.
Keep the top clean during cure. Backfill should remain in the proper gravel zone behind the wall, with the drainage pipe already in place and the perforations facing downward. The wall should also rest on a compacted aggregate base, not loose fill, because movement below the cap can break a good bond above it.
Frequently asked questions
How do you install cap blocks on a retaining wall?
Dry-fit the caps first, check the top course for level and line, then place a polyurethane construction-adhesive bead near the edges and set each cap to your layout line. Tap lightly with a rubber mallet if needed. Clean squeeze-out right away and let the bond cure before loading the wall.
How do you cap a retaining wall without the caps slipping?
Caps slip when the wall top is dusty, wet, uneven, or moving under load. Clean the surface, use the right bead pattern, and set the block straight down instead of dragging it. Light clamps or weights can help on corners or step-downs until the adhesive skins.
What adhesive should you use for retaining wall cap blocks?
A polyurethane-type construction adhesive is commonly used for cap blocks in tube form. It is suited to this kind of finishing work and is easier to meter than mortar for most cap layouts. Always check the label for temperature, moisture, and substrate limits before you start.
Do retaining wall cap blocks need to be staggered?
Staggering is useful on straight runs when the cap size and layout allow it, because offset joints look cleaner and avoid a continuous weak line. On corners, curves, and steps, the shape of the wall often controls the pattern more than the ideal bond layout. Fit comes first.
How do you cap a retaining wall on a curve or corner?
Dry-fit the whole curved or corner section before any adhesive goes down. Curves usually need smaller pieces or trimmed caps, while inside and outside corners need careful alignment so the visible edges stay clean. Set the pieces in sequence and check the line after each placement.
What is the right overhang for retaining wall cap blocks?
The right overhang is the amount that covers the wall face cleanly without looking exaggerated or leaving the wall top exposed. It should match the cap and wall width relationship, not just the cap size on paper. Dry-fit the pieces and judge the overhang from both the front and the back.