Cap Blocks: Types, Sizes, Cost, and Installation
Retaining wall cap blocks are often estimated by lineal feet first: divide wall length by the cap face length, then add about 5% waste for straight runs or about 8% to 10% for corners and curves; typical caps are often reported at about $3 to $12 each. Bad cap selection or bad layout math can leave visible overhang errors, weak corners, extra cuts, and may add roughly $1 to $6 more per ft in waste and labor. This guide covers cap types, common sizes, quantity formulas, installed cost ranges, adhesive selection, and correct installation details for straight runs, corners, and curves.
What are cap blocks and what do they do?
Cap blocks are the protective top units that finish a segmental retaining wall. They cover the exposed top course, help limit water infiltration into the wall, reduce freeze-thaw exposure at the top course, and finish the wall edge. For estimating, the cap profile matters because length, width, overhang, corner cuts, and curve layout all change order quantity and installed cost.
Top-course protection and water control
The cap is the piece that covers the exposed top of the wall. On most residential segmental walls, that top surface includes joints and core spaces that can collect water. A cap reduces direct entry from above and gives the wall a finished top edge.
That matters for durability. Water entering the top course can freeze, expand, and stress joints or units near the wall top. Cap blocks do not fix poor drainage below, but they do reduce exposure where the wall is most open.
Why profile affects estimating
Cap shape changes the math. A square-edge cap, a bullnose cap, and a wide natural stone cap may all cover the same lineal run, but they do not cut the same way or install at the same pace.
Flat system-matched caps usually estimate cleanly because the piece length is predictable and the width fits the wall course. Bullnose pieces change the finished overhang appearance. Stone caps are heavier and often slower to set, which affects labor more than the lineal-foot material count.
Which cap block type fits your wall?
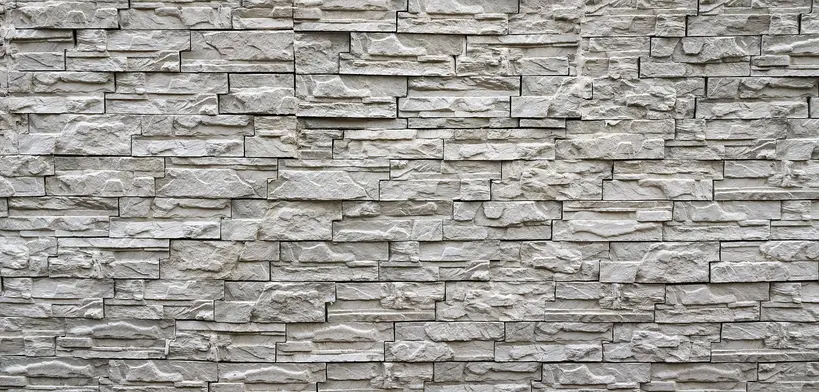
The safest fit is usually a wall-system-matched concrete cap sized for the wall block below. Standard concrete caps are the common residential choice, premium manufactured caps cost more for tighter finishes, natural stone caps carry the highest material and handling cost, and bullnose or poured caps are profile choices for exposed edges or custom tops.
Standard concrete caps
Standard concrete caps are the starting point for most residential wall estimates because they are widely stocked, easy to convert from piece count to lineal coverage, and usually the first price tier suppliers quote. Standard concrete caps cost $3 to $8 per linear foot of wall, and standard cap blocks can cost $3.50 to $6.50 per unit in bulk. Concrete cap blocks commonly range from $6 to $22 per unit depending on size and finish.
A standard 8x8x16 cap block is often the most common size for low-height borders. System-matched versions are usually the safest fit because width, setback, and edge profile already suit the wall line below.
Premium manufactured caps
Premium manufactured caps cost $6 to $12 per linear foot. Belgard and Techo-Bloc are examples of this category, not default recommendations for every project.
These caps are often chosen when the face texture, color blend, or edge detail needs to match a higher-end wall system. The estimating issue is simple: more expensive units make cut waste and breakage matter more.
Natural stone and poured caps
Natural stone caps cost $15 to $30+ per linear foot. They are heavier than manufactured concrete caps, so handling time, pallet weight, and saw time usually push installed cost higher.
Poured caps are different. They are formed in place rather than ordered by piece count, so they are closer to a concrete-forming estimate than a cap-block estimate. They can work on custom walls or irregular geometry, but they fall outside the usual piece-by-piece cap math.
Bullnose and universal caps
Bullnose caps round off the exposed edge. They are useful where the top is visible from above and from the face, such as seat walls and low garden walls.
Universal caps can work when a system-matched cap is unavailable, but fit needs checking. Width, edge reveal, and setback can all change the finished look. A cap that is too narrow exposes wall edges. A cap that is too wide can look top-heavy and may need more support than the top course provides.
What size cap blocks do you need?
The right size starts with wall width, then lineal coverage, then overhang. Match cap width to the actual top of the wall, aim for about 1 inch of overhang in front for most residential walls, and convert cap length into piece count before adding cuts and waste because nominal size never equals final order quantity.
Match cap width to the wall
Start with the measured top width of the finished wall, not the catalog name alone. A cap should bear fully on the wall top with the intended reveal. Most walls look best with about 1 inch of cap overhang. That projection creates a shadow line and usually gives the top course a finished look.
Too little overhang can make the cap look undersized and leave the wall face visually blunt. Too much overhang can reduce support at the edge, especially on narrow wall tops or on walls with slight irregularities.
Nominal size versus actual coverage
The cap length printed in a product name is only the starting point. Joints, cut pieces, curve fan-out, and miter loss all reduce effective coverage.
For estimating, the simplest base formula is:
caps needed before waste = wall length in inches ÷ cap face length in inches
If a wall is 32 ft long and the cap face length is 16 in, the base count is:
32 ft × 12 = 384 in
384 ÷ 16 = 24 caps
That gives a straight-run base count only. Corners and curves need extra.
Linear-foot conversion by cap length
| Nominal cap size | Face length used for estimate | Base coverage per piece | Base pieces per 10 ft | Base pieces per 25 ft |
|---|---|---|---|---|
| 8x8x12 in cap | 12 in | 1.00 ft | 10 | 25 |
| 8x8x16 in cap | 16 in | 1.33 ft | 7.5 | 18.75 |
| 12x8x16 in cap | 16 in | 1.33 ft | 7.5 | 18.75 |
| 24 in stone cap | 24 in | 2.00 ft | 5 | 12.5 |
Round up to whole pieces, then add waste. Also note that 12x8x16 inch caps are priced higher than 8x8x16 inch caps, so width changes both fit and budget.
Suppose a wall is 26 ft long and uses 16 in caps. Base count is 26 × 12 ÷ 16 = 19.5, so 20 caps before waste. On a simple straight run, adding 5% waste gives 21 caps. On a wall with two corners, the same run is better ordered at 22 caps.
How much do cap blocks cost?
Material cost starts around standard concrete pricing and climbs fast with premium finishes, stone, cuts, and handling. Standard concrete caps cost $3 to $8 per linear foot, premium manufactured caps cost $6 to $12 per linear foot, and natural stone caps cost $15 to $30+ per linear foot before adhesive, delivery, labor, and waste are added.
Material cost by piece and by linear foot
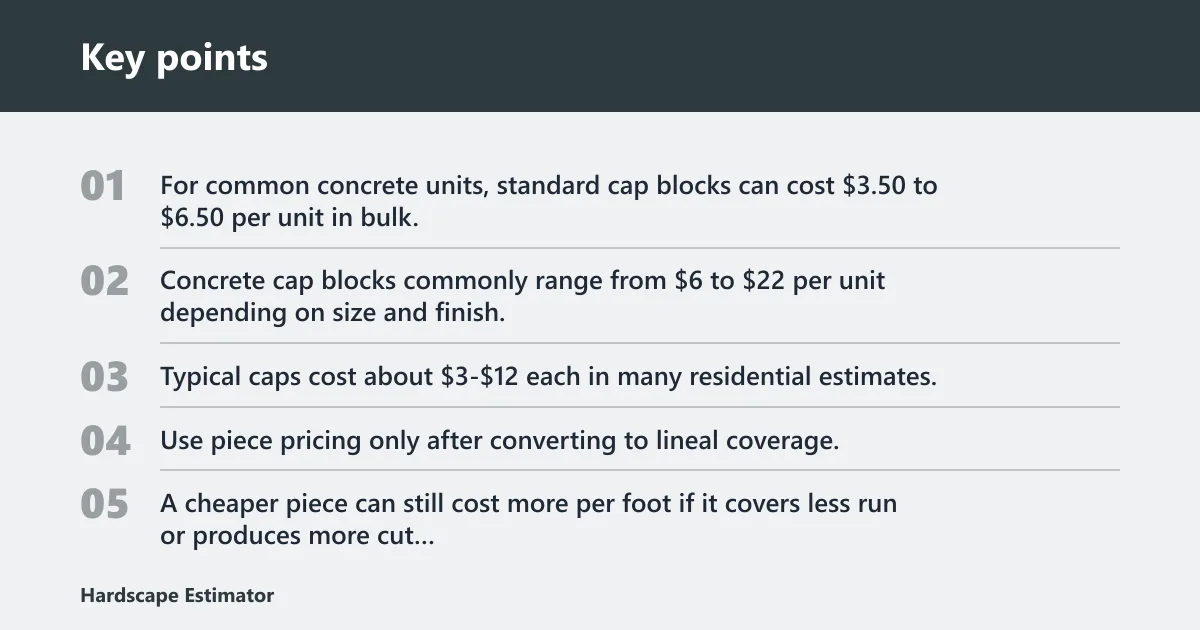
For common concrete units, standard cap blocks can cost $3.50 to $6.50 per unit in bulk. Concrete cap blocks commonly range from $6 to $22 per unit depending on size and finish. Typical caps cost about $3-$12 each in many residential estimates, but stone and oversized units can exceed that.
Use piece pricing only after converting to lineal coverage. A cheaper piece can still cost more per foot if it covers less run or produces more cut waste.
Installed cost model
Installed cost should be split into material, adhesive, delivery, labor, and waste. Typical labor for installing cap blocks ranges from $1.50 to $5.00 per block. A two-person crew can install 6 to 8 blocks per hour, and typical labor cost for 100 blocks can run from $150 to $500.
Adhesive matters but is a smaller line item. One 10-ounce adhesive tube covers roughly 10 to 15 feet, and an adhesive tube costs $6 to $10.
| Cap type | Material assumption | Adhesive assumption | Delivery assumption | Labor assumption | Typical installed range before unusual cuts |
|---|---|---|---|---|---|
| Standard concrete | $3 to $8 per ft | About $0.40 to $1.00 per ft | Varies by load and distance | $1.50 to $5.00 per block | Often lands near the low end of residential budgets |
| Premium manufactured | $6 to $12 per ft | About $0.40 to $1.00 per ft | Varies by pallet count and supplier minimums | Usually above standard due to cost of cut waste | Mid-range to upper-range residential budget |
| Natural stone | $15 to $30+ per ft | About $0.40 to $1.00 per ft | Often higher due to weight | Often slower handling and more saw time | Highest installed range |
Pallet counts and supplier traps
There is no universal pallet quantity for cap blocks. Pallet count varies by unit size, manufacturer, and unit weight. That makes pallet planning a supplier-verification step, not a fixed rule.
Ask for three numbers before ordering: units per pallet, pallet weight, and whether broken-pallet orders carry a small-order minimum or repack fee. This is where many estimates miss cost, especially on short runs that do not use a full pallet.
Picture a 14 ft repair using a premium 16 in cap that is sold only by the pallet or by a broken-pallet minimum. The lineal run is small, but delivery and small-order charges can add more per foot than adhesive does. That is why material price alone is never enough.
Cap quantity worksheet
Quantity table
| Wall length | 12 in caps base qty | 16 in caps base qty | 24 in caps base qty | Straight run qty with 5% waste | Corners or curves qty with 8-10% waste |
|---|---|---|---|---|---|
| 10 ft | 10 | 8 | 5 | 11 / 9 / 6 | 11-12 / 9 / 6 |
| 20 ft | 20 | 15 | 10 | 21 / 16 / 11 | 22 / 17 / 11 |
| 30 ft | 30 | 23 | 15 | 32 / 25 / 16 | 33 / 25-26 / 17 |
| 40 ft | 40 | 30 | 20 | 42 / 32 / 21 | 44 / 33 / 22 |
| 50 ft | 50 | 38 | 25 | 53 / 40 / 27 | 54-55 / 42 / 28 |
Waste-factor add-ons
| Layout condition | Base add-on | Why it changes count |
|---|---|---|
| Straight run only | 5% | Minor breakage, color selection, end trimming |
| One or more 90-degree corners | 8% | Miter loss and corner fitting |
| Curved wall, gentle radius | 8% | Joint fan-out and extra layout time |
| Curved wall, tight radius or mixed corners and curves | 10% | More cuts, more rejects, more fitting |
Adhesive and cost worksheet
Use this sequence for a usable estimate:
- Measure total wall length in ft.
- Convert to inches and divide by cap face length.
- Round up to whole pieces.
- Add 5% waste for straight runs or 8-10% for corners and curves.
- Estimate adhesive at one 10-ounce tube per 10 to 15 ft.
- Add delivery, then labor at the chosen per-block rate.
Straight wall example: 32 ft wall, 16 in standard cap. Base count = 32 × 12 ÷ 16 = 24. Add 5% waste = 25.2, round to 26 caps. Adhesive = 32 ÷ 15 = 2.13 tubes minimum, so order 3 tubes. If labor is priced per block, use 26 installed units.
Corner wall example: 24 ft total with one 90-degree corner, 16 in premium cap. Base count = 24 × 12 ÷ 16 = 18. Add 8% waste = 19.44, round to 20 caps. One mitered corner typically uses two pieces cut at 45 degrees because a 90-degree corner is typically mitered at 45 degrees.
Curved wall example: 30 ft total, 12 in caps on a tight radius. Base count = 30 × 12 ÷ 12 = 30. Add 10% waste = 33 caps. Adhesive at 30 ft needs 2 to 3 tubes by coverage, but 3 tubes is the safer order when layout is slow and pieces are reset during fitting.
What adhesive is best for outdoor cap blocks?
For most residential retaining wall caps, a polyurethane construction adhesive rated for masonry and wall-cap use is the usual choice. It tolerates outdoor movement better than brittle bonds, applies fast, and fits segmental wall installs. Common examples include SikaBond Construction Adhesive and Loctite PL Premium.
Why polyurethane is the default
Most residential segmental wall caps are not set in full mortar beds. Adhesive is simpler, faster, and better suited to systems that may move slightly with temperature and seasonal moisture.
Mortar can be specified on some designs, but it is not the default assumption for ordinary segmental retaining wall caps unless the wall system or project details call for it.
Surface condition matters more than tube label
On clean, dry surfaces, polyurethane adhesive usually gives the most predictable bond. Dust is a common failure point because the adhesive bonds to dust instead of the cap or block. Damp surfaces can interfere with full contact, and freeze-thaw conditions can stress a bond that never cured well in the first place.
Cold-weather limits vary by product, so the tube instructions control cure-time expectations. If caps are being installed onto a damp, dirty, or unstable wall top, the problem is substrate condition first, adhesive brand second.
Coverage for estimating
One 10-ounce adhesive tube covers roughly 10 to 15 feet, and an adhesive tube costs $6 to $10. For estimates, using the lower end of coverage avoids coming up short when beads are interrupted around rough surfaces or wider caps.
Say your wall is 44 ft long with wide caps that need two continuous beads. Using 10 ft per tube gives 4.4 tubes, so the order becomes 5 tubes. Using 15 ft per tube would suggest 3 tubes, which is lean for a wall with cuts and resets.
How do you install cap blocks on a retaining wall?
The basic sequence is clean, dry-lay, confirm overhang, cut, glue, set, and check alignment. Most residential caps are installed with polyurethane construction adhesive rather than mortar. Accurate dry layout matters because once adhesive is applied, correcting joint pattern, overhang, or corner fit is slower and messier.
Prep and dry layout
Brush the top course clean. Remove dust, loose grit, standing water, and any old adhesive ridges that prevent full bearing. Then set caps in place without adhesive and confirm the joint pattern from one end to the other.
Dry layout is where end cuts, center balance, and corner alignment get fixed. It is also where the overhang should be checked along the wall face.
Set overhang and cut before gluing
Most walls look best with about 1 inch of cap overhang. Mark that reveal and keep it consistent unless the wall face itself varies. For corners, mark the miter before removing the cap for cutting.
Cutting concrete should use wet methods when possible. A masonry saw or a diamond blade suitable for the cap material is the normal tool choice for trimming and miter work.
Glue, place, and align
Apply adhesive in the pattern recommended on the tube, usually as beads set back from the edge to limit squeeze-out. Set each cap into place, press it down, and check both the face line and the top line.
Reset quickly if needed, then leave the run undisturbed for cure. Pushing or twisting pieces after the adhesive starts to grab can weaken the bond and smear adhesive onto visible edges.
How do you cap corners and curves correctly?
Corners and curves need layout before cutting. A square corner is usually finished with two mitered caps, while curves are laid so the front edges stay tight and the back joints open slightly. Estimating should add miter loss and curve waste because these areas use more time and more discard.
Mitered corners
A 90-degree corner is typically mitered at 45 degrees. That creates a clean diagonal joint and avoids a blunt butt joint at the most visible part of the wall.
Each corner usually consumes more material than a straight run because the cut removes usable length. On short walls, one or two corner cuts can change the order by an entire extra cap.
Cut-loss allowance
A practical estimate is to treat each outside corner as requiring at least one extra cap beyond the base lineal-foot count, then still apply the 8% corner waste factor. Inside corners may waste less, but they still require slower fitting and sometimes shorter pieces.
A common mistake is ordering exactly the straight-run count for an L-shaped wall, then finding the two miter cuts consume enough length that the final end piece comes up short. The missing piece is cheap compared with the delay, delivery charge, or color-lot mismatch from a second order.
Curved wall layout
On curves, caps fan open at the joints. The front edges should stay tight, and the back gaps can be slightly wider. That keeps the visible face clean while letting the curve develop across multiple units.
Tight radii often need shorter units or more cuts. If the back joint opens too far, the cap size is too large for the radius or the layout needs more segmented pieces.
Why do cap blocks come loose or crack?
Loose caps usually point to bond failure or movement below the cap line, while cracked caps usually point to impact, poor support, excess overhang, water entry, or wall movement. Re-gluing a failed cap without checking substrate condition, drainage, and wall stability often repeats the same problem.
Loose-cap diagnosis
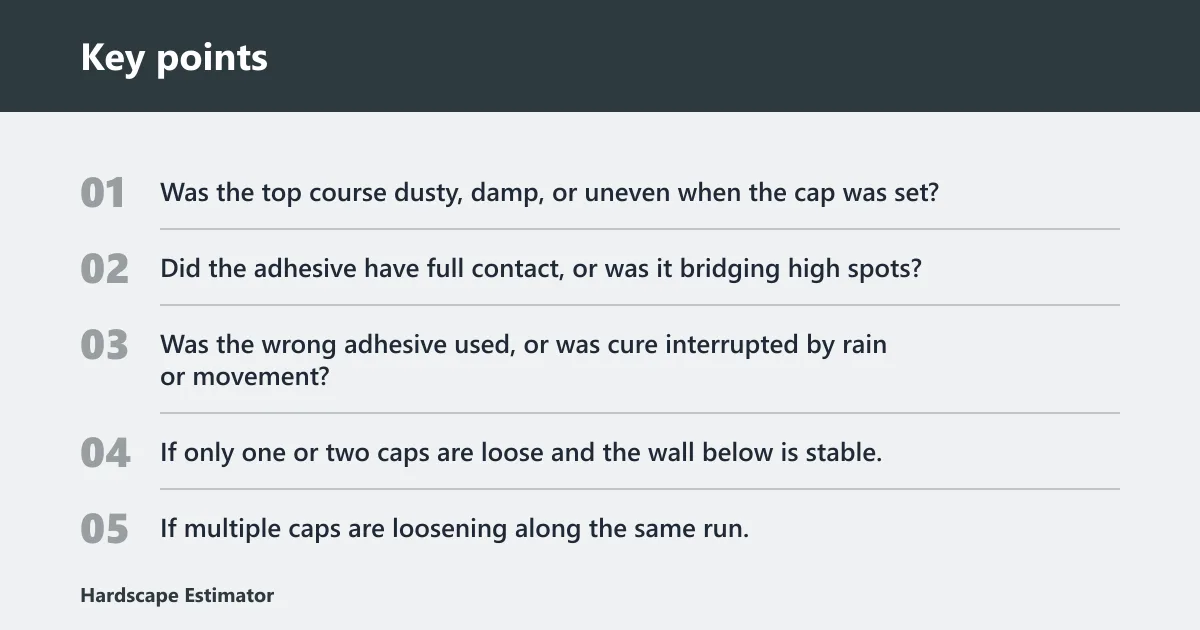
Start with the bond line. Was the top course dusty, damp, or uneven when the cap was set? Did the adhesive have full contact, or was it bridging high spots? Was the wrong adhesive used, or was cure interrupted by rain or movement?
If only one or two caps are loose and the wall below is stable, localized bond failure is likely. If multiple caps are loosening along the same run, look for movement in the top course or water-related issues beneath.
Cracked-cap diagnosis
Cracks near edges often suggest impact or unsupported overhang. Cracks over a joint or void can point to poor bearing below. Repeated cracking after winter weather can indicate water entry and freeze-thaw stress at the top of the wall.
Check whether the cap projects too far beyond the wall support. Most walls look best with about 1 inch of cap overhang; much more than that can increase edge vulnerability if the cap is narrow or the support below is uneven.
When a pro should review the wall
If the wall is settling, leaning, opening at joints, or showing recurring structural cracking, the issue is larger than the cap itself. Drainage failure, foundation movement, or a wall that is no longer stable should be reviewed by a qualified contractor or engineer before new caps are glued down.
Frequently asked questions
What types of cap blocks are best for a retaining wall?
For most segmental retaining walls, a system-matched concrete cap is the safest fit because width, profile, and setback are already coordinated with the wall units. Premium manufactured caps suit higher-end finishes, natural stone fits custom work, and bullnose caps are useful where a softer exposed edge is wanted.
What size cap blocks do I need for my wall?
Match cap width to the actual wall top, then convert cap face length into lineal coverage. A common target is about 1 inch of overhang at the wall face. Estimate quantity by dividing wall length by cap length, then add 5% waste for straight runs or 8-10% for corners and curves.
How much overhang should cap blocks have?
Most walls look best with about 1 inch of cap overhang. That gives a visible shadow line without making the cap look unsupported. Too little projection can look undersized, while too much can reduce bearing at the edge and make cracking or chipping more likely on narrow or uneven wall tops.
How much do cap blocks cost per piece and per linear foot?
Standard concrete caps cost $3 to $8 per linear foot, premium manufactured caps cost $6 to $12 per linear foot, and natural stone caps cost $15 to $30+ per linear foot. Per-piece pricing often starts around $3.50 to $6.50 in bulk for standard caps, with wider or finished units running higher.
How many cap blocks come on a pallet?
There is no fixed pallet count that applies to every cap block. Units per pallet vary by size, manufacturer, and weight, so the right approach is to confirm supplier specs before ordering. Ask for units per pallet, pallet weight, and any broken-pallet or small-order charges that affect the estimate.
What adhesive is best for cap blocks outdoors?
Polyurethane construction adhesive rated for masonry and wall-cap use is the usual choice for residential cap blocks. Examples include SikaBond Construction Adhesive and Loctite PL Premium. Clean, dry surfaces give the best bond; dusty, damp, or freeze-thaw conditions can reduce adhesion or interrupt cure if prep is poor.