How Thick Is a Cap Block? Overhang by Wall Size
Most cap blocks are commonly about 2 to 4 in thick, and a safe overhang is usually about 1 in per side only if the cap still bears at least 2 in on the wall. Too much reveal can leave the cap loose, crack the adhesive joint, or expose the wall face to water. This guide covers cap thickness, visible overhang, minimum bearing, and when thicker caps allow a larger reveal.
Cap block thickness basics
For retaining walls, a cap block is often 2 to 4 in thick. That thickness is separate from the cap’s width and length, and the nominal size may differ from the actual size after molding, splitting, or texture treatment. Always verify the product sheet before ordering.
Common thickness range for retaining-wall caps
Thin caps are easier to handle and usually suit low walls, borders, and light-use garden walls. Thicker caps are common where the cap also acts as a seat edge, a coping course, or a stronger visual top. Thickness alone does not set the allowed overhang; wall width and manufacturer limits still control the design.
Nominal size versus actual size
Nominal dimensions often round up the listed size. The actual thickness, width, or length can be slightly smaller, and that matters when the cap must center over a wall unit or cover a locator lip. A cap that looks wide enough on paper may leave too little bearing after cuts and joints are counted.
How thickness affects weight and handling
Thicker caps weigh more, which affects set time, alignment, and adhesive coverage. They also put more demand on the wall below because the cap is heavier before the adhesive cures. That does not mean the cap can overhang farther. It means the installer needs enough bearing, level support, and cure time for the added load.
Say your wall unit is 10 in wide and your cap is 3 in thick but 12 in wide. A centered layout may leave 1 in of reveal on each side with 10 in of total bearing contact. That is very different from a cap that is 10 in wide and centered with no reveal at all.
How much overhang is best?
A practical starting point for retaining-wall caps is a small, even reveal that projects past the face without starving the cap of bearing. In many layouts that means about 1 in per side, but the real limit comes from the cap profile, the wall unit width, and the manufacturer’s instructions. The goal is a clean visible edge with firm support underneath.
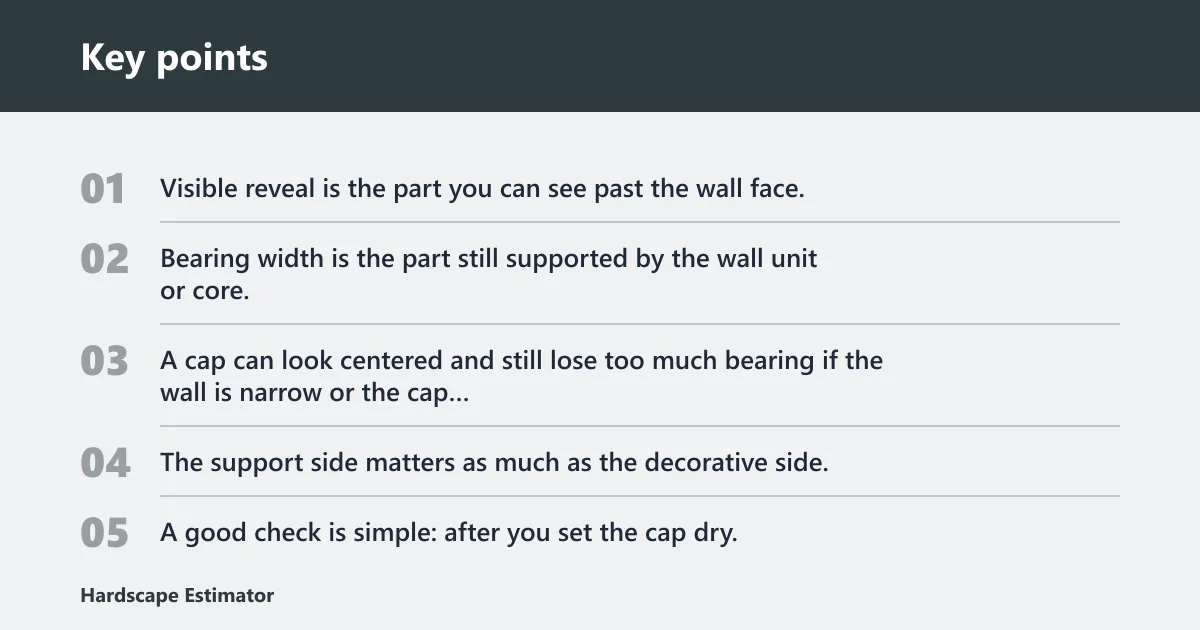
Visible reveal versus bearing width
Visible reveal is the part you can see past the wall face. Bearing width is the part still supported by the wall unit or core. Those are not the same number. A cap can look centered and still lose too much bearing if the wall is narrow or the cap is wide. The support side matters as much as the decorative side.
A good check is simple: after you set the cap dry, measure from the wall face to the front edge, then from the inside edge to the opposite wall face or core line. If the reveal grows while bearing shrinks below the product’s minimum, the layout needs a wider cap or a different joint plan.
A practical starting range for retaining walls
For standard wall caps, a small reveal is usually safer than a large one. A common field target is about 1 in of projection beyond the wall face when the cap still bears at least 2 in on the wall. That is a starting point, not a universal limit. Some systems allow more, and some allow less.
Do not borrow countertop rules for wall caps. Those figures are about a different use case and a different support condition. For retaining walls, the wall unit width, cap thickness, and the wall system’s locator features matter more than a generic overhang number.
When the wall width forces a different choice
If the wall unit is narrow, a centered cap may leave too little support for any reveal at all. In that case, the better answer is often a wider cap, not a larger cantilever. If the wall unit is wide, a modest reveal may still fit with plenty of bearing left on both sides.
| Wall-unit width | Cap thickness | Intended use | Recommended visible reveal | Minimum bearing width | Step up to a wider cap when… |
|---|---|---|---|---|---|
| 6 in | 2 in | Decorative border | 0 to 0.5 in per side | At least 2 in total | The cap would need more than a light reveal to line up visually |
| 8 in | 2 to 3 in | Low retaining wall | About 0.5 to 1 in per side | At least 2 in per side when possible | You need a seated edge or a bigger drip reveal |
| 10 in | 3 in | Standard retaining wall | About 1 in per side | At least 2 in per side | The wall face is set back or the cap must cover a locator lip |
| 12 in | 3 to 4 in | Seating edge or coping | About 1 to 1.5 in per side | At least 2 to 3 in per side, if the system allows | The cap will be used for sitting or the wall is exposed to heavy weather |
This table is a layout tool, not a substitute for the product sheet. If the wall system calls for a wider bearing area, follow that first. If the cap is for seating or a coping edge, support and width should be checked before the reveal is set.
Suppose a 10 in wall unit gets a 12 in cap on a straight run. A centered install leaves 1 in of reveal on each side and 10 in of total cap width over the wall. If the same cap is shifted to get 2 in of reveal on the front, the back bearing drops. That may be fine on one product and not acceptable on another.
How do you measure overhang?

Measure overhang from the finished wall face to the cap edge on the visible side. If the cap is centered, measure both sides and confirm that the reveal is even. The important number is not the cap width by itself. It is the relationship between the wall face, the cap edge, and the remaining bearing.
Measure from the wall face to the cap edge
Set a straight edge or tape measure at the wall face, then measure to the front edge of the dry-laid cap. Repeat at the back edge if the cap is not centered. That tells you the reveal and the support split at the same time. A level check matters too, because a tilted cap can look like an uneven overhang.
Check both sides when the cap is centered
Centered caps are easier to plan because the reveals should match. But centered does not always mean correct. The cap can still project too far if the wall is narrow, or not far enough if the wall face needs a defined drip edge. Measure both sides before adhesive goes down.
- Dry-lay the cap on the wall unit with no adhesive.
- Measure the front reveal from the wall face to the front edge.
- Measure the back bearing from the back edge to the wall core or rear support line.
- Check that the cap still covers any pin or locator lip.
- Confirm the layout on the next cap before setting the full run.
Dry-lay first to confirm fit before adhesive
A dry lay shows problems before they become permanent. It also shows whether a corner cut, a radius cut, or a locator bump changes the reveal. If the cap looks right dry but leaves almost no bearing, the layout should be changed before adhesive is added. Once the adhesive cures, the correction gets harder and messier.
Corners and curves
Corners and curves change overhang because the cap edge is no longer sitting on a straight line. Inside radii usually need less projection than outside radii to keep the cap from looking pinched or uneven. On corners, the reveal should be split with the joint and the support line in mind, not forced to match a straight run.
Inside versus outside radius
On an inside radius, the inside edge travels a shorter path than the outside edge. That can make a centered cap look off even when the wall is correct. On an outside radius, the outer edge may need more visual projection to keep the cap line smooth. The cuts should follow the radius, not fight it.
A common first-timer mistake is to keep the same reveal on both sides of a curved wall without checking the arc. The cap then binds at one edge and floats at the other. The fix is usually a different split, a narrower joint, or a cap shaped for the curve.
Corner cuts, end pieces, and transition joints
At an outside corner, the visible ends often need a cleaner finish than a straight run. At an inside corner, the joint may need more room to avoid a tight pinch point. End pieces should still leave enough bearing on both sides. If a corner piece needs too much reveal to look right, a wider cap or a purpose-cut corner unit is the better choice.
| Situation | Inside radius | Outside radius | Practical split |
|---|---|---|---|
| Light curve | Less reveal | Slightly more reveal | Shift about 1/4 in toward the outside edge |
| Tight curve | Keep reveal small | Allow a clearer front edge | Use a custom cut or smaller joint width |
| Corner transition | Protect the bearing line | Match the visual line of the run | Prioritize fit over symmetry |
Should you choose a wider cap?
Choose a wider cap when the wall width, seating need, or edge detail would force too little bearing on a narrower cap. A wider cap is often the safer answer if the layout needs a larger reveal than the wall can support. More width can give you a better balance between visual projection and structural support.
When seating or a larger reveal justifies more width
If the cap will be used as seating or as a coping edge, more width may be justified. But the wider cap should still sit on enough wall to stay stable. Seating loads add concern because people sit near the front edge, which increases the demand on the cap and the bond line.
For seating-related layouts, countertop guidance gives a useful comparison: island overhangs often run 12 to 18 inches, and anything beyond 12 inches needs support. That is a different product class, but it shows the principle clearly. Larger projection means more support, not less.
How wall setback and core width affect the choice
Some wall units have a face setback or a hollow core that changes where support really starts. A cap that looks wide enough may not cover the actual support line well enough. The cap should align with the wall core or the full bearing surface, not just the visible face. That is the part that keeps the cap from rocking.
When to stop and confirm with the manufacturer
Stop and check the manufacturer when the cap will overhang more than the product sheet allows, when the wall has a split-face or irregular top, or when the cap covers a locator lip you do not want to trap. Product-specific limits control the final choice. If the layout is borderline, get the written limit before ordering the full quantity.
Installation checks before adhesive
Construction adhesive helps lock the cap in place, but it is not a substitute for correct bearing. Use a bead pattern that gives continuous contact near the load lines, not random blobs. Coverage should match the cap size and the wall top, and the adhesive must stay within its open time and temperature range.
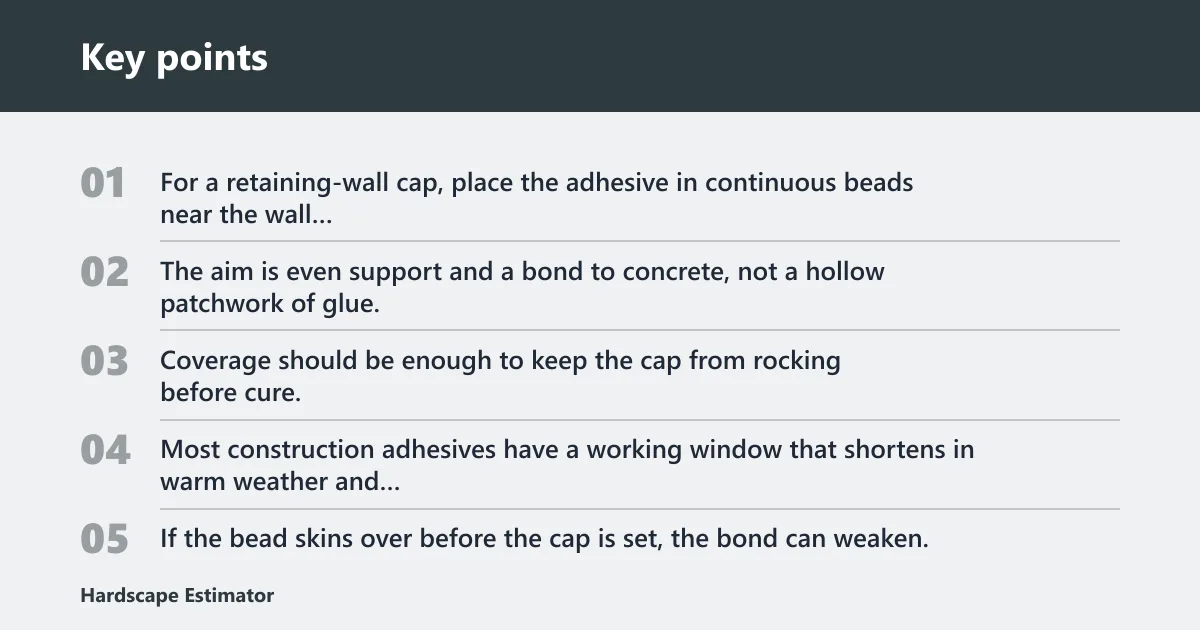
Adhesive bead pattern and coverage area
For a retaining-wall cap, place the adhesive in continuous beads near the wall centerline and near the bearing edges, unless the product instructions call for a different pattern. The aim is even support and a bond to concrete, not a hollow patchwork of glue. Coverage should be enough to keep the cap from rocking before cure.
Open time and temperature limits
Most construction adhesives have a working window that shortens in warm weather and stretches in cooler conditions. If the bead skins over before the cap is set, the bond can weaken. That is why dry fitting matters. A slow layout can turn a good plan into a poor bond if the adhesive is left open too long.
Leveling, alignment, and final tolerance check
Before the adhesive cures, check level, line, and reveal at several points along the wall. A cap that is slightly proud at one corner may look like a bigger overhang than it really is. A cap that is low at one end can also leave a wide-looking reveal even when the bearing is acceptable. Final tolerance should be checked while adjustments are still possible.
Freeze-thaw exposure raises the bar for fit. Water that enters a loose joint can push on the bond line when it freezes, especially if the wall settles or the cap has a very small bearing area. Thicker caps can help with stiffness, but they do not replace solid support or a proper bond. In wet climates, the safer choice is usually the better fit, not the bigger reveal.
Frequently asked questions
How thick is a cap block for a retaining wall?
Most retaining-wall cap blocks are 2 to 4 in thick. The exact thickness depends on the wall system, the surface profile, and whether the cap is decorative or meant to act as coping. Check the actual size, not just the nominal label, before you set the reveal or order matching pieces.
How much overhang should a cap block have?
A practical starting point is about 1 in of visible reveal per side, but only if the cap still keeps enough bearing on the wall. The real limit depends on the cap product, the wall-unit width, and the use. Seating edges, curves, and weather exposure may call for a different split.
What is the standard cap block overhang on each side?
There is no universal standard for every retaining wall cap. Many straight runs use a small, even reveal, often near 1 in per side, because that gives a clean edge without starving the cap of support. Manufacturer instructions should always override any generic layout target.
Can cap blocks overhang too far and crack?
Yes. Too much overhang can leave the cap under-supported, which increases movement, bond stress, and the chance of cracking at the edge or joint. The risk is higher when the wall settles, when freeze-thaw cycles are present, or when the cap carries seating or other light traffic loads.
Do thicker cap blocks need less support?
No. Thicker caps are usually stiffer, but stiffness is not the same as safe cantilever. A thicker cap may feel more solid, yet it still needs enough bearing and a proper adhesive bond. Weight also increases with thickness, so handling and support demand can rise, not fall.
How do you measure cap block overhang on a wall?
Measure from the finished wall face to the cap edge on the visible side. If the cap is centered, measure both sides and compare the reveals. Dry-lay the cap first, then check the bearing width, locator coverage, and corner fit before any adhesive goes down.