What Size Cap Blocks Do You Need for a Retaining Wall?
Use cap blocks that match the wall module: for many segmental retaining walls, that means a cap depth equal to the block depth, usually about 10 to 12 in. Wrong cap sizing leaves exposed edges, weak corner joints, and extra cuts or waste. This guide shows how to size caps by wall length, overhang, ends, corners, and curves.
Quick answer
Start with the wall module. Cap block length should match the wall face size or land on a clean module break, then cap depth should cover the top course with enough bearing for adhesive. For straight runs, wall length and cap length set the piece count. Corners and curves change that count.
Match cap length to wall module
Common cap lengths are 12, 18, and 24 in. A 12 in cap fits a 12 in wall module cleanly. A 16 in module often uses an 18 in cap or a special system cap, because the goal is coverage of the wall face plus a small, balanced overhang. An 18 in module usually pairs well with an 18 in cap.
Use wall length to estimate count
Cap counts come from linear footage. Divide wall length in inches by cap length in inches, then round up. A 20 ft wall is 240 in. With 18 in caps, 240 ÷ 18 comes to about 13.33, so a common rule of thumb is to plan for about 14 caps before cuts, corners, or waste.
Adjust for ends, corners, and curves
Ends and corners reduce the usable coverage of full caps. Curves often need shorter pieces so the cap can follow the wall line without large gaps. Corners, saw cuts, and radius transitions reduce reuse. That is why cap count is not always one cap per foot. Straight walls are simple; mixed geometry needs extra allowance.
How cap block size is matched to the wall
Cap sizing has three parts: length, depth, and overhang. Length follows the wall module or face width. Depth must cover the wall width and still leave room for adhesive contact. Overhang should be modest and balanced so the cap does not look too shallow or hang too far past the face.
Cap length versus wall face size
Retaining wall block face size drives the cap choice. Common wall modules include 12 x 4 in, 16 x 6 in, and 18 x 8 in. The cap should suit that same module. If the wall face is 16 in long, a 12 in cap is usually too short for clean coverage unless the system is made for mixed modules.
Cap depth versus wall width
Cap depth should cover the top course with adhesive space left under the cap. If the cap is too shallow, the bond area shrinks and the top edge can look exposed. If it is too wide, the cap may overhang too much, especially on tight corners or stepped ends. The wall thickness sets the minimum depth check.
What overhang should look like
Cap block overhang is usually about 1 in total visible overhang range, with the finish balanced on both faces where the wall system allows it. The point is a clean edge, not a large shelf. If the cap projects far beyond the wall face, it can look awkward and may leave less material over the adhesive line.
Cap sizing matrix
This matrix gives a practical starting point for common wall modules. It assumes straight runs first, then notes where corners and curves change the layout. Use it as a sizing check, not a substitute for the exact block system sheet.
| Wall module | Recommended cap length | Nominal overhang range | Pieces per 10 linear feet | Notes for straight runs, corners, and curves |
|---|---|---|---|---|
| 12 in module | 12 in | About 1/2 in to 1 in total | 10 | Straight runs are simple. Corners may need half pieces or cut returns. Curves usually need shorter cuts near the radius. |
| 16 in module | 18 in | About 1/2 in to 1 in total | 7 | Use a cap that covers the full wall face width. Ends and corners often need field cuts because 16 in does not divide evenly into 10 ft. |
| 18 in module | 18 in or 24 in, system-dependent | About 1/2 in to 1 in total | 7 | Good match for standard modules. On curves, a 24 in cap may need more cutting, while 18 in pieces can be easier to stagger. |
The “pieces per 10 linear feet” column is a quick planning number. It assumes straight wall coverage before cuts. For a 12 in cap, 10 ft uses 10 pieces. For an 18 in cap, 120 ÷ 18 comes to about 6.67, so plan for about 7 pieces per 10 ft. For a 16 in module using 18 in caps, 120 ÷ 18 also rounds to 7.
How many cap blocks do you need?
For a straight wall, divide the wall length by the cap length and round up. That gives the base count before corners, returns, and waste. If caps are used across the full top course, the count often follows the same count as blocks in that course, adjusted for the cap module and cut loss.
Convert linear feet to pieces
Use inches for the math. Wall length in ft × 12 = total inches. Then divide by cap length. A 30 ft wall is 360 in long. With 18 in caps, 360 ÷ 18 = 20 caps. With 12 in caps, 360 ÷ 12 = 30 caps.
Worked example for a straight wall
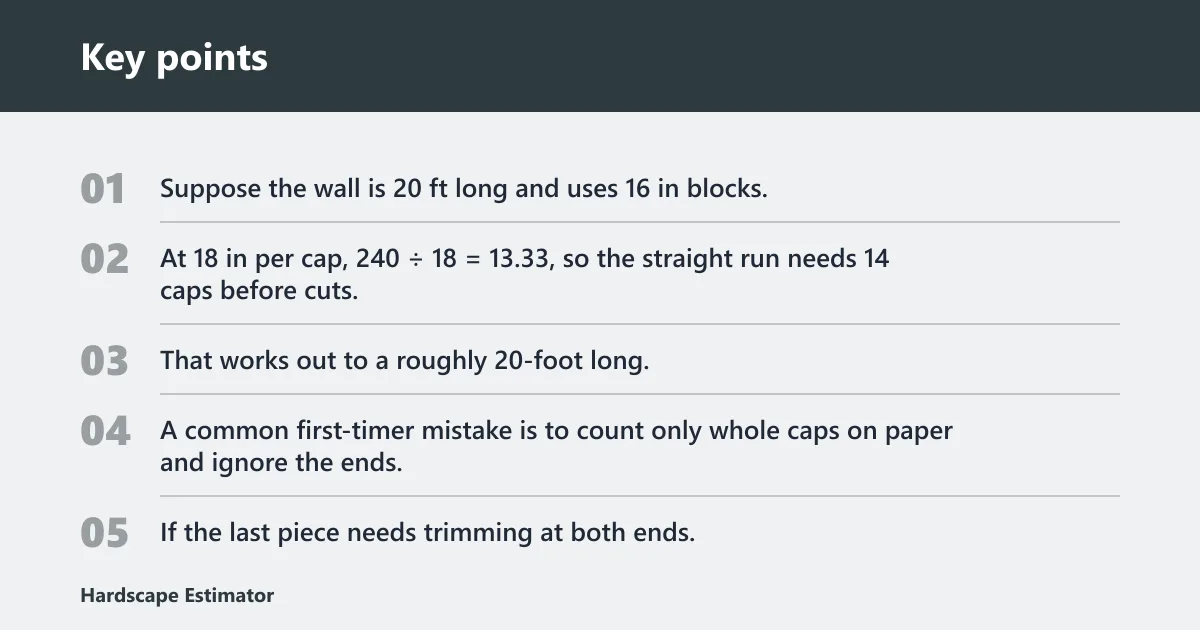
Suppose the wall is 20 ft long and uses 16 in blocks. The 20 ft wall equals 240 in. At 18 in per cap, 240 ÷ 18 = 13.33, so the straight run needs 14 caps before cuts. That works out to a roughly 20-foot long, 3-foot high wall with 16-inch blocks needing about 120 blocks plus about 15 cap blocks.
A common first-timer mistake is to count only whole caps on paper and ignore the ends. If the last piece needs trimming at both ends, the wall may still need the same number of caps, but the usable coverage drops. Add a small waste allowance for cuts and breakage, especially on walls with many returns.
Where waste and cuts change the total
Corners, saw cuts, and radius transitions reduce reuse. A calculator example for blocks adds 10% for cuts and breakage, and that same logic is sensible for caps on complex runs. For a 50-foot wall, a few corner cuts can turn a neat count into an extra cap or two.
Can you use 12-inch caps on a 16-inch wall block?
Usually no, not as a clean default. A 12 in cap on a 16 in wall block leaves the top course undercovered, which can expose edges and reduce the adhesive bearing area. It can work only if the system is designed for that pairing or if the wall layout uses a trim detail that still protects the top edge.
When shorter caps work
Shorter caps can work when the wall module is narrow, when the cap is decorative rather than full-coverage, or when the manufacturer sells a matching accessory cap for that block line. They can also work on short accent walls where the face width is not the main load-bearing concern. The fit still needs to cover the bond zone.
When the cap becomes too narrow
If the cap is narrower than the wall face by too much, the top course may show at the front or back. That can leave weak adhesive contact and a poor finish. Cap depth should cover the wall width with a small overhang, not force the installer to center a thin strip on a wide block.
What to check before buying
Check the wall block face size, the actual top width, and the cap depth. Then confirm whether the system calls for 12 in, 18 in, or 24 in caps. If the cap length does not match the module, look at corner pieces or cut options before you buy the full order.
How do corners and curves change cap count?
Corners and curves raise the cap count because full-length pieces stop fitting cleanly. Outside corners usually need miter cuts or special corner units. Inside returns may need shorter caps and extra adhesive at cut edges. Curves often consume more pieces than a straight run of the same length.
Outside corners and inside returns
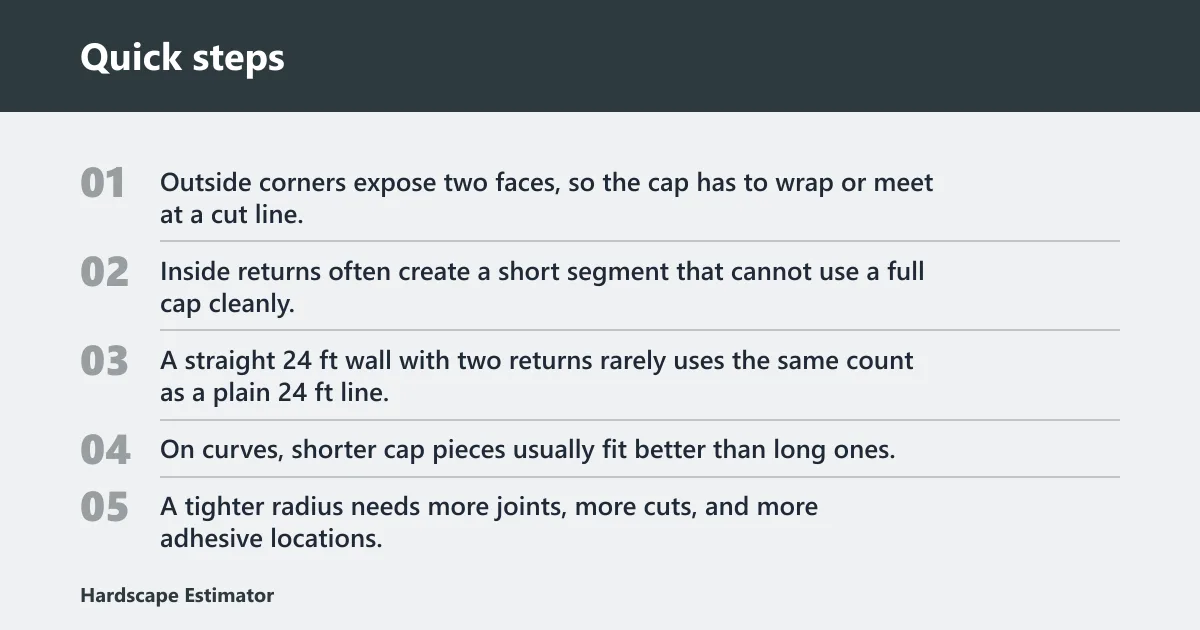
Outside corners expose two faces, so the cap has to wrap or meet at a cut line. Inside returns often create a short segment that cannot use a full cap cleanly. Plan for extra cuts at those points. A straight 24 ft wall with two returns rarely uses the same count as a plain 24 ft line.
Curved walls and cut pieces
On curves, shorter cap pieces usually fit better than long ones. A tighter radius needs more joints, more cuts, and more adhesive locations. That is why a curved wall may need the same total linear footage but more cap pieces than a straight wall. The module still matters, but layout matters more.
Why odd ends need extra planning
Odd-length ends can leave a short offcut that is too small to reuse elsewhere. If a wall ends at 17 in of leftover space and the cap module is 18 in, that last piece may need a trim or a special end detail. Include those small pieces in the order rather than assuming they will disappear into the layout.
Picture a 28 ft wall with a 90-degree outside corner and a short return. The straight section may point to 19 or 20 caps on paper, but the corner cut and the return end can add another piece or two. The lineal math still helps; the geometry decides the final order.
Installation checks before you buy caps
Before buying, check the top-course fit, adhesive contact, finished height, and local rules. Cap adhesive is commonly used between the top course and the cap, and one tube covers about 10 linear feet. Also remember that the buried base course affects finished wall height, but not the cap count itself.
Adhesive contact and top-course fit
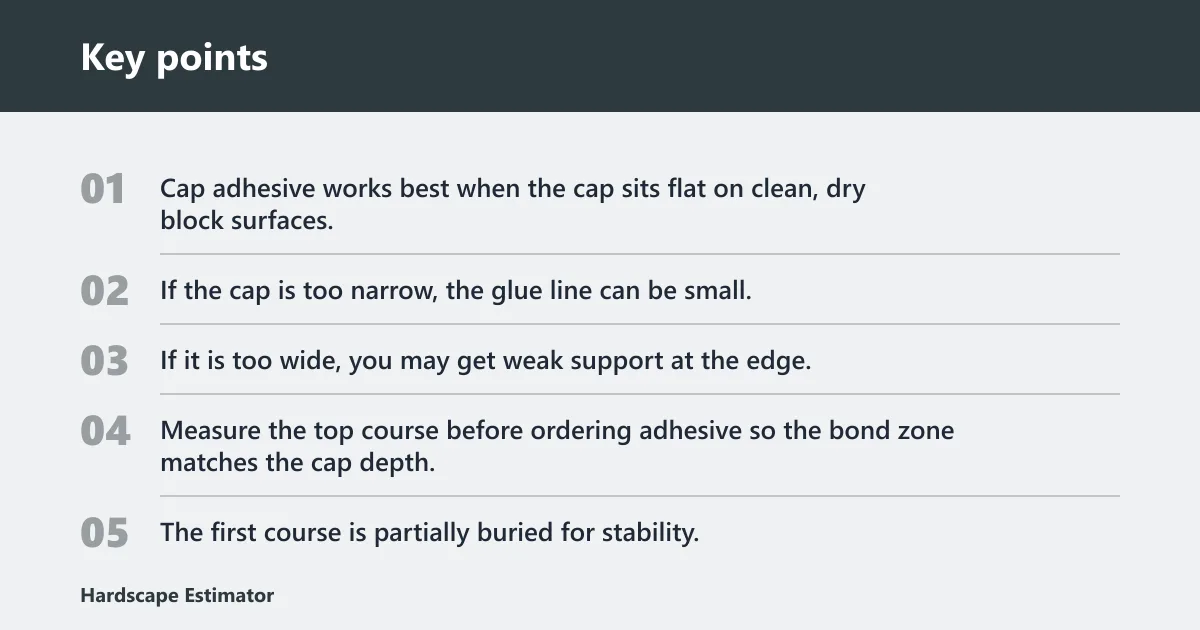
Cap adhesive works best when the cap sits flat on clean, dry block surfaces. If the cap is too narrow, the glue line can be small. If it is too wide, you may get weak support at the edge. Measure the top course before ordering adhesive so the bond zone matches the cap depth.
Buried base course and finished height
The first course is partially buried for stability, so finished wall height is less than the total stack height. That matters when you are checking whether the wall is near a permit or engineering threshold. It does not change cap count directly, but it does change how the wall is measured for compliance and layout.
When to stop and check local rules
Most DIY retaining walls should generally stay under 4 feet tall. Walls over 3 to 4 feet may need engineering or permits, and walls over 4 feet typically require engineering. If the wall is near that range, check the plan before ordering caps, because the block system and drainage details may need approval.
Drainage and base prep still matter. A cap cannot correct a wall that lacks proper footing, drainage pipe, or backfill. A 20 ft wall with 16 in blocks and 15 caps can still fail if the base is poorly built. Cap sizing is the last detail, not the first.
Frequently asked questions
What size cap blocks do I need for my retaining wall?
Match the cap to the wall module first. For common segmental walls, that usually means 12, 18, or 24 in caps, depending on the block face size and system profile. The cap should cover the wall width with a small overhang and enough contact area for adhesive.
How do I match cap block size to the wall block width?
Measure the wall block face size and top-course width in the same module as the cap. A 12 in wall face usually takes a 12 in cap. A 16 in wall face often needs an 18 in cap or a system-specific accessory piece. The goal is full coverage without excessive overhang.
How much overhang should cap blocks have?
A practical target is about 1 in total visible overhang range, balanced where the wall geometry allows it. That gives a finished edge without a large shelf. The exact amount depends on block profile, wall thickness, and whether the cap is made to center on the top course.
Can I use 12-inch caps on a 16-inch retaining wall block?
Usually only if the system is designed for that pairing. A 12 in cap on a 16 in wall block often leaves too much of the top course exposed and can reduce adhesive contact. Check the manufacturer layout before buying, especially on corners and ends where coverage is already reduced.
How many cap blocks do I need for a straight wall?
Divide the wall length by the cap length and round up. A 20 ft straight wall with 18 in caps needs 240 ÷ 18 = 13.33, so plan for 14 caps before cuts. Add a little extra for saw loss, returns, and small layout adjustments.
Are cap blocks counted one per linear foot?
Sometimes, but only when the cap length is close to 12 in and the wall is straight. That rule breaks down fast with 16 in or 18 in modules, corners, and curves. Cap counts should be based on cap length in inches and the actual wall geometry, not a blanket one-per-foot rule.