What Is the Best Adhesive for Cap Blocks?
A common choice for cap blocks is a high-strength polyurethane or hybrid construction adhesive rated for masonry, with a cure window that typically runs to about 24 hours before heavy load or water exposure; use a cold-weather formula when the label allows lower application temperatures. Wrong adhesive can let caps slip, crack, or pop loose, so this guide matches adhesive type to dry, damp, cold, and high-movement walls by job condition.
Cap block adhesive basics
Cap blocks need strong initial grab, outdoor durability, and resistance to sagging or slipping. The adhesive also has to match the wall’s movement pattern. A straight, dry wall in warm weather has different needs than a curved wall or a wall that sees freeze-thaw cycles.
Polyurethane adhesive is the common chemistry to compare because formulas vary in shrinkage, flexibility, and bond strength. That matters more than brand name alone. Loctite PL Landscape Block Adhesive is one example of an exterior masonry adhesive for block walls and capstones; Henkel’s product literature describes it as a polyurethane construction adhesive intended for landscape block and cap applications on common masonry substrates.
Bond strength alone is not enough. A cap adhesive can be strong on paper and still fail if it sags, skins too fast in heat, or loses grip on a damp substrate. The right choice depends on the base condition, temperature, and how much movement the wall will see. Manufacturer data sheets are the best source for the temperature and moisture limits that control real-world performance.
What cap blocks need from an adhesive
Cap blocks should be dry-fit before adhesive goes down. After placement, the cap needs alignment and level pressure so the bond line seats evenly. If the block is forced into place without checking fit first, the adhesive can smear, starve one edge, or push the cap out of level. Henkel’s installation guidance for landscape block adhesives also emphasizes clean contact surfaces and immediate positioning before skinning.
What you’ll need
- Caulking gun or cartridge gun system sized for the adhesive tube
- Cap block adhesive rated for masonry or hardscape use
- Utility knife or tube opener for the nozzle
- Clean rag or brush for dust removal
- Tape measure and chalk line or layout line
- 2 ft or 4 ft level
- Rubber mallet for gentle setting pressure
- Spacer or straightedge for checking joint alignment
- Dry cap blocks and fitted corner pieces
Which adhesive fits the job?
Choose the adhesive by job condition, not by label alone. Dry, warm, straight runs can use a standard masonry construction adhesive with strong grab. Damp or cold-weather installs need a formula made for lower temperatures or tougher cure conditions. Curves, corners, and walls with movement call for a more flexible polyurethane or hybrid product.
Dry and warm standard installs
For a clean, dry wall in mild weather, a standard exterior construction adhesive made for masonry capstones is usually enough. It should resist sagging and give enough open time to place and level each cap. Loctite PL Landscape Block Adhesive fits this category as an exterior heavy-duty adhesive for block walls and capstones, per manufacturer literature and product data.
Damp or cold-weather installs
Use a cold-weather formula when temperature drops or cure slows. Alliance Gator Block Bond XP is marketed for use above 32°F, and SEK Surebond SB-15 is marketed for application down to 10°F, according to manufacturer technical sheets. If the substrate is wet enough to interfere with adhesion, wait for dry conditions unless the product label clearly permits damp use. Frozen substrate is a red flag for most installs.
Corners, curves, and high-movement walls
Corners and curved runs need better grab and flexibility because the wall is more likely to shift at joints. Techniseal StickyStone is described by the manufacturer as a high-grab vertical hardscape adhesive with strong initial tack and sag resistance. For high-movement walls, a flexible polyurethane or hybrid adhesive usually fits better than a rigid product.
Polyurethane vs hybrid vs generic construction adhesive
These labels are not interchangeable. Polyurethane usually offers the best flexibility and movement tolerance. Hybrid formulas often aim to balance grab, flexibility, and lower odor or easier cleanup. Generic construction adhesive is a broader category, so it only works well when the specific tube is rated for masonry, outdoor exposure, and the site conditions.
| Type | Typical strengths | Typical tradeoffs | Best use case |
|---|---|---|---|
| Polyurethane | Flexibility, outdoor durability, gap tolerance | Can be messier and may require more careful bead control | Curves, movement-prone walls, colder-weather installs when rated |
| Hybrid | Balanced grab and flexibility, broad substrate compatibility | Performance depends on the exact formulation | General hardscape work where a compromise between speed and flexibility is needed |
| Generic construction adhesive | Readily available, often strong initial bond | Not every formula is suited to masonry, moisture, or freeze-thaw exposure | Only when the label specifically supports cap blocks, masonry, and outdoor use |
Cap block adhesive decision table
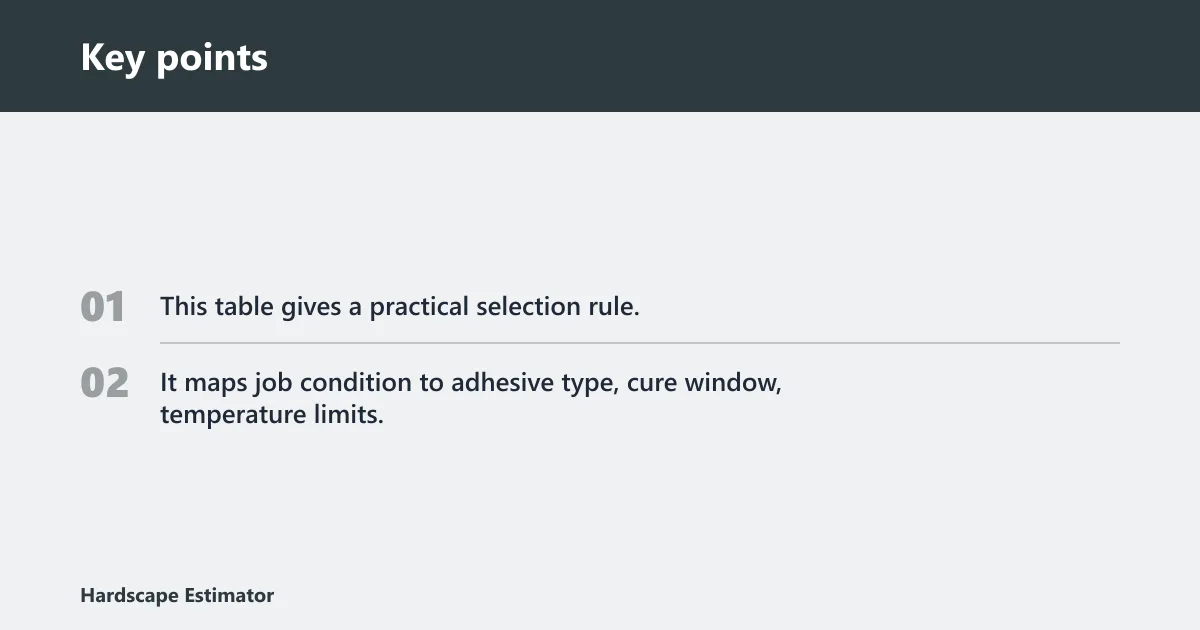
This table gives a practical selection rule. It maps job condition to adhesive type, cure window, temperature limits, moisture tolerance, and the red flags that should stop the install or change the plan.
| Substrate condition | Recommended adhesive type | Cure window | Minimum application temperature | Damp-surface allowance | Why it fits | Bead pattern | Do not install if |
|---|---|---|---|---|---|---|---|
| Dry, warm, standard wall | Exterior masonry construction adhesive or polyurethane | Often about 24 hours before heavy load or water exposure, per product label | Commonly around 40°F for standard formulas, but always check the tube | No, unless the label explicitly says damp-substrate use is allowed | Strong grab and normal outdoor service | Two beads, one 2 inches from the front edge and one 2 inches from the back edge | Dusty top course, no dry-fit, cap set without pressure |
| Damp wall, but not wet or frozen | Moisture-tolerant polyurethane or hybrid formula if label allows | Follow the label; moisture can slow cure | Use the manufacturer’s listed lower limit | Yes, only if the product data sheet permits damp surfaces | Better tolerance for real site conditions | Two beads, slightly heavier bead size for full contact | Standing water, frozen block, label does not permit damp use |
| Cold-weather install | Cold-weather polyurethane or low-temperature construction adhesive | Often longer than warm-weather installs; follow label cure guidance | As low as 32°F for some products, or 10°F for SB-15 per manufacturer data | Usually limited; do not assume damp use unless stated | Designed for lower application temperatures | Two beads with full continuous lines | Substrate below the product’s listed limit, stiff cartridge flow, frost on the surface |
| Corners and curves | Flexible polyurethane or high-grab vertical hardscape adhesive | Follow product label; movement may require full cure before stress | Within the product’s rated range | Only if explicitly allowed by the label | Helps hold shape and reduce slip | Two beads with extra attention at ends and joints | Short bead ends, gap at the corner, no pressure set |
| High-movement or gap-filling case | Polyurethane with flexibility and gap-filling capacity | Follow the label; thicker adhesive lines may cure more slowly | Within the product’s rated range | Usually not for wet or saturated surfaces unless stated | Handles movement better than brittle products | Two beads plus local fill where needed | Large unsupported voids, moving wall, wrong adhesive chemistry |
How do you apply cap block adhesive?
Apply it in a dry-fit, cut, bead, and press sequence. The cap should sit where it belongs before glue is added, and the adhesive should be placed where the cap can compress it evenly. If the tube is set up wrong or the cap is shifted after placement, the bond line weakens. Manufacturer installation sheets commonly stress clean surfaces, proper bead placement, and immediate seating.
Dry-fit the cap before glue
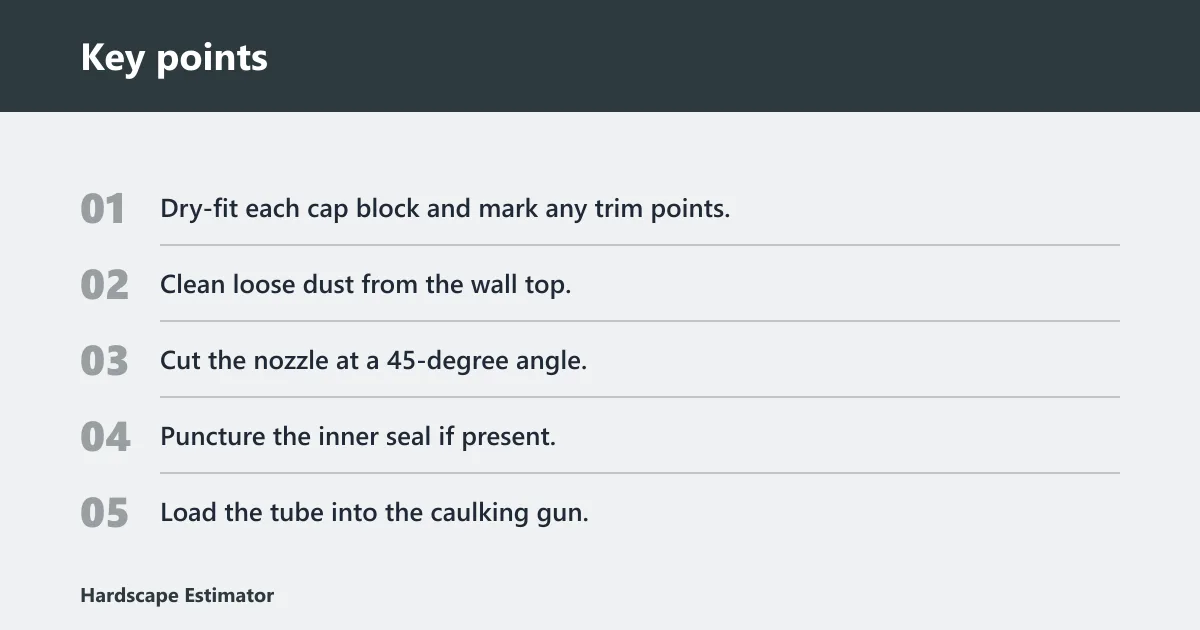
Set the cap blocks in place first and check alignment, overhang, and joints. This is where you find a tight corner, a bowed run, or a cap that needs trimming. A dry-fit saves adhesive and prevents a crooked finished line.
Cut the nozzle and puncture the seal
Cut the nozzle tip at a 45-degree angle. Puncture the inner seal before loading the cartridge into the gun if the tube has one. A cleaner cut gives better bead control, which matters when the bead must land close to the edge without squeezing out the sides.
Set two beads and press the cap into place
Apply two beads of adhesive. One bead should be 2 inches in from the front of the cap, and the second bead should be 2 inches in from the back of the cap. This is a common placement pattern, but exact spacing depends on cap width, bead size, and the manufacturer’s instructions. Replace the capstone and apply pressure to secure it. Then check level and alignment before the adhesive skins over.
- Dry-fit each cap block and mark any trim points.
- Clean loose dust from the wall top.
- Cut the nozzle at a 45-degree angle.
- Puncture the inner seal if present.
- Load the tube into the caulking gun.
- Run two beads 2 inches in from the front and back edges.
- Set the cap in place and press it down firmly.
- Check level, joint line, and overhang immediately.
How many beads should cap blocks get?
Most cap blocks should get two beads. That pattern gives a stable bond line near both edges and helps the block resist rocking. One bead can leave the center too unsupported, while too much adhesive can squeeze out and make leveling harder. Exact bead count still depends on cap size, underside shape, and the product’s installation guide.
Front and back edge spacing
Keep one bead 2 inches in from the front edge and the other 2 inches in from the back edge. That spacing keeps adhesive close enough to the working edges for hold, while leaving room for the cap to seat without squeeze-out along the face. Wider caps may call for adjusted spacing if the tube maker says so.
How bead size affects coverage
Bead size changes coverage and hold. A thicker bead covers small irregularities and minor voids, but it can also create more squeeze-out if the cap is pressed too hard. A smaller bead is easier to control, but it may not fill a slightly uneven top course. Manufacturer guidance usually specifies a bead large enough to maintain contact without overfilling.
When to add extra adhesive
Add extra adhesive only where the wall top is uneven or a cap has a shallow hollow underside. A common first-timer mistake is adding a third bead across the center on every cap. That can make the cap float, shift the height, and create visible squeeze-out. Use extra material as a correction tool, not a default pattern.
Retaining wall corner caps
Corner caps need adhesive on every interlocking piece. Inside and outside 90-degree corners are common failure points because the joint changes direction, and the cap is more likely to move before cure. Treat corners as structural alignment points, not just cosmetic ends.
Inside 90-degree corners
Inside corners need full adhesive contact on both sides of the corner block. Dry-fit the pair first so the corner lands square. If the joint is tight on one side and open on the other, the pressure can twist the run and leave the face line uneven. Use the product only within its listed temperature and moisture limits.
Outside 90-degree corners
Outside corners need careful bead placement and pressure setting because one side is exposed and easier to bump out of line. Use the same two-bead pattern, then check both faces before the adhesive sets. If the corner cap feels loose after placement, lift and reset it rather than forcing it flat.
Interlocking corner blocks
All interlocking corner blocks need adhesive, not just the visible top piece. The joint between the blocks is part of the load path, so leaving one piece unbonded invites movement. A flexible polyurethane or vertical hardscape adhesive is usually the safer choice on these pieces.
Common mistakes
Wet substrate, frozen substrate, and dirty block tops are the most common reasons cap adhesive fails early. Another common problem is using the wrong chemistry for the wall’s movement level, especially on curves or long runs with seasonal movement. Surface prep matters as much as the brand and chemistry.
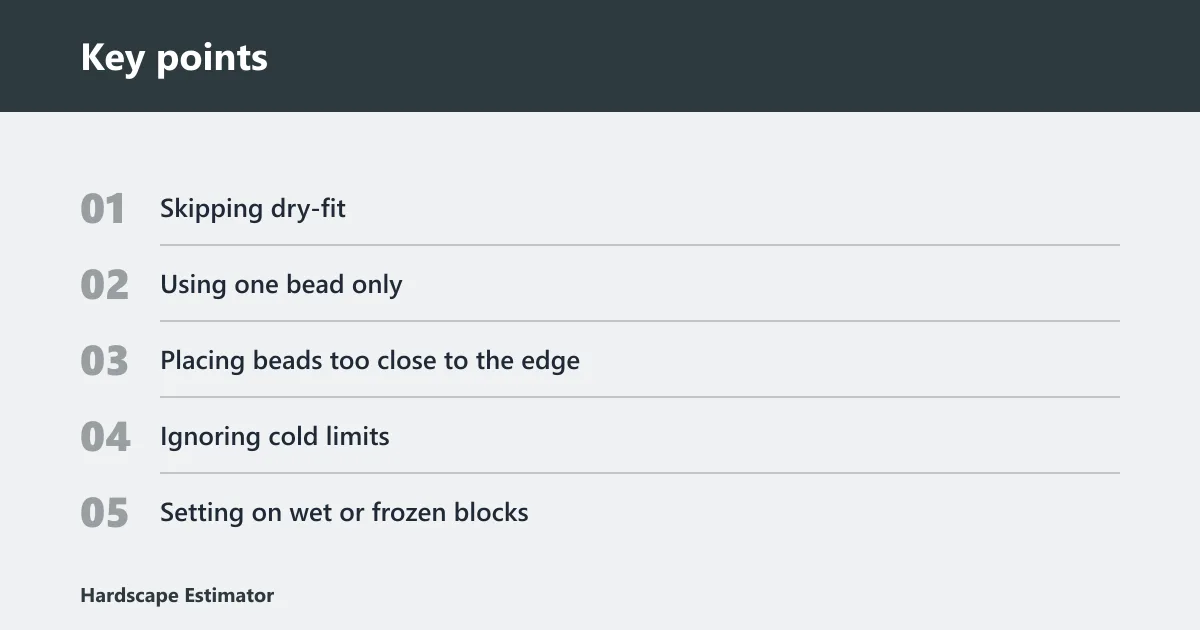
- Skipping dry-fit: leads to misalignment and uneven joints.
- Using one bead only: can leave the cap unstable.
- Placing beads too close to the edge: causes squeeze-out.
- Ignoring cold limits: can slow cure and reduce grab.
- Setting on wet or frozen blocks: can weaken the bond.
- Failing to press the cap: leaves gaps under the block.
Suppose a 12 in cap on a straight wall in 45 F weather starts sliding after placement. The likely issue is weak initial grab or too much movement during set. A better match would be a colder-weather polyurethane or a high-grab vertical adhesive, with the cap re-seated after a clean dry-fit. Product literature should confirm the actual low-temperature limit before use.
Picture a 6 ft curved wall with small gaps at the joints. A rigid product may bridge badly and crack later. A flexible polyurethane adhesive fits better because the wall needs some movement tolerance, not just a hard set. For gap-filled runs, the substrate also needs to be sound and not crumbly.
Prevention is simple: keep the top course clean and dry, dry-fit every cap, and check level after each placement before moving to the next one. If the wall is wet, dusty, frozen, or uneven, correct the substrate first or pick a product whose label explicitly allows that condition.
Frequently asked questions
What is the best block adhesive for cap blocks?
The best choice is a high-strength polyurethane or hybrid construction adhesive made for masonry and outdoor use. For a dry, standard wall, an exterior heavy-duty product such as Loctite PL Landscape Block Adhesive is a fit. For cold work, pick a formula rated for lower temperatures, and verify the specific temperature limit on the product data sheet.
Should I use polyurethane or construction adhesive for cap blocks?
Use polyurethane when you need flexibility, better movement tolerance, or a cold-weather option. Use construction adhesive when the wall is dry, straight, and warm enough for normal cure. The label matters more than the chemistry name alone, because formulas vary in grab, flexibility, and moisture tolerance.
Can cap blocks be glued to wet retaining wall blocks?
Only if the product label explicitly allows damp use and the surface is wet, not saturated or frozen. Standing water and frost are poor conditions for adhesion. If the wall top is damp from rain, wait for a dry surface unless the adhesive is rated for that condition. Manufacturer instructions override general rules.
How many beads of adhesive should I use on cap blocks?
Use two beads. Place one 2 inches in from the front edge and the other 2 inches in from the back edge. That pattern gives even support and helps prevent rocking. A third bead is usually unnecessary unless the cap underside has a local void or the installation guide calls for a different layout.
How far from the edge should cap block adhesive be placed?
Place one bead 2 inches in from the front edge and the second 2 inches in from the back edge. That spacing helps keep the adhesive under the working area of the cap while reducing squeeze-out along the exposed face. Wider caps or special profiles may need adjusted spacing, depending on the tube instructions.
What temperature is too cold to install cap block adhesive?
The answer depends on the product. Alliance Gator Block Bond XP is marketed for use above 32°F, while SEK Surebond SB-15 is marketed for application down to 10°F, according to manufacturer technical sheets. If the label gives no lower limit, do not assume the adhesive will cure well in freezing conditions.
How do I keep cap blocks from sliding or bulging?
Use the correct bead pattern, dry-fit first, and press the cap into level position immediately. Sliding usually means too much motion before the adhesive grabs. Bulging usually means too much adhesive, poor edge spacing, or a cap that was forced onto an uneven top course. Clean, sound substrate is part of the fix.
What adhesive works best on retaining wall capstones?
A high-grab polyurethane or hybrid adhesive made for masonry capstones works best in most installs. For vertical hardscape, Techniseal StickyStone is described by the manufacturer as having superior initial grab that resists sagging. For colder work, choose a low-temperature-rated product instead of a standard warm-weather tube.
Is there an adhesive for concrete block top caps?
Yes. Many exterior masonry adhesives are made for concrete, stone, and block cap use. Loctite PL Landscape Block Adhesive bonds concrete and is used for block walls and capstones. Pick a formula that matches the wall’s moisture, temperature, and movement conditions, and confirm the substrate is clean and structurally sound first.
Can I use the same adhesive for corners and cap blocks?
Often yes, if the product has enough grab and flexibility for corner work. Inside and outside 90-degree corners need the same careful dry-fit and bead placement, and interlocking corner blocks need adhesive on every bonded piece. A flexible polyurethane is usually the safer all-around choice, especially where movement is more likely.
What is the best block adhesive?
The best block adhesive is the one that matches the job: dry and warm walls can use standard exterior masonry adhesive, while damp, cold, or high-movement walls need a more flexible or low-temperature formula. For cap blocks, the right bead pattern and pressure setting matter as much as the brand, and the product label should control the final choice.
Sources
- Henkel. Loctite PL Landscape Block Adhesive product information and technical data.
- Alliance Gator. Block Bond XP technical data sheet.
- SEK Surebond. SB-15 technical data sheet.
- Techniseal. StickyStone product information and installation guidance.
- Manufacturer installation guides and safety data sheets for masonry and hardscape adhesives.