How to Cut Landscape Edging Around Curves
For gentle curves, bend flexible edging by hand. For tight curves, cut relief slits about 2 to 4 in. apart in plastic, or use shorter sections for metal and pavers. This guide shows how to match the cutting method to the edging material and curve radius.
What you’ll need
- Edging in the material you plan to install: steel, aluminum, plastic, rubber, or composite
- Tin snips or aviation snips for thin metal edging
- Angle grinder with a cut-off wheel for thicker steel or aluminum, if the product allows cutting
- Jigsaw with a blade rated for the edging material
- Utility knife for thin plastic edging
- Gloves, eye protection, and hearing protection for grinder work
- Garden hose or rope for laying out the curve
- Stakes and string for repeatable arcs
- Spray paint or marking chalk
- Measuring tape and a template for repeated radius sections
- Spikes or stakes for fastening, plus connectors or couplers where the system uses them
- Backfill material: soil, sand, or gravel, depending on the base design
How do you tell if the curve should be cut?
A gentle curve usually bends in place. A tighter curve needs relief cuts, short segments, or a different edging product before installation begins. The practical test is simple: if the material can follow the line without visible kinks, edge pull-apart, or a raised lip, bend it; if it springs back hard or twists, switch methods.
Gentle curves you can bend in place
Use this when the edging follows a broad arc and stays smooth under hand pressure. Flexible plastic, rubber, and some composite edging can follow wide radii without cutting. Steel and aluminum can also bend, but only within the product’s bend limit listed by the manufacturer.
Tight curves that need relief cuts or segments
Use relief cuts when the curve is tight enough that the top edge starts to buckle or the stakes lift out of line. For plastic edging, that usually means closely spaced slits, often 2 to 4 in. apart. For metal, shorter pre-bent sections are safer than forcing a single run around a sharp arc.
When to switch to a more flexible edging
Swap materials when the curve is so tight that the joint would sit on the bend, the top edge would stand proud, or the base would need more cuts than the edging can handle cleanly. A flexible product is usually better than a heavily notched one, because each cut is a possible failure point.
Mark the curve first, then cut only the material that actually needs to change shape. For most edging, the cleanest result comes from shaping the line before fastening, not from forcing the edge into place after the trench is already closed.
Mark the curve and confirm the radius
Lay a garden hose or rope along the bed line and adjust it until the arc looks smooth. Transfer that line with chalk or spray paint. If you will repeat the same curve, make a cardboard or plywood template so each section matches instead of drifting wider or tighter.
Make the cut with the right tool
Use a utility knife for thin plastic, snips for thin metal, and an angle grinder with a cut-off wheel for thicker steel or aluminum. For composite, follow the blade type listed by the manufacturer. Keep cuts square where the joint will meet, and use relief slits only where the bend needs freedom.
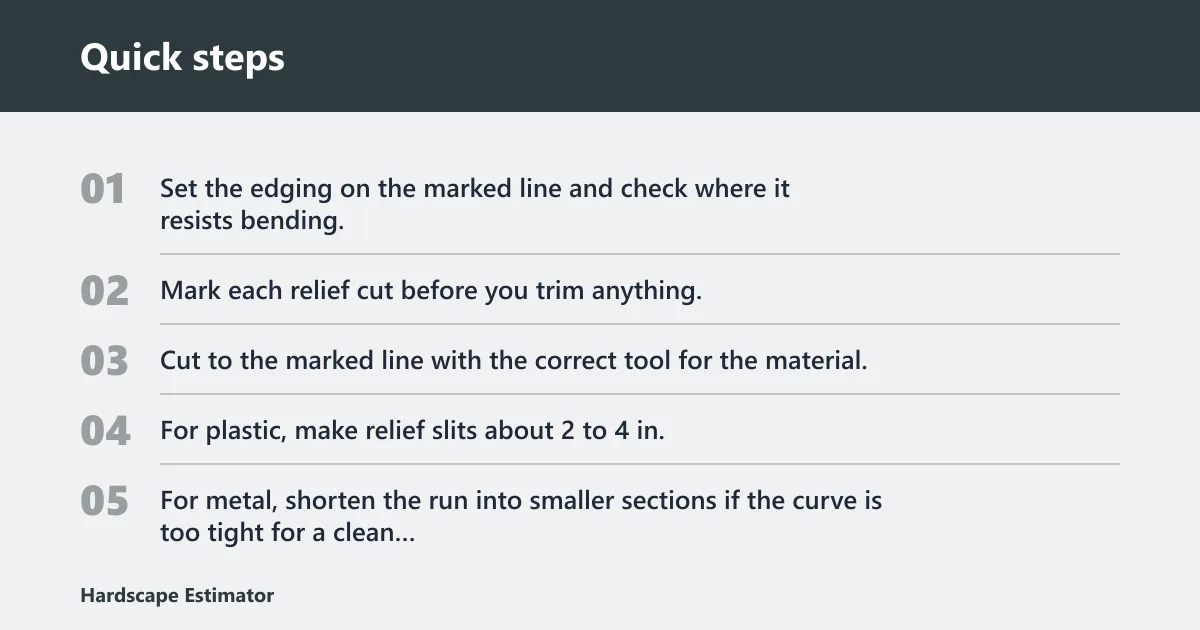
- Set the edging on the marked line and check where it resists bending.
- Mark each relief cut before you trim anything.
- Cut to the marked line with the correct tool for the material.
- For plastic, make relief slits about 2 to 4 in. apart on the inside of the curve if the material can be notched.
- For metal, shorten the run into smaller sections if the curve is too tight for a clean bend.
- Deburr sharp edges after cutting, then test-fit the section before staking it.
Smooth edges and test the fit
File or deburr any sharp edge that could cut hands, snag geotextile, or catch a weed trimmer line. Then set the piece back in the trench. If the top edge rocks or a seam gaps open, adjust the cut pattern rather than forcing the bend.
Say your bed has a 90-degree arc around a small patio corner and a 6 in. tall steel edging strip starts to buckle near the turn. The fix is not a harder push. Shorten the section, place the joint on the straight approach, and use the corner itself as the point where the bend begins.
Curve-to-cut decision table
Use this table before you cut. The main question is whether the curve is gentle enough to bend, or tight enough to need relief cuts, short pieces, or a different product. Joint placement matters as much as the cut itself, because a seam on the high side of a bend opens more easily than one on the straight approach.
| Edging type | Recommended tool | Minimum practical curve tightness | Joint strategy | Common failure mode |
|---|---|---|---|---|
| Thin plastic edging | Utility knife for trimming; jigsaw for thicker profiles | Gentle to medium curves if the profile stays flat | Keep joints off the tightest part of the curve; overlap only if the product is designed for it | Kinking, cracked tabs, wavy top edge |
| Rubber edging | Utility knife or fine-tooth jigsaw blade | Medium curves; tighter bends depend on thickness | Stagger joints away from the bend and fasten both sides of the seam | Stretching, seam opening, edge roll |
| Aluminum edging | Tin snips for thin stock; grinder for thicker profiles | Gentle curves; tight curves need short sections | Place connectors on straight runs, not at the apex of the curve | Oil-canning, sharp crease, joint pull-apart |
| Steel edging | Angle grinder with cut-off wheel; aviation snips for thin steel | Gentle curves if the gauge is light; tighter curves usually need segmentation | Use short runs and keep stakes close to the joint | Kinking, distorted top edge, rust-prone burrs |
| Composite edging | Jigsaw with the blade specified for the product | Gentle curves unless the maker allows tighter bending | Use factory connectors where available; avoid joints on the tightest bend | Cracking, splintering, uneven seam line |
Quick checklist: bend, notch, or switch?
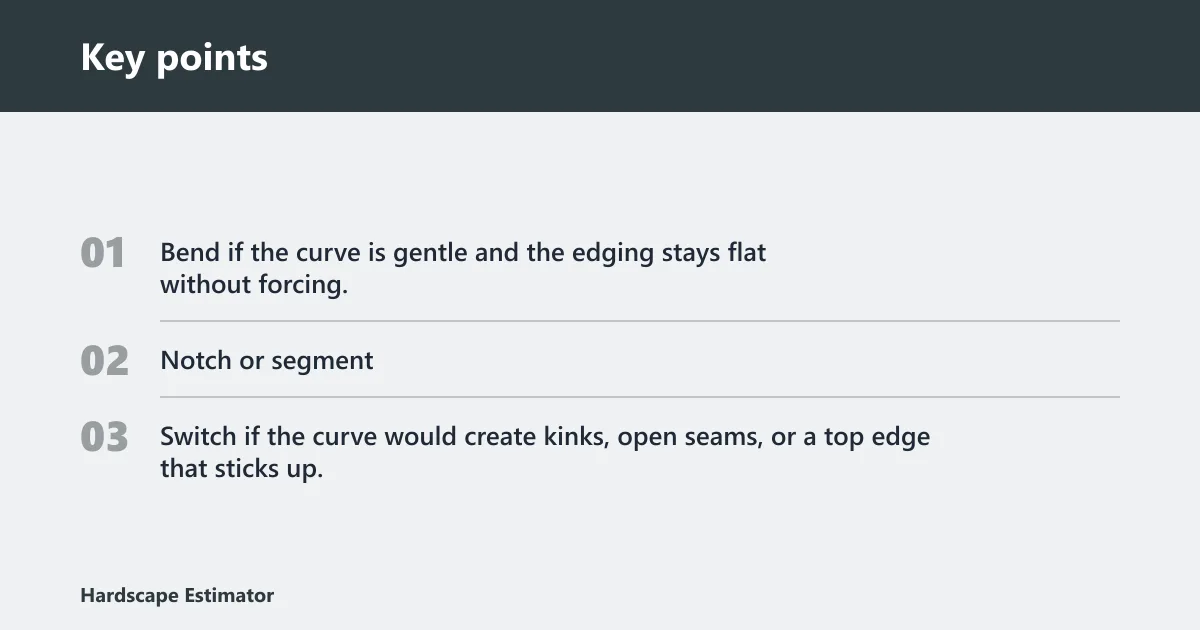
- Bend if the curve is gentle and the edging stays flat without forcing.
- Notch or segment if the curve is tight and the product allows relief cuts.
- Switch if the curve would create kinks, open seams, or a top edge that sticks up.
How do you fasten edging on a curve?
Fasten curves with closer stake spacing than you would use on a straight run. The goal is to hold the shape without pinching the material. On gentle bends, the stakes can stay farther apart; on sharper bends, use tighter spacing and keep seams away from the point where the curve changes direction most quickly.
Stake spacing for gentle bends
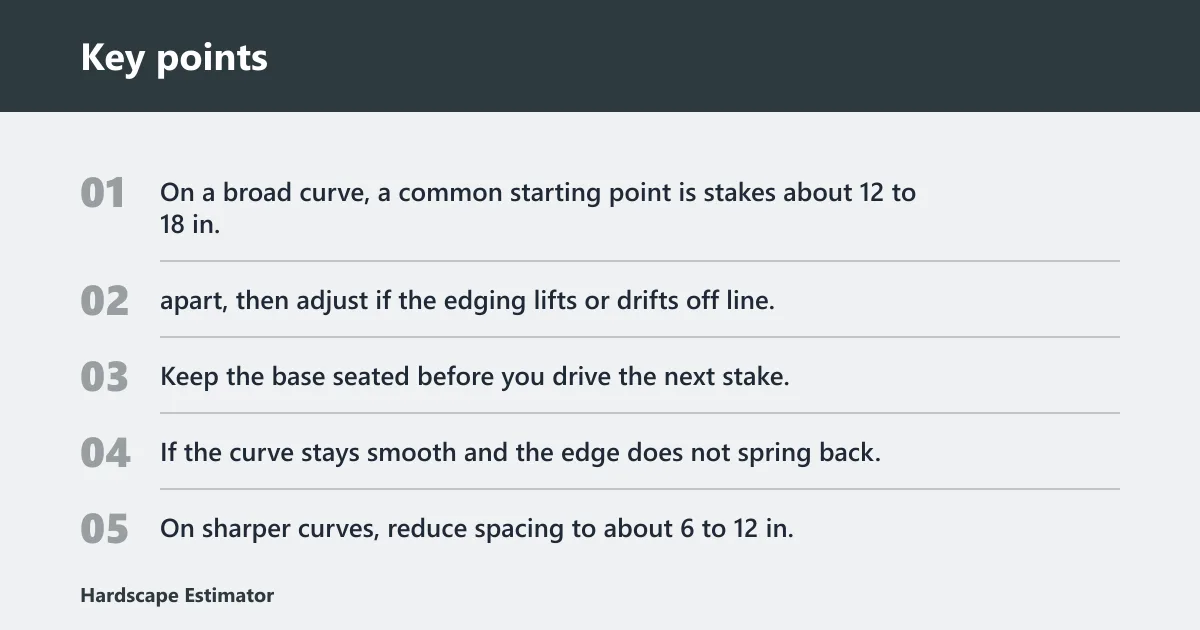
On a broad curve, a common starting point is stakes about 12 to 18 in. apart, then adjust if the edging lifts or drifts off line. Keep the base seated before you drive the next stake. If the curve stays smooth and the edge does not spring back, the spacing is usually close enough.
Tighter spacing near sharp turns
On sharper curves, reduce spacing to about 6 to 12 in. so the edging stays anchored between stakes. Add stakes on both sides of a joint, not just in the middle of a run. A seam that sits in the bend can open as the edging flexes, so move the seam onto a straighter section whenever possible.
Joint placement and seam control
Place connectors where the edging is closest to straight. If the system uses overlap, follow the manufacturer’s overlap direction and fastener pattern. Avoid putting the joint at the apex of the curve, where the material is under the most stress and the visible seam is hardest to hide.
Suppose a plastic edging strip follows a long flower-bed arc, then turns tightly around a mailbox post. Use wider stake spacing on the long sweep, then shorten the spacing near the post and move the connector to the straight lead-in so the seam does not open.
Common mistakes to avoid
Most failures come from forcing a curve that the material cannot hold cleanly. A cut that looks fine on the bench can still fail after staking if the radius is too tight, the seam sits in the bend, or the base is loose under the edge.
- Cutting before checking the curve radius, which wastes material and creates a poor fit.
- Using one blade for every material, which can leave burrs, cracks, or ragged edges.
- Forcing a bend past the material limit, which leads to kinks or oil-canning.
- Leaving relief cuts too far apart, which makes the curve faceted instead of smooth.
- Placing a joint on the tightest part of the bend, which often opens the seam.
- Using stake spacing that is too wide on a sharp turn, which lets the edging pop out.
- Leaving sharp edges unfiled, which can be a hand and trimmer hazard.
Wear gloves and eye protection for every cut. Use hearing protection and control sparks when grinding metal. If sparks can reach mulch, dry grass, or a wall finish, move the work area or shield it before cutting.
Frequently asked questions
How do you make landscape edging follow a curve?
Lay out the line with a hose or rope, then bend the edging to match the arc before fastening it. If the piece resists, check whether the curve is too tight for that product. The fix is often shorter sections, closer stakes, or a more flexible edging type rather than more force.