How to Prepare Base for a Retaining Wall on a Slope
For a retaining wall on a slope, cut a level bench into the hill, dig the trench at least about 6 in. deeper than the buried course plus 6 in. of compacted base, and step the footing only where the slope changes too fast to bench safely. Skip that prep and the wall can settle, lean, or fail, which means rework and drainage repairs. This guide shows layout, trench shape, compaction, leveling, drainage, and when a sloped site needs terracing or an engineer.
Prepare the slope and lay out the wall
Measure the grade change first
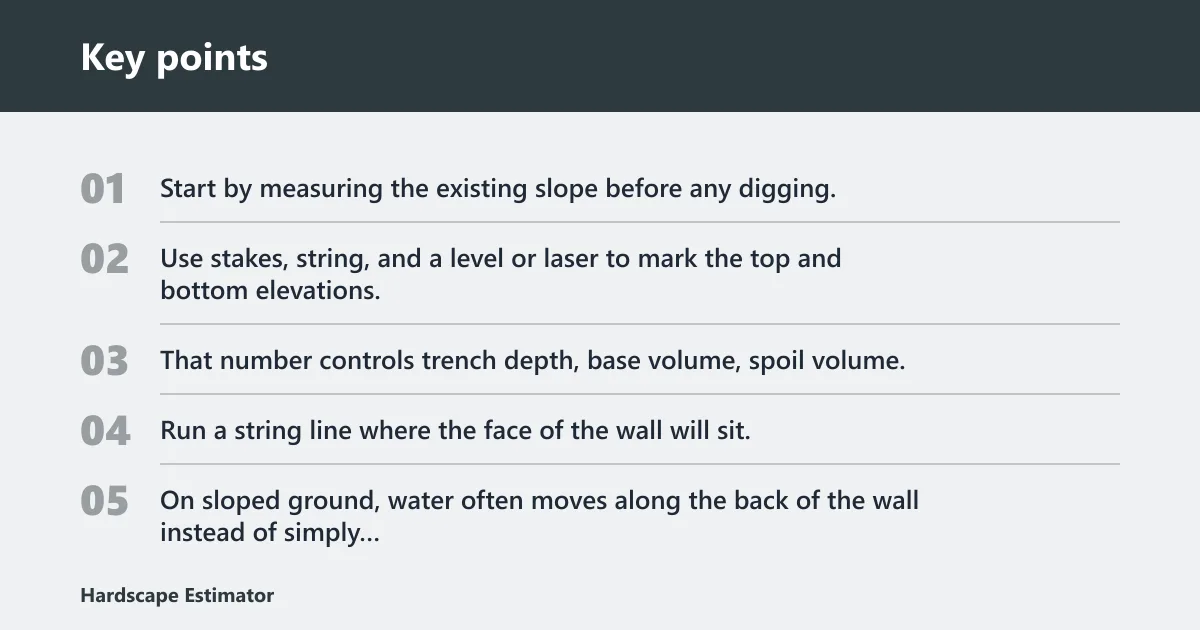
Start by measuring the existing slope before any digging. Use stakes, string, and a level or laser to mark the top and bottom elevations, then note the total grade change from one end of the wall to the other. That number controls trench depth, base volume, spoil volume, and whether the wall can stay continuous or should step.
Run a string line where the face of the wall will sit, then measure down to grade at several points. Mark erosion zones and runoff paths too. On sloped ground, water often moves along the back of the wall instead of simply draining straight downhill.
Decide whether the wall should follow, step, or terrace
A wall on sloping ground has three basic layout choices: follow the grade in stepped sections, create a terrace, or use one long wall where the slope is mild enough for a bench cut. The best option depends on slope steepness, wall height, and how much cut-and-fill the site can support without sliding or oversteep excavation faces.
Say your yard drops 18 in. over 20 ft. A single straight wall may still work if the bench is wide enough and the base stays level. Suppose the same drop happens in only 8 ft. In that case, a stepped layout often reduces fill depth and keeps the trench safer to cut.
Do you need a terrace or stepped wall?
Yes, sometimes. If the slope is steep enough that one continuous trench would require unstable cut faces or deep fill on the low side, a terrace or stepped wall is the better choice. It reduces differential settlement and makes it easier to keep the base level without relying on loose fill to do the job.
When a single wall is the wrong choice
A single wall becomes a poor option when the low side would need too much build-up or the high side would need a deep cut that leaves loose, unsupported soil. That is where slope geometry starts driving the design. Walls holding back an existing slope may need anchored or cantilevered design, and taller walls can move beyond typical DIY scope.
How slope steepness affects excavation and fill
On steep ground, the trench shape changes from simple digging to cut-and-bench work. You may need to cut into the uphill side and build a compacted working shelf on the downhill side so the trench stays level. That bench is only stable if the fill is placed in layers and compacted as it goes.
Where permits or engineering may apply
Walls over 48 inches usually need engineering and permits, and that threshold can come sooner on sloped sites because the loading and drainage conditions are more complex. Local rules vary, but the wall height, retained slope, and reinforcement method should all be checked before excavation starts. A contractor or engineer should review any steep or tall layout.
Slope base prep checklist and measurement worksheet
This worksheet turns the slope into quantities. It helps estimate trench depth, base stone, drainage stone, and the amount of work by wall section. Fill it out before ordering materials so you can spot where the wall needs stepping, where the cut is deepest, and where compaction checkpoints should be repeated.
| Section | Top-to-bottom grade change | Trench cut depth | Buried course depth | Base thickness | Wall length | Drainage stone volume | Compaction checkpoint |
|---|---|---|---|---|---|---|---|
| Left end | ____ ft / ____ in. | ____ in. | ____ in. | ____ in. | ____ ft | ____ cu yd | After subgrade, after each base lift, before first course |
| Center | ____ ft / ____ in. | ____ in. | ____ in. | ____ in. | ____ ft | ____ cu yd | After subgrade, after each base lift, before first course |
| Right end | ____ ft / ____ in. | ____ in. | ____ in. | ____ in. | ____ ft | ____ cu yd | After subgrade, after each base lift, before first course |
| Total wall | Sum of sections | Highest required cut | Per block system | Typically 6 in. compacted stone | ____ ft | ____ cu yd | Final level check before stacking |
Use the worksheet with real site measurements, not estimates from a flat lot. If one section needs more cut or fill, list it separately. That is how slope projects reveal the extra base material and spoil that generic wall estimates miss.
Cut the trench on a slope
The trench must be level at the base even when the yard is not. The width should fit the block system plus working room, and the bottom should be cleaned of loose soil and debris before base material goes in. A sloped site changes where the trench gets cut deeper and where it needs benching or fill support.
Set trench width for the block system plus working room
Size the trench for the block unit, the gravel base, and enough room to set and check blocks without crowding the sides. This is not a tight slot. The trench should let you place, tap, and recheck the first course while keeping the base edge stable.
This Old House says to dig about 2 feet back from the desired face, and that setback helps when the slope needs a bench rather than a straight vertical cut. The exact width still depends on the block system, but the trench should not pinch the install area.
Cut the base level even when the site is not
On sloped ground, the trench bottom should be level across each wall section. That may mean cutting deeper on the uphill side and leaving more intact soil on the low side, or stepping the trench where the grade changes too quickly for one continuous bench. The goal is a level bearing surface, not a trench that mimics the hill.
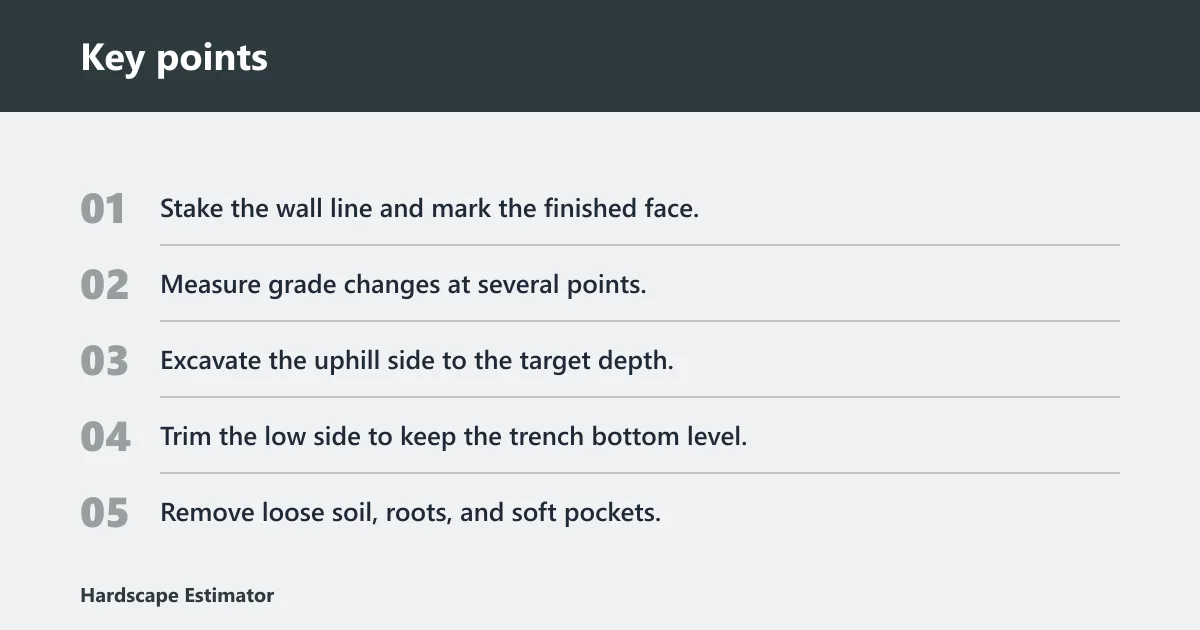
- Stake the wall line and mark the finished face.
- Measure grade changes at several points.
- Excavate the uphill side to the target depth.
- Trim the low side to keep the trench bottom level.
- Remove loose soil, roots, and soft pockets.
- Check the trench again before adding stone.
Clean loose soil and soft spots before base material goes
Loose soil under the base invites settlement, and slope sites often have more of it at the cut face or where fill was added. Remove anything that crumbles or pumps underfoot. If a section feels soft after excavation, dig it out and rebuild that spot with compacted stone instead of burying the problem.
How deep should the base be?
The trench needs enough depth for the buried first course and the compacted base below it. On sloped ground, that depth is measured from the finished wall line, not from the highest soil point. As a general layout rule, the first course should be buried beneath ground level.
Depth for the buried first course
The first course should sit partially below grade so the wall can resist movement and keep the face aligned. The buried portion helps lock the wall into the ground and gives the front edge a stable starting point. The exact depth depends on block height and retained grade, but it should not sit on loose topsoil.
Base thickness on sloped ground
The trench should include 6 extra inches for crushed stone. That base thickness needs to be compacted, not dumped loose, and the trench depth must account for both the buried course and the stone under it. If the slope forces a deeper cut at one end, keep the base thickness consistent from section to section.
For walls holding back a slope, deeper excavation may also be needed where the retained soil is higher. That extra depth can increase spoil volume quickly, so the worksheet above is worth filling out before the first shovel cut.
What changes when wall height increases
As wall height rises, the base and drainage demands rise with it. Slope work often takes longer because more time goes into the base and first course. Taller walls may also need reinforcement, engineering, or a different structural approach.
Build and compact the base
Use crushed stone or gravel base, installed in compacted lifts, to create a firm, level bearing surface. The key is to build the base in layers, then verify level before setting any block.
Use crushed stone or gravel in compacted lifts
Do not spread one loose layer and call it ready. Place the base stone in lifts, compact each lift, and recheck grade after compaction. On a slope, this matters even more because fill on the low side can settle faster than the cut side if it is not compacted well.
Compact with the right tool
A hand tamper can work for small areas, but a vibrating plate compactor is better for longer wall runs and denser base material. Compact until the stone feels firm and the trench no longer shifts underfoot. Then verify the top of the base is level front to back and end to end.
Check for a level bearing surface before setting block
The base does not need to match the slope outside the trench. It needs to support the wall evenly. A slight high spot under one block can throw off the first course, and on a sloped yard that error tends to repeat as the wall climbs. Correct the base now, not after the second course.
How do you keep the first course level on uneven ground?
Keep the first course level front-to-back and side-to-side with a string line, a torpedo level, and small base adjustments under each block. The first course sets the alignment for every upper course, so it must be level front-to-back and side-to-side even when the yard falls away. Partial burial is normal; tilt is not.
Use string line and torpedo level for alignment
Run a string line along the wall face and check each block against it. Then use a torpedo level on the block face and across the top. If one end of the trench is lower, adjust the base stone there rather than forcing the block to follow the grade.
Keep front-to-back and side-to-side level
Each block should sit flat. Front-to-back tilt pushes the wall face off plane, and side-to-side tilt creates a wave in the course that becomes more visible with every block above it. The first course is the control line for the entire wall, so stop and correct errors before stacking higher.
A common first-timer mistake is assuming a block that looks close is good enough. On a slope, “close” at the first course becomes obvious when the cap line starts wandering. Fixing it then usually means lifting several blocks and reworking the base.
How do you handle drainage when building a retaining wall on a slope?
Drainage behind the wall should include gravel backfill, filter fabric where needed, and perforated drain pipe when the layout calls for it. The goal is to keep water from building behind the wall or racing along the back of it. On a slope, runoff direction matters because water often follows the wall line.
Place filter fabric behind the drainage stone
Filter fabric separates soil from drainage stone and helps prevent fines from clogging the gravel. That separation matters more on sloped ground because moving water can carry fines toward the backfill zone. Keep the fabric continuous behind the wall where the system needs it, and overlap seams so soil cannot slip through gaps.
Add gravel backfill and perforated pipe where needed
Drainage can use crushed stone backfill or drain tile. Either way, the drainage zone needs a clear path for water to move down and out. If the wall retains a hillside or a wet section, a perforated pipe at the base can help route water to a safe outlet away from the wall.
Move water away from the wall and slope face
Good drainage is a chain and every link has to hold. That is especially true on a slope. If runoff from the hill is allowed to feed the back of the wall, hydrostatic pressure can rise quickly. Grade the top area so surface water sheds away from the wall, not into it.
What causes a retaining wall to fail on a slope?
Slope-driven failures usually start with bad preparation, not just stacking errors. Differential settlement, sliding fill, erosion, oversteep excavation faces, and trapped water behind the wall are the common pressure points. A wall can look fine at installation and still move if the base and drainage were not built for the site.
Differential settlement and sliding fill
When one section sits on cut native soil and another sits on poorly compacted fill, the wall can settle unevenly. That uneven movement opens joints, shifts the face, and can lead to a lean. Slope work is especially prone to this because fill is often deepest where the ground is lowest.
Erosion and oversteep excavation faces
If the uphill cut is left too steep or unprotected, rain can wash soil into the trench or undermine the wall’s back side. That erosion can remove support at the base. A bench cut and proper drainage reduce that risk by keeping loose soil out of the bearing area.
Water pressure behind the wall
Water is one of the fastest ways to damage a slope wall. If drainage is blocked, pressure builds behind the blocks and can push the wall outward. That is why the backfill, fabric, and outlet path all matter together. One missing link can undo the rest.
How do you make a retaining wall on a slope hold true?
Cut a level trench, compact the base in lifts, and set the first course dead level before adding drainage backfill or upper courses. That sequence matters more on a slope than on flat ground because the site tries to pull the wall out of line from the start. If the base is true, the rest of the wall can be checked and corrected as it rises.
For short residential walls built with interlocking concrete blocks, a stable base and good drainage are the main requirements. For taller walls, steeper slopes, or walls retaining significant grade, the design may need engineering, permits, or a different support system.
Frequently asked questions
How do you prepare the base for a retaining wall on a slope?
Measure the grade first, then cut a level bench into the hill so the trench bottom is flat even if the yard is not. Add 6 in. of compacted crushed stone or gravel, keep the first course buried beneath ground level, and check level before any upper courses go in.
How do you build a retaining wall on a sloping yard?
Lay out the wall with stakes and string, decide whether the layout should step or terrace, and then excavate a level trench on the bench. Compact the base in lifts, set the first course level, add drainage behind the wall, and backfill in layers as the wall rises.
What should the trench look like on a sloped retaining wall?
The trench should have a level bottom, clean sides, and enough width for the block system plus working room. On a slope, that often means a cut bench into the hill and, where needed, a stepped trench instead of one long shallow cut that follows the grade.
Do you need to terrace the slope before building a retaining wall?
Not always, but a terrace or stepped wall helps when the slope is too steep for a safe continuous bench. It reduces fill depth, limits settlement risk, and makes drainage easier to control. If the wall is tall or the slope is severe, engineering may be needed too.
How deep should the base be on a sloped retaining wall?
The trench must include the buried first course plus the compacted base, and the first course should be buried beneath ground level. The base below it should include 6 in. of compacted stone.