How to Install Cap Blocks on Corners and Curves
Set the cap layout from the wall geometry first. Then cut corner and curve caps so joint width, overhang, and alignment stay consistent. On curves, expect many small cuts, not one forced fit. Bad corner layout leaves uneven joints, wavy edges, and caps that look patched. This guide covers inside corners, outside corners, and curved walls, with cut mapping, measuring steps, and fitting checks.
What you’ll need
- Cap blocks for the wall top
- Masonry saw for clean cap cuts
- Scraps of wood for templates
- 3 in., 4 in., and 5 in. wood scraps
- Tape measure
- Pencil or marker
- Straightedge
- Square
- Adhesive approved for cap installation
- Clamps or light weights for hold-down during set
- Rubber mallet
- Safety glasses and hearing protection
- Dust mask or respirator rated for masonry dust
How do you plan the cut map?
Measure the wall run first, then mark every inside corner, outside corner, and radius change before you cut anything. A curved retaining wall can change radius along the run, and gap widths along the curve can vary too, so the layout should come before the saw. Track each segment separately so front reveal, back joint width, and overhang stay readable on paper before the first cut.
Measure the run and note radius changes
Lay out the cap course on paper or directly on the wall top. Mark the start and end of each straight section, then note where the curve tightens or opens. If the radius shifts, treat that as a new segment with its own fit check.
Check the joint at the front and back
Measure each joint width at both the front and back of the cap. Center the template on both faces of the gap. That keeps the face line from drifting and helps the cap sit square to the wall below it.
Mark inside corners and outside corners separately
Inside corners and outside corners need different cut logic. Inside corners usually call for a mitered or custom fit. Outside corners need precise cuts that preserve the visible edge, face line, and overhang. Mark them separately so one corner plan does not control the whole run.
Cap block worksheet
Cap blocks decision table
| Gap condition | Template width to try | Cut action | Fit check |
|---|---|---|---|
| Tight front and back match | 3 in. | Use as the first test template | Verify equal reveal on both faces |
| Moderate curve gap | 4 in. | Center the template and mark both sides | Check that overhang stays even |
| Wider curve gap | 5 in. | Trim to the marked cutline | Confirm no pinching at the back edge |
| Inside corner with offset | Use the closest scrap match | Plan a miter or custom trim | Dry-fit before adhesive |
| Outside corner with visible edge | Use the narrowest template that fits | Protect the face edge and overhang | Check both legs of the corner |
Dry-fit order of operations
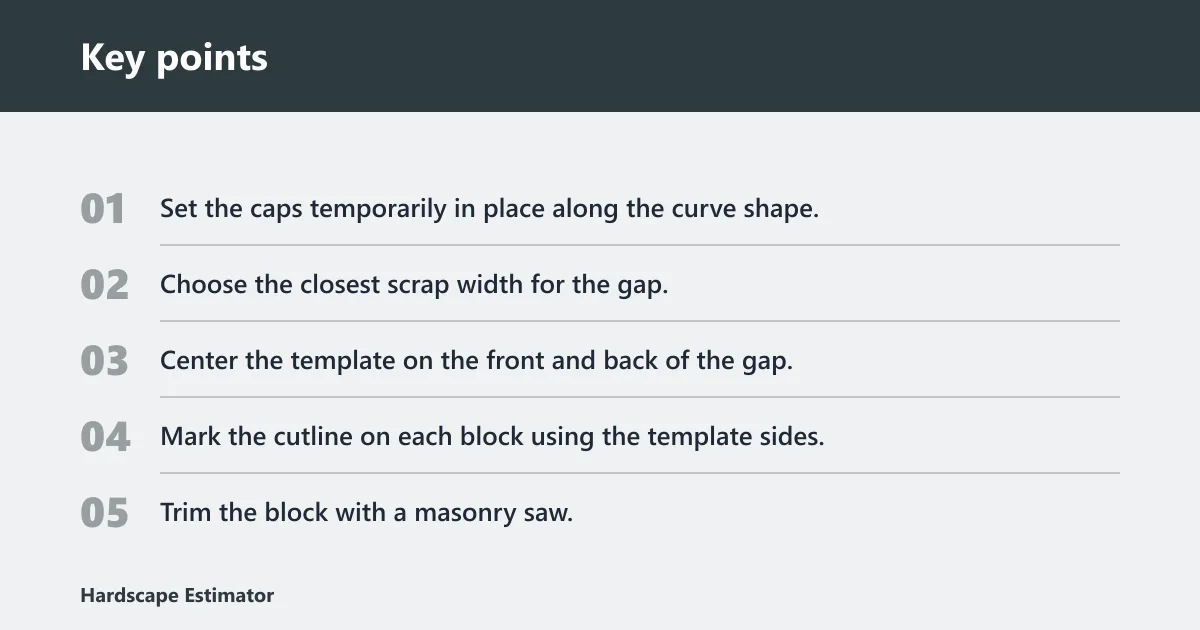
- Set the caps temporarily in place along the curve shape.
- Choose the closest scrap width for the gap.
- Center the template on the front and back of the gap.
- Mark the cutline on each block using the template sides.
- Trim the block with a masonry saw.
- Return the trimmed cap to the wall and check the fit again.
- Move to the next joint only after the fit holds the line.
Waste allowance by segment
| Segment type | Waste allowance | Backup piece note |
|---|---|---|
| Straight run | 1 extra cap per 20 linear ft | Use as a spare for a bad cut |
| Inside corner | 1 extra cap per corner pair | Keep one piece for final fit tuning |
| Outside corner | 1 extra cap per corner | Reserve for the visible edge cut |
| Changing-radius curve | 2 extra caps per 20 linear ft | Expect repeat trimming as the radius shifts |
Cap blocks checklist
- Measure front and back joint widths before cutting.
- Separate inside corner cuts from outside corner cuts.
- Note each radius change along the wall run.
- Choose a 3 in., 4 in., or 5 in. scrap template first.
- Check the block before adhesive goes on.
- Leave one backup cap for each corner or curve segment.
Cap blocks worksheet
| Segment ID | Type | Target joint width range | Front reveal check | Back joint check | Overhang check | Dry-fit no. | Per-segment waste | Notes |
|---|---|---|---|---|---|---|---|---|
| ____ | Straight / inside corner / outside corner / constant-radius / changing-radius | ____ to ____ | ____ | ____ | ____ | ____ | ____ | ____ |
| ____ | Straight / inside corner / outside corner / constant-radius / changing-radius | ____ to ____ | ____ | ____ | ____ | ____ | ____ | ____ |
| ____ | Straight / inside corner / outside corner / constant-radius / changing-radius | ____ to ____ | ____ | ____ | ____ | ____ | ____ | ____ |
| ____ | Straight / inside corner / outside corner / constant-radius / changing-radius | ____ to ____ | ____ | ____ | ____ | ____ | ____ | ____ |
Use this worksheet as a proof sheet before cutting. The target joint-width range should reflect the actual segment, not a generic number. Front reveal and back joint checks should stay on separate lines so you can see whether the cap needs to shift, rotate, or be recut. For changing-radius runs, record waste by segment so the next segment starts with enough backup pieces.
How do you cut and dry-fit corner caps?
Use a wood scrap template to match the gap, mark both sides of the joint, and cut only after the block has been checked in place. Cap blocks on a curved retaining wall will need to be trimmed to fit, and the template keeps the cut tied to the wall shape instead of guesswork.
Make a wood scrap template
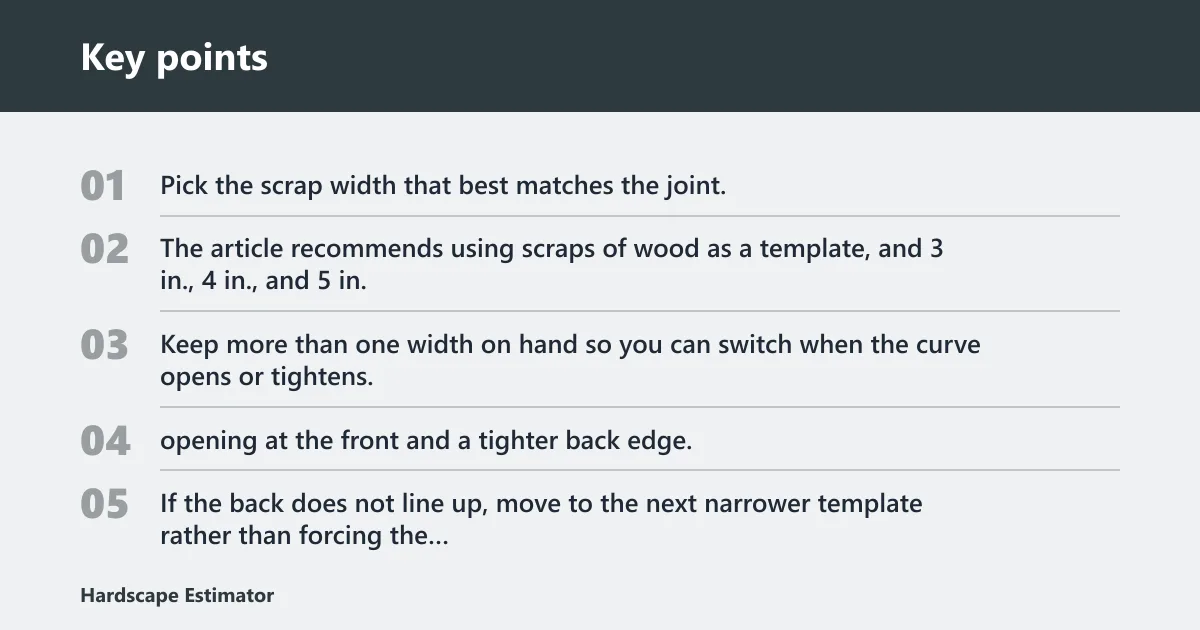
Pick the scrap width that best matches the joint. The article recommends using scraps of wood as a template, and 3 in., 4 in., and 5 in. are usually enough. Keep more than one width on hand so you can switch when the curve opens or tightens.
Say your inside corner leaves a 4 in. opening at the front and a tighter back edge. Start with the 4 in. scrap, then recheck the back before cutting. If the back does not line up, move to the next narrower template rather than forcing the fit.
Mark the cut line on each cap
Center the template on both the front and back of the gap, then trace the sides onto the cap face. That gives a cutline that follows the actual wall shape, not just the front view. Keep the pencil line clear and easy to read before the saw starts.
Trim with a masonry saw
Cut along the marked line with a masonry saw. Make the cut in one steady pass when possible, then clean the edge as needed. For outside corners, protect the visible edge and overhang first. For inside corners, test the miter or custom fit before moving on.
Dry-fit before adhesive
Put the trimmed cap back in place before adhesive goes on. A temporary fit catches a joint that is too wide at one end or too tight at the other. If the fit is off, adjust the cut now, not after the bond starts.
Inside corners
Inside corners usually need the tightest fit control because two wall runs meet and the joint can close differently at the front and back. Start with a dry-fit, then trim for the actual corner angle. Keep the front reveal consistent while letting the back joint absorb small angle changes.
Step list
- Measure both legs of the corner and note the front and back gap.
- Set a dry-fit cap at the corner without adhesive.
- Select the closest template width and mark both sides of the joint.
- Trim a miter or custom fit that matches the corner angle.
- Recheck the reveal on the face and the tightness at the back edge.
- Install only after the cap sits flat on both legs.
Cut-plan checklist: measure the corner
- Measure the corner from both directions.
- Compare the front reveal to the back joint before cutting.
- Trim the cap so the front line stays even.
- Allow the back joint to absorb the angle difference.
- Dry-fit both adjoining caps before adhesive.
Outside corners
Outside corners are the most visible part of the run, so the cut should protect the face edge and keep the overhang even. When the corner is broad, an uncut cap may work if the reveal stays consistent. If the corner is tighter, trim one cap or split the difference across two adjacent joints so neither edge looks forced.
Step list: mark the outside corner
- Mark the outside corner and check how much the wall turns.
- Dry-fit a full cap first if the turn is broad.
- If the cap overhang and reveal stay even, leave it uncut.
- If not, decide whether to trim one cap or split the adjustment across adjacent joints.
- Cut only enough to preserve the visible edge.
- Reset the cap and recheck both legs of the corner.
Cut-plan checklist: confirm whether the corner
- Confirm whether the corner is broad enough for an uncut cap.
- Keep the front reveal aligned across both legs.
- Use the least visible trim option first.
- Trim one cap when one side can absorb the change cleanly.
- Split the difference across adjacent joints when a single trim would make one joint look oversized.
Constant-radius curves
A constant-radius curve repeats the same geometry through the run, so the joint pattern should stay consistent once the first segment is set. Use one template width as the baseline, then confirm that the front reveal and back joint repeat. If the cap lands cleanly, broad curves may accept an uncut cap before any trimming is needed.
Step list: confirm the curve holds
- Confirm the curve holds the same radius through the segment.
- Set the first cap as the reference piece.
- Check whether a full cap keeps the same reveal and overhang.
- If needed, mark and trim using the same template width for repeated joints.
- Dry-fit the next cap against the first to verify the pattern holds.
- Continue only after the joint spacing stays even.
Cut-plan checklist: verify that the curve does
- Verify that the curve does not change radius within the segment.
- Use the first cap as the repeat pattern.
- Keep the front reveal consistent from cap to cap.
- Use an uncut cap on broad curves only when the reveal and overhang stay true.
- Recheck the next joint before adhesive.
Changing-radius curves
Changing-radius curves need the most layout checks because the front reveal can stay steady while the back joint opens or closes as the curve shifts. Treat each radius change as its own segment. When the curve tightens, trim more at the back side; when it opens, let the front remain consistent and reset the cut so the joint math matches the new shape.
Step list: mark every radius change before
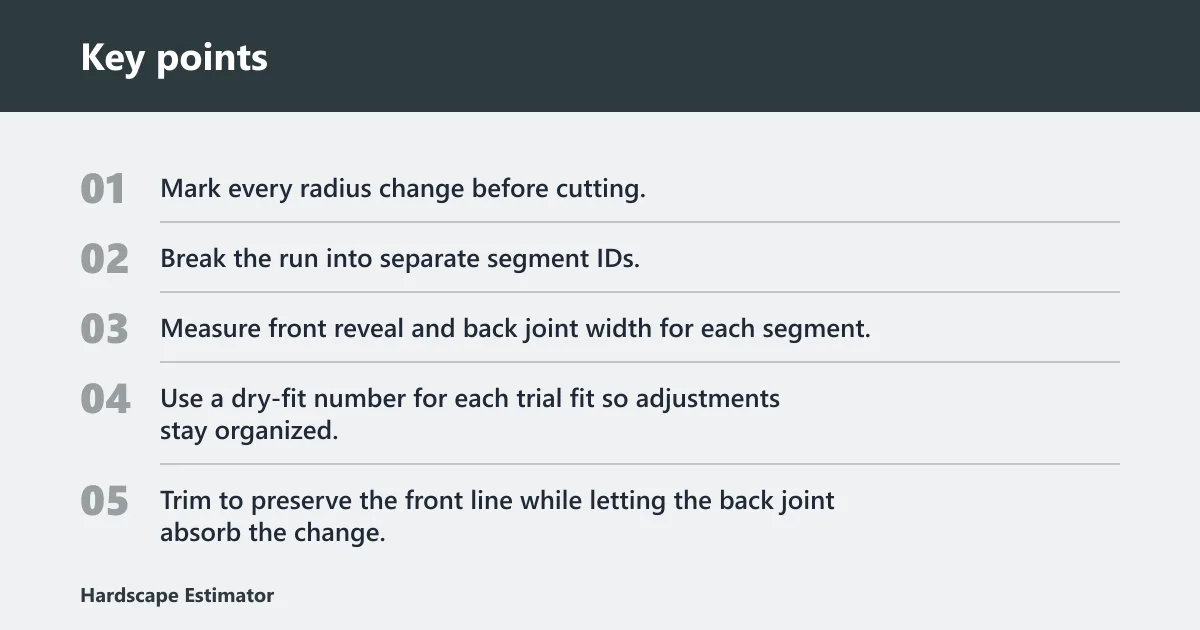
- Mark every radius change before cutting.
- Break the run into separate segment IDs.
- Measure front reveal and back joint width for each segment.
- Use a dry-fit number for each trial fit so adjustments stay organized.
- Trim to preserve the front line while letting the back joint absorb the change.
- Record waste for that segment before moving to the next one.
Cut-plan checklist: recheck the joint
- Recheck the joint when the radius tightens or opens.
- Keep the front reveal visually continuous across segments.
- Allow the back joint to take the radius change instead of chasing the front edge.
- Assign a new segment ID at every radius shift.
- Log per-segment waste so the next section starts with enough backup caps.
How to choose between trimming one cap and splitting the difference
Trim one cap when the correction can happen without changing the visible line at the face. Split the difference across adjacent joints when one trim would make a single joint look too wide, too tight, or off-center. The goal is a steady reveal across the wall, not a perfect correction isolated to one piece.
How do you set caps on curves and corners?
Start at the control point, confirm the final fit, then apply adhesive and reset the cap in the same location. The finished cap row should match the course of regular blocks below it. That visual match matters more on curves, where small errors stack quickly.
Start at the control point
Pick the most visible corner, tightest radius point, or longest straight reference as the control point. Set that cap first after the dry-fit is confirmed. From there, work outward in both directions so each next piece keys off the last one.
Place adhesive after the final fit is confirmed
Do not bond a cap until the joint width, face line, and overhang look right in dry-fit. Inside corners usually need one final check before adhesive sets. Outside corners need the same check because the visible edge is unforgiving once the bond starts.
Keep the face line and overhang consistent
Check the front edge and the back edge together. If the front looks good but the back opens up, the cap will read crooked from above. Keep each joint aligned to the wall below it, even if that means a second trim.
Check each joint before moving
After each cap is set, check the next joint gap and adjust the template if the radius changes. A common first-timer mistake is assuming the next gap will match the last one. On a changing-radius curve, it often will not.
Common mistakes
- Cutting before measuring both sides of the joint. Measure front and back first.
- Skipping fit checks on changing-radius curves. Check each segment before adhesive.
- Locking in a bad corner fit with adhesive. Recut before the bond starts.
- Ignoring waste for corner and curve segments. Add backup caps before the run begins.
- Using one template width for every gap. Switch between 3 in., 4 in., and 5 in. scraps as the wall changes.
For example, a 24 ft curve may tighten near the middle, and the gap can open from about 3 in. to about 5 in. over three caps. Keep the first cap as a reference, then remeasure the front and back of the next joint before every cut. That prevents a chain of mismatched caps.
Keep a running cut map and mark every radius change before the saw work starts. That is faster than trying to fix a drifting joint line after adhesive has already gone down.
Frequently asked questions
How do you install cap blocks on inside and outside corners?
Inside corners usually need a mitered or custom fit, while outside corners need precise cuts that protect the visible edge and overhang. Check the corner dry first, mark both sides of the gap, and do not apply adhesive until the face line and joint width match on both legs.
How do you fit cap blocks to a curved retaining wall?
Measure the curve in segments, because the radius may change along the run. Use a wood scrap template, center it on the front and back of the gap, mark the cutline, and trim with a masonry saw. Recheck each cap before setting it permanently.
Do cap blocks need to be cut on curves?
Yes. Cap blocks on a curved retaining wall will need to be trimmed to fit. Curves create changing gap widths, so a full-size block usually will not land cleanly without cutting. The best result comes from repeat fit, mark, cut, and recheck steps.
What is the easiest way to template cap block cuts?
Use scraps of wood in 3 in., 4 in., and 5 in. widths. Pick the closest match, center it on both the front and back of the gap, then trace the sides. That gives a fast, repeatable guide for the saw.
How do you keep cap block joints consistent around a curve?
Measure each joint at the front and back, not just one point. When the radius shifts, switch template widths and update the cut map. Keep the cap row aligned to the course below it so the joints read even from above and from the face.
What tools do you need to cut cap blocks cleanly?
You need a masonry saw, a pencil, a straightedge, a tape measure, and wood scraps for templating. Safety glasses and hearing protection should be on hand too. The cut comes after the template check, not before it.
Sources
- OSHA, Respirable Crystalline Silica standard for construction, 29 CFR 1926.1153: https://www.osha.gov/silica-crystalline/construction
- OSHA, Table 1 compliance guidance for masonry saw cutting and dust control: https://www.osha.gov/silica-crystalline/table-1
- NIOSH, Controls for Silica Dust in Construction: https://www.cdc.gov/niosh/topics/silica/controls.html
- ANSI B7.1, Safety Requirements for the Use, Care, and Protection of Abrasive Wheels: https://www.ansi.org/
- Manufacturer installation instructions for the specific cap block, adhesive, and saw blade in use, including cure time, coverage, and temperature limits