Why Are My Cap Blocks Loose or Cracked, and How Do I Fix Them?
Loose or cracked cap blocks usually point to one of three problems: failed adhesive, wall movement, or water damage. The fix is to remove the loose caps, correct the cause, and reinstall with the right adhesive or replacement block. Skip the diagnosis, and the caps can keep shifting, crack again, or let water reach the wall. This guide shows how to tell which failure you have and which repair matches it.
Why cap blocks fail
Cap blocks are precast concrete or stone units that form the top course of a retaining wall. They commonly overhang the wall face by about 1/2 in to 1 in, depending on the block profile, so the bond line sits near the middle rather than at the edge. When they fail, the visible problem is often in the cap, but the root cause may be below it.
Adhesion failure
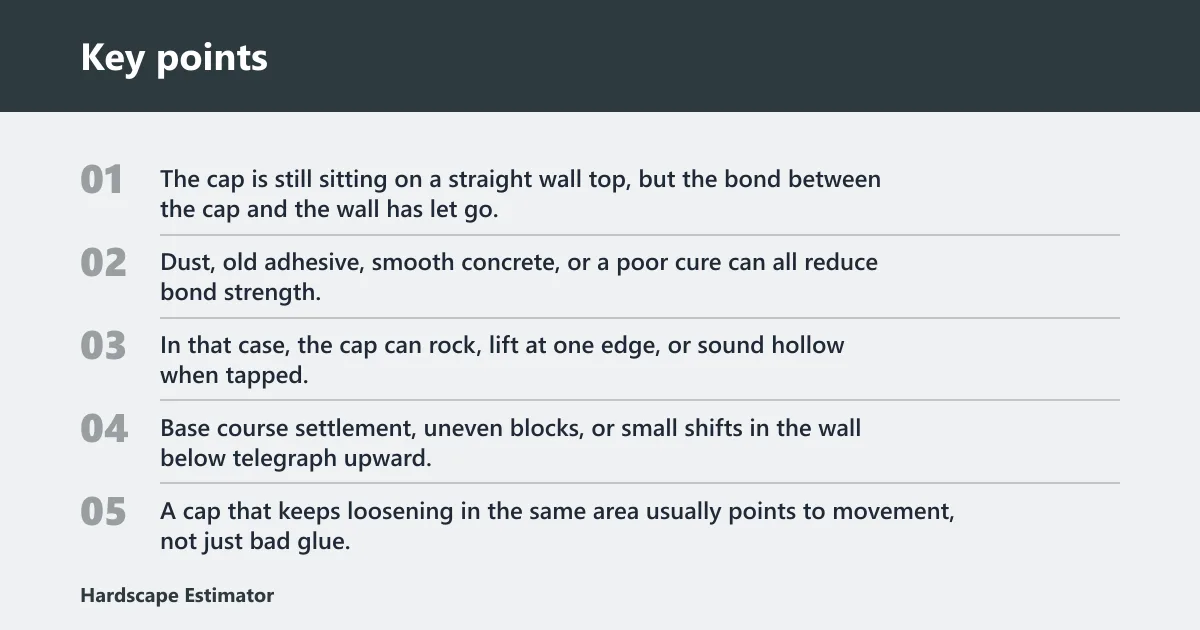
Adhesion failure is the simplest case. The cap is still sitting on a straight wall top, but the bond between the cap and the wall has let go. Dust, old adhesive, smooth concrete, or a poor cure can all reduce bond strength. In that case, the cap can rock, lift at one edge, or sound hollow when tapped.
Wall movement
If the wall top is no longer level, the cap line can crack or separate even when the adhesive is still attached in spots. Base course settlement, uneven blocks, or small shifts in the wall below telegraph upward. A cap that keeps loosening in the same area usually points to movement, not just bad glue.
Water and freeze-thaw damage
Water behind or under the cap can break the repair apart. Freeze-thaw cycling expands trapped moisture, which can pry a cap loose, widen a crack, or spall the edge. Drainage problems, clogged weep paths, and downspout runoff aimed at the wall make repeat failure more likely, especially in colder regions.
How to tell if the cap is loose or the wall moved
Start with the symptom, then check the wall top, the base course, and the drainage path below. A loose cap on a level wall can usually be reset. A loose cap on a wall with settlement or heave needs more than adhesive, because the bond will fail again if the support keeps moving.
Check for hollow spots and rocking
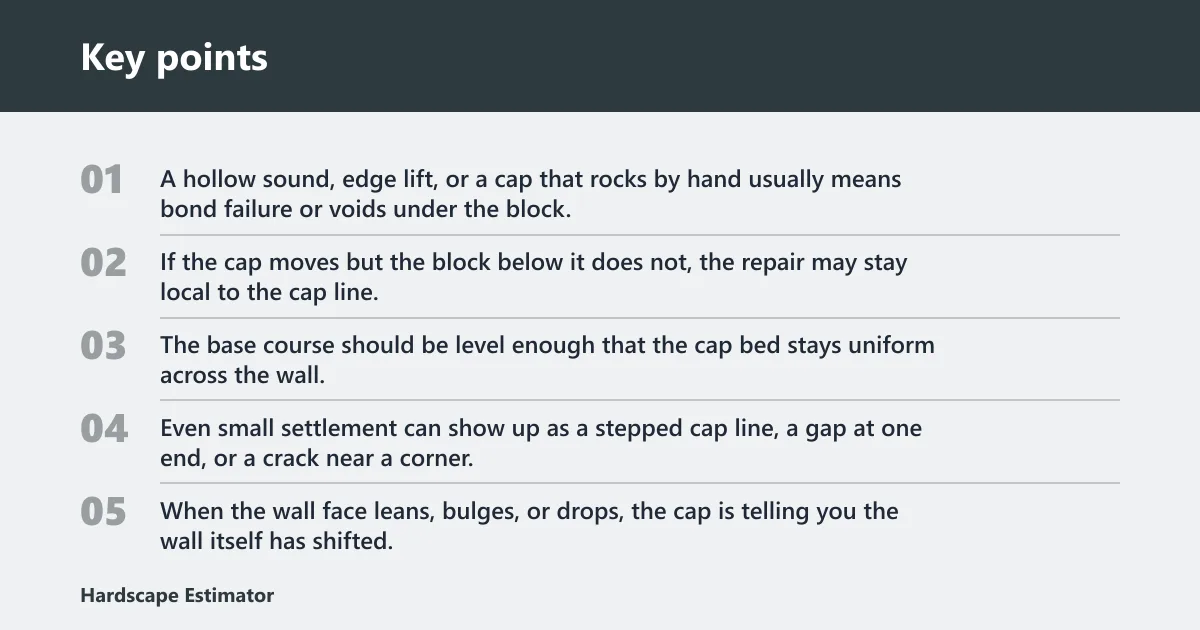
Tap the cap gently. A hollow sound, edge lift, or a cap that rocks by hand usually means bond failure or voids under the block. If the cap moves but the block below it does not, the repair may stay local to the cap line. If the whole top feels uneven, look lower.
Look for base course settlement
The base course should be level enough that the cap bed stays uniform across the wall. Even small settlement can show up as a stepped cap line, a gap at one end, or a crack near a corner. When the wall face leans, bulges, or drops, the cap is telling you the wall itself has shifted.
Look for drainage clues
Wet soil, missing weep paths, stained joints, and runoff from a roof downspout are common clues. If water has nowhere to go, hydrostatic pressure builds behind the wall and pushes on the cap line from below. After winter, repeated wetting and freezing can make the same spot fail again even after a fresh bond.
| Symptom | Likely cause | DIY fix | Replace/reset threshold | Prevention step |
|---|---|---|---|---|
| Loose-only cap | Adhesive failure, dust, or poor bond | Remove the cap, clean both faces, apply exterior-rated adhesive, and reset on a level bed | Reset is fine if the wall top is level and the cap is not cracked | Use a clean bond surface and proper cure time |
| Hairline crack | Minor stress or seasonal movement | Seal only if the crack is stable and the cap still fits tightly | Replace if the crack grows or opens at the joint | Keep water out of the seam |
| Full-thickness crack | Movement, impact, or freeze-thaw damage | Remove and replace the cap block | Replace rather than patch | Correct settlement and drainage before reinstalling |
| Corner cap | More exposure and edge stress | Replace with a matching corner unit if available | Replace when both exposed edges are compromised | Use matched color and texture on visible corners |
| Cap with hollow spots | Void under the block or uneven bed | Lift, scrape, and reset on a more even bed | Relevel if more than one cap shows the same pattern | Check the wall top before bonding |
| Cap with white residue | Efflorescence from moisture migration | Dry the area, brush off residue, and fix the water source | Replace only if residue comes with cracking or face loss | Improve drainage and cap joint sealing |
| After winter heave | Freeze-thaw movement under or behind the cap | Reset after the wall thaws and the base is stable | Rebuild if the wall top has shifted out of plane | Stop water entry before the next freeze cycle |
| After drainage failure | Hydrostatic pressure and saturated backfill | Repair drainage, then reset or replace the cap | Repair the wall structure if movement continues | Restore weep paths and manage runoff |
What to clean out before resetting a cap
Old adhesive, mortar crumbs, dust, and loose fragments all weaken the next repair. A reset works only when the new bond lands on sound material. If the old adhesive is brittle, thick, or uneven, scrape it off before the new cap goes back on.
Old adhesive and mortar residue
Remove anything loose or raised with a pry bar, hammer and chisel, or a scraper that will not gouge the block. Thinset residue and old masonry adhesive both need to come off until the surface is sound. A wire brush helps break the last film of debris free.
Dust, efflorescence, and debris
Use a masonry vacuum after brushing to clear the joint. Dust left in the joint can act like a release layer, and white residue can keep the adhesive from wetting the surface. If the wall is damp, let it dry before bonding; moisture in the bed can reduce adhesion and slow cure.
Broken edges and loose fragments
Any crumbly edge under the cap should be removed, not buried under adhesive. Small chips are one thing. Loose fragments under a load-bearing cap are another. If the top of the wall cannot hold a flat bed after cleaning, the wall top may need repair before the cap goes back on.
-
Lift the loose cap.
Pry up the block carefully so the edges do not break further. If the cap is stuck in one corner, work a chisel under the bond line instead of forcing the whole piece. -
Clean the bond faces.
Scrape off old adhesive, brush away dust, and vacuum the surface. The cleaner the bond line, the less likely the repair is to fail at the same spot. -
Check the wall top.
Lay a straightedge across the top course and look for rocking, dips, or a tilted run. If the wall is out of level, resetting the cap without correction will often recreate the same gap.
How do I fix a loose cap block?
A loose cap block can often be reattached without rebuilding the wall, but only if the wall top is stable and the cap is not cracked through. Use exterior-rated construction adhesive, polyurethane adhesive, or a masonry adhesive suited to the block and temperature. If the wall top is uneven, reset the cap on a leveled bed first.
Choose adhesive or mortar
Construction adhesive works well for many cap resets because it bonds to concrete block or segmental wall units and can tolerate small irregularities. Polyurethane products usually stay flexible and handle slight movement better than rigid mortars. Thinset is better for a tighter, flatter bed with small joint thickness, while masonry adhesive is often simpler for cap-to-cap or cap-to-wall bonding.
Check the label for open time, cure time, and temperature limits. If the product is too cold for the site, it may not wet the surface well or may cure slowly enough that the cap shifts before it grabs.
Reset the cap on a level bed
Use enough adhesive to make full contact, but not so much that the cap floats or skates sideways. Many cap systems leave a small overhang, so center the block and keep the front line even. For a visible seam, a polymeric sand or caulk joint filler can finish the joint if the width matches the product and the seam is not carrying structure.
Say a 12 in by 24 in cap rocks on one corner but the wall top is flat. That usually points to bond failure, not wall movement. Clean the surfaces, reset the cap with an exterior-rated adhesive, and hold it in place with weight until the adhesive cures.
Clamp or weight it until cure
Weight keeps the cap from creeping while the adhesive sets. Use a rubber mallet to seat the block, then check the face and the overhang again before the adhesive skins over. Keep traffic, hoses, and cleaning tools off the repair until the product reaches full cure.
A common first-timer mistake is using too little adhesive on a cap with a rough underside. That leaves voids, and voids let water move under the block. In a freeze-thaw climate, the same void can open the joint again during the first cold spell.
When should a cracked cap be replaced?
Hairline cracks may be repairable if they are stable and the cap still fits the wall cleanly. Full-thickness cracks are different. If the crack runs all the way through the block, or if the piece has split at a corner, replacement is usually the cleaner and longer-lasting choice.
Hairline cracks versus full-thickness cracks
Hairline cracks can sometimes be sealed if they are not moving and the cap remains sound. Cracks that appear to run through the full thickness are usually treated differently from cosmetic chips, since they may let water pass through the block and can widen with seasonal movement. If the crack is active, replacement is safer than patching.
Corner caps and matching issues
Corner caps take more exposure, more edge wear, and more visible mismatch. When a corner unit cracks, match color and texture as closely as possible, because that location is hard to hide. If the exact replacement is unavailable, a full-piece replacement is still better than a partial patch that will telegraph through the finish.
Partial patch versus full replacement
Partial repair makes sense for chips, shallow edge loss, or a surface scratch. It does not make sense for a split block, a broken nose, or a crack that passes through the full thickness. If the cap is structurally compromised, replace the single piece rather than trying to glue the fracture together and hoping it holds.
Suppose a cap has a crack that reaches from the front edge to the back edge and opens when pressed. That is a replace-now case. A surface chip at the same spot could be filled, but a through-crack can keep admitting water and fail again after the next freeze cycle.
-
Sort the damage type.
Decide whether the cap is loose, cracked, chipped, or moved out of plane. That choice determines whether you reset, patch, or replace. -
Match the fix to the cause.
Use adhesive for a sound, level wall top. Use reset and relevel work when the cap line is out of plane. Replace the block when the crack runs through the full thickness. -
Finish the visible seam.
Fill only the joint the product is meant to fill. Polymeric sand or caulk can help at narrow, non-structural seams, but it should not be treated as the cure for movement.
How do I stop water from loosening cap blocks again?
Stop the water first. Adhesive alone will not solve a wall that keeps getting wet from behind, from above, or from the base. Keep the backfill drained, restore the weep path, and move roof runoff away from the wall so the cap line is not constantly exposed to moisture and freeze-thaw cycling.
Fix the drainage path
Clear blocked weeps, open the backfill path behind the wall, and check whether the base is sitting in wet soil. Hydrostatic pressure pushes moisture toward the cap joints, especially after rain. If the drain outlet is buried or clogged, the wall can stay wet long after the surface looks dry.
Redirect downspouts and runoff
Downspouts that dump near a retaining wall can saturate the area behind it. Move runoff away so the wall does not act like a catch basin. If the cap failure happened after a storm, the drainage route is part of the repair, not an optional add-on.
Account for freeze-thaw cycling
Freeze-thaw cycling matters most where winter temperatures swing above and below freezing. Water in the joint expands when it freezes, which can crack a cap, loosen the adhesive, or spall the edges. In colder regions, any repair that leaves water trapped in the seam is likely to fail again.
Do I need to relevel the wall top before reinstalling cap blocks?
If the wall top is out of level, it is usually worth releveling it before reinstalling cap blocks. Releveling is the right move when the cap line shows settlement, rocking, or repeated bond failure in the same area. A level wall top gives the adhesive a flat, consistent bed. A tilted or uneven top makes every reset harder to keep in place.
Levelness tolerance is not about perfection; it is about whether the cap can sit fully supported. If several caps rock, the issue is likely the wall, not the glue. If only one cap is loose and the surrounding course is flat, a reset may be enough without deeper work.
Frequently asked questions
Why are my cap blocks loose on top of the wall?
Loose caps usually mean the bond failed, the wall moved, or water worked into the joint. Check whether the cap rocks on a flat wall top or sits above a stepped, uneven course. If the wall is stable, cleaning and re-bonding may solve it. If it is not, reset the wall top first.
What causes cap blocks to crack after installation?
Cracks after installation usually come from movement, freeze-thaw cycling, impact, or poor support under the cap. A crack that runs through the full thickness is more serious than a hairline surface line. If moisture is getting into the block and freezing, the crack can widen faster each season.
Can I reattach a loose cap block without rebuilding the wall?
Yes, if the wall top is level, sound, and dry. Remove the cap, clean off old adhesive and debris, then reset it with an exterior-rated adhesive or suitable mortar bed. If the wall shows settlement, leaning, or repeated movement, reattachment alone is likely to fail again.
Should I remove old adhesive before resetting cap blocks?
Yes. Old adhesive that is loose, brittle, or uneven weakens the new bond. Scrape, brush, and vacuum the surface until only sound material remains. A thin residue that is firmly bonded may stay, but any flaky layer, dust, or loose chunk should come off before the reset.
What is the best adhesive for repairing loose cap blocks?
Use an exterior-rated adhesive that fits the cap material, the joint width, and the temperature range on the label. Polyurethane products are often a good choice where slight movement is expected, while masonry adhesives can work well on flatter, more stable beds. No single product is right for every wall.
When is a cracked cap block repairable versus replaceable?
Hairline cracks, small edge chips, and stable surface damage can sometimes be repaired. A full-thickness crack, a broken corner, or a cap that has split under load should be replaced. If the crack opens when pressed, or if the piece no longer sits flat, replacement is the safer call.