How to Prepare Soil for a New Raised Bed
Prepare a new raised bed by leveling the base, filling it to 1–2 in below the rim, and using a mix that is mostly screened topsoil with compost and drainage material. Poor prep can leave the bed waterlogged, uneven, and short on soil after the first watering. This guide covers base prep, soil mix ratios, fill depth, settling, and first-season maintenance.
What a new raised bed needs first
Start with the site, not the soil bag. Confirm whether the bed sits on native soil, gravel, patio, or another hard surface, then check level, watering access, and where runoff will go. Raised beds are typically 2- to 4-ft. wide, so the work starts with reach and drainage, not fill depth alone. (UMD)
An open-bottom raised bed can work on many sites, but the prep changes by base type. A bed on native soil can connect with the ground below. A bed on gravel or a patio has to manage drainage and hose access on its own.
Check the bed location and base type
Look at what is under the bed before any soil goes in. Native soil may need loosening or improvement. Compacted ground can slow drainage and reduce root growth. Hardscape surfaces need a stable base and a plan for water so the bed does not trap moisture.
If the bed is already built, check for rocking, gaps, and low corners. A bed that is not level will settle unevenly, and one side can end up deeper than the other after watering.
Confirm width, height, and access before filling
Make sure the bed is still practical to reach from both sides. Beds wider than about 4 ft. can be hard to work from the edges, which matters when planting, weeding, and top-dressing. Height also matters because beds are often 2- to 12-in. high, and shallow beds dry out faster than deeper ones.
Plan hose routing, drip line placement, and watering access before the final fill. If the bed sits across a path or hard surface, decide how water will get there without dragging hoses over planting space.
Decide whether the bed will sit on native soil or hardscape
On native soil, the bed can borrow drainage and root access from below. On gravel, concrete, or patio pavers, the bed depends more on the mix you put inside it. That changes how much compost and aeration material you need, and whether a barrier belongs under the bed.
A common first-timer mistake is to pack a newly built raised bed with dense clay and assume rainwater will move through it without adding compost or coarse material. It will not. The mix has to do more of the drainage work in that setup.
📊 Raised beds are typically 2- to 4-ft. wide. Source: UMD.
How deep should raised bed soil be?
Use the crop’s root depth to choose the fill height. Many gardeners prefer 10-12 inches deep for vegetables, while deeper beds of 18-24 inches suit root vegetables. Shallow beds can still work, but they dry faster and leave less room for roots, watering, and mulch.
Leave headspace below the rim so water does not spill over and mulch has room to sit after planting. A 12-inch bed is often filled to about 10-11 inches initially, since fresh fills may settle by roughly 10-25% in the first month.
Match depth to crop root needs
Leafy greens, herbs, and many salad crops can do well in 10-12 inches of prepared soil. Carrots, beets, parsnips, and other root crops are better in 18-24 inches. Deeper soil also gives plants more water storage between irrigations.
Soil depth matters more than bed height alone. A tall-looking bed that is only half filled does not give roots the space or moisture reserve they need.
Leave headspace below the rim
Plan for 1–2 in of empty space below the top edge of the bed after the final fill and watering. That space helps keep mulch in place, keeps water from washing over the sides, and leaves room for a seasonal compost top-dress later.
Suppose a 12-inch-tall bed is filled flush to the rim on day one. After one heavy watering, the surface drops and leaves a shallow depression along the edge. That makes irrigation harder and wastes mix that should have stayed in the bed.
Plan for settling before you buy
Fresh fills settle as particles pack together, and the first month is when the drop is most noticeable. Build that into the purchase amount. If the target is a 10-11 inch initial fill in a 12-inch bed, do not buy for a final flush-to-the-top height.
Raised bed checklist
Use this checklist before you order mix or dump material into the frame. It keeps the prep sequence in the right order and reduces overbuying, weak settling, and drainage problems later.
| Check | What to confirm | Why it matters |
|---|---|---|
| Bed size | Length, width, and target fill depth | Sets volume, bag count, and root space |
| Base condition | Level, drainage, and whether the bed sits on native soil or hardscape | Controls settling and water movement |
| Weed suppression | Cardboard or newspaper on soil sites, or skip a barrier where drainage could be blocked | Helps stop grass and weeds from coming up |
| Material mix | Screened topsoil, compost, and aeration material | Gives fertility, structure, and air space |
| Volume estimate | Cubic feet, cubic yards, and allowance for settling | Prevents underbuying or waste |
| First-season top-dress | Planned compost amount after fill | Restores surface level after settling |
| Safety check | Lead testing for food beds and soil test for existing garden soil | Flags contamination and nutrient issues before planting |
What should go under raised bed soil?
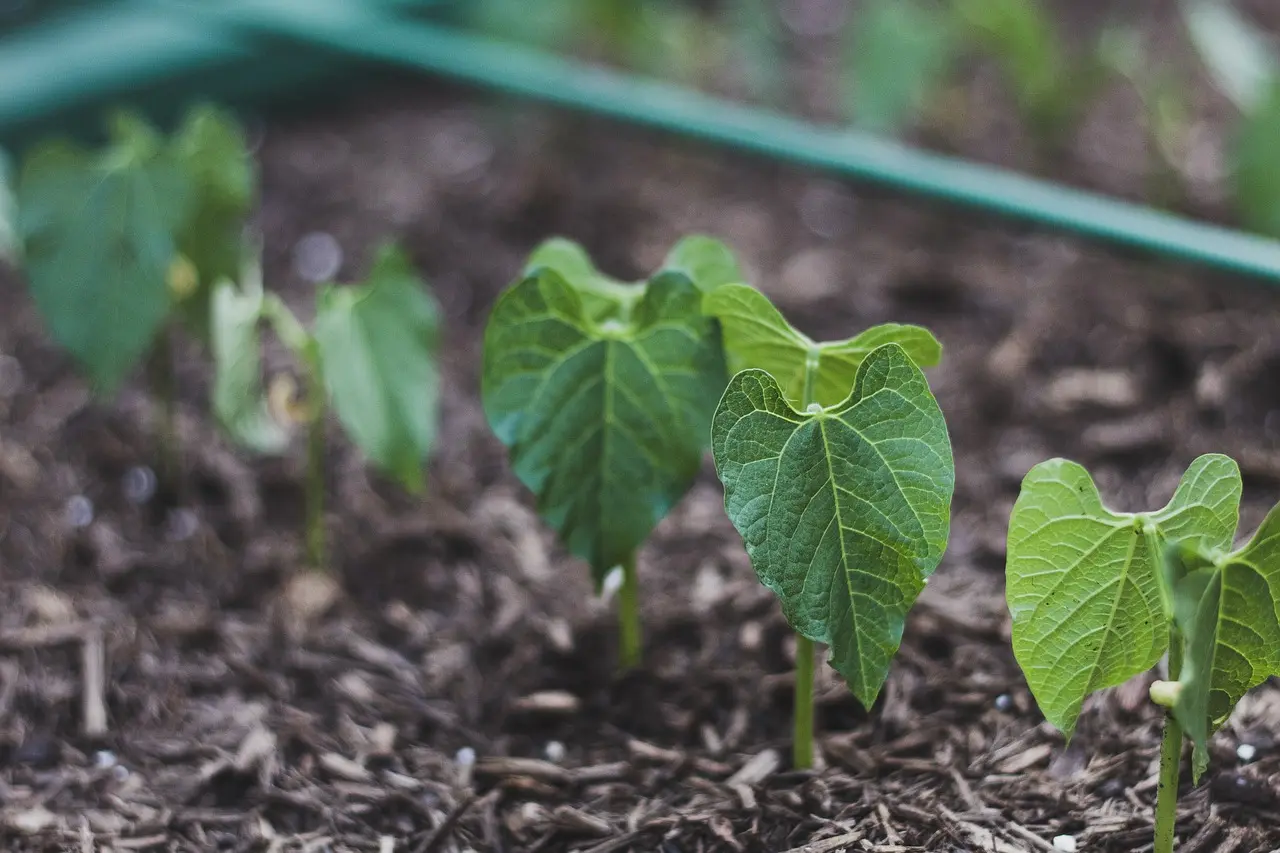
Put down cardboard or newspaper on a soil site when the goal is weed and grass suppression, then overlap the pieces and wet them thoroughly. Skip extra layers if they would block drainage on a patio, gravel base, or other hardscape. Keep drains, vents, and irrigation paths clear at the edges.
What goes under the soil depends on the base. On ground, a suppression layer helps with weeds. On hard surfaces, the main concern is drainage and water routing, not blocking the surface with an extra barrier.
Use cardboard or newspaper on soil sites
Cardboard should be overlapped and wet thoroughly so it stays in place and starts breaking down. Newspaper can do the same job if it is laid in enough layers to cover gaps. Either option helps suppress grass and weeds under a new bed.
Do not bury large woody material in the base. Large pieces should not exceed 2-3 inches, or they can leave voids and slow settling in the first season.
When to skip a barrier
Skip cardboard or newspaper if the bed sits on a patio, concrete, or another surface where a barrier could interfere with drainage or leave a wet layer against the base. In those layouts, the mix and drainage plan matter more than weed suppression below the frame.
If the bed is on gravel, the right answer depends on the gravel depth, drainage path, and whether weeds are coming through from below. A thin barrier may help with debris, but it should not block water movement.
Keep drains and irrigation clear
Before the final fill, confirm where the drip line or hose will enter the bed and where excess water can move away. Irrigation is easier to install before the bed is fully topped off, especially when the layout passes under a path or along a hard edge.
Water source access matters because a raised bed dries from the top and edges first. A bed that is hard to water will usually need more frequent irrigation, especially in the first season.
How do you make soil for a raised bed?
Use screened topsoil as the base, then blend in compost for fertility and an aeration amendment such as coco coir, vermiculite, or perlite. Avoid plain fill dirt. For many beds, a common approach is a mix that is mostly topsoil with compost and a lighter component to keep air spaces open.
The exact ratio can vary. Fill ratio can be 1:2 or 1:1, depending on the crop, the site, and the quality of the base soil. If existing garden soil is part of the plan, a soil test is recommended, and lead testing is advised for food beds.
Use screened topsoil as the base
Choose screened, loamy topsoil when possible. It gives structure without the rocks and clods that make planting harder. Cheap topsoil alone is a problem when it is too heavy, too sandy, or low in organic matter.
Topsoil should be the backbone of the mix, not the only ingredient. Alone, it can settle hard or drain poorly.
Blend in compost for fertility
Compost feeds soil biology and improves moisture holding. A common top layer is 3-4 inches of compost, and the next layer is often 4-6 inches of topsoil in deeper fill builds. That is a useful way to think about volume when making a bed mix from bulk materials.
Compost also works later as a top-dress. That is one reason to leave headspace below the rim instead of filling the bed flush.
Add coco coir, vermiculite, or perlite
Coco coir helps retain moisture without packing the bed tight. Vermiculite and perlite both add air space and drainage, which is useful when the bed sits on hardscape or when the native soil below drains slowly.
These materials are not mandatory in every bed. They matter most when the mix would otherwise hold too much water or become dense after settling.
How much soil do you need?
Calculate bed volume before buying anything. Multiply length by width by planned fill depth in feet to get cubic feet, then divide by 27 for cubic yards. That number should include the target fill height and a little extra for settling.
A 4-by-8-by-12-inch bed needs 32 cubic feet, which is about 1.2 cubic yards. That is a useful reference point for a common vegetable bed size.
Use the volume formula
Convert inches to feet before calculating. A bed that is 4 ft. long, 8 ft. wide, and 12 in. deep is 4 × 8 × 1 = 32 cubic feet. A 10-11 inch initial fill in that same bed will require slightly less than a full 12-inch fill, but the extra room should be reserved for settling and top-dress.
Convert to cubic yards
Bulk suppliers usually quote by the cubic yard. Divide cubic feet by 27 to get cubic yards. For the 4-by-8-by-12-inch example, 32 divided by 27 equals about 1.2 cubic yards.
That number helps with delivery planning. It also keeps the order close to the real need instead of guessing by truck load or bag stack.
Estimate bag count for small beds
For small beds, bag counts can be easier than bulk delivery. Use the bag label’s cubic-foot yield, then round up. Leave a little extra for settling and for topping off low spots after the first watering.
How to fill and settle the bed
Fill the bed in lifts, water each layer, and check the surface again after it settles. Fresh fills can drop 10-25% in the first month, so the surface should be checked before planting and after the first soak. Top off low spots before seeds or transplants go in.
Watering in layers helps the mix pack evenly instead of slumping in one corner. That matters most in deeper beds and in beds with a lot of compost, coir, or aeration material.
Fill in lifts and water each layer
Add soil in 4-6 inch lifts if possible, then water lightly enough to settle the mix without washing fine particles to the bottom. This reduces large voids and makes the finished surface more stable.
For a deeper bed, start with the bottom layer, wet it, then add the next layer. Do not dump the entire height in one pass and hope it will settle evenly.
Watch for settling after the first soak
After the first thorough watering, look for low spots near corners and along the frame. Those spots are where the surface usually drops first. Add mix there before planting if the bed has fallen more than expected.
Picture a 12-inch bed that begins at 11 inches of fill, then settles to 9 inches after watering and rain. That is a strong sign the mix was placed too loosely or the bed needed more headspace from the start.
Top off low spots before planting
Use a compost top-dress to bring the surface back to grade before transplanting. For first-season beds, a 1-2 in top-dress is often enough to cover modest settling losses and provide seedlings with a better surface layer.
Mulch can go on after planting to hold moisture and protect the surface. In cooler months, it also helps reduce nutrient loss and can sit over compost or cover crop residue.
Soil table
This table gives a simple pre-fill check for common bed heights. It shows the target volume, a practical headspace allowance, whether to use cardboard, and a first-season top-dress amount after settling.
| Bed depth | Planned fill depth | Volume needed | Recommended headspace below rim | Cardboard under bed? | First-season top-dress |
|---|---|---|---|---|---|
| 6 in | 5 in initially | 0.83 cubic ft per sq ft of bed area | 1 in | Use on soil sites; skip on hardscape | 1 in compost |
| 12 in | 10-11 in initially | 1.67 cubic ft per sq ft of bed area | 1-2 in | Use on soil sites; skip on hardscape | 1-2 in compost |
| 18 in | 15-16 in initially | 2.50 cubic ft per sq ft of bed area | 1-2 in | Use on soil sites; skip on hardscape | 2 in compost |
| 24 in | 20-22 in initially | 3.33 cubic ft per sq ft of bed area | 2 in | Use on soil sites; skip on hardscape | 2 in compost |
The table is a planning tool, not a planting rule. A shallow 6-inch bed can work for greens and herbs, but it needs closer watering. A 24-inch bed is better for root crops and dry sites, but it costs more to fill because deeper beds need more material and more settling allowance.
Frequently asked questions
What do you put under raised bed soil?
On native soil, use overlapped cardboard or newspaper to slow weeds and grass, then wet it thoroughly. On patios, gravel, or other hardscape, skip layers that would trap water. Keep irrigation paths and drainage clear so the base does not become soggy.
Should you loosen soil under a raised bed?
Yes, if the bed sits on native ground and the soil below is compacted. Loosening helps drainage and root access. If the bed sits on a patio or hardscape, loosening is not the issue; the mix inside the bed has to handle drainage instead.
How do you get rid of grass before a raised bed?
Cut the grass short, then cover it with overlapped cardboard or newspaper before setting the bed in place. Wet the layer thoroughly so it stays flat and starts breaking down. This helps smother the grass without digging up the whole site.