Thin Pavers Over Concrete: When Does It Work?
Thin pavers over concrete work only when the slab is sound, drains correctly, and the added build-up still fits doors, steps, and code clearances; if the slab moves, traps water, or needs more than about 1 to 2 in of build-up, reject the overlay. Bad prep can lead to loose pavers, trapped moisture, trip edges, and costly rework. This guide shows the pass/fail checks, height math, drainage limits, and material allowances for a thin-paver overlay.
What an overlay is and when it works
Thin pavers are slimmer, lighter units used as overlays on existing hard surfaces. Common options include concrete, brick, natural stone, and porcelain. Less tear-out. Less hauling. Less labor than a full rebuild. Family Handyman pegs the project at about $600 to $1200, intermediate difficulty, and multiple days.
The overlay also takes on the slab below it. A sound slab saves time. A bad slab can telegraph cracks, hold water, or move enough to break the bond and the joints.
What an overlay
An overlay places thin pavers on top of existing concrete instead of removing the slab. It can work for patios, walks, and some other flat surfaces when the base is stable and the finish height still clears doors and thresholds. It is not a fix for structural problems.
📊 Family Handyman says border pavers must be at least 3/4 inch thicker than field pavers. Source: Familyhandyman.
What you’ll need
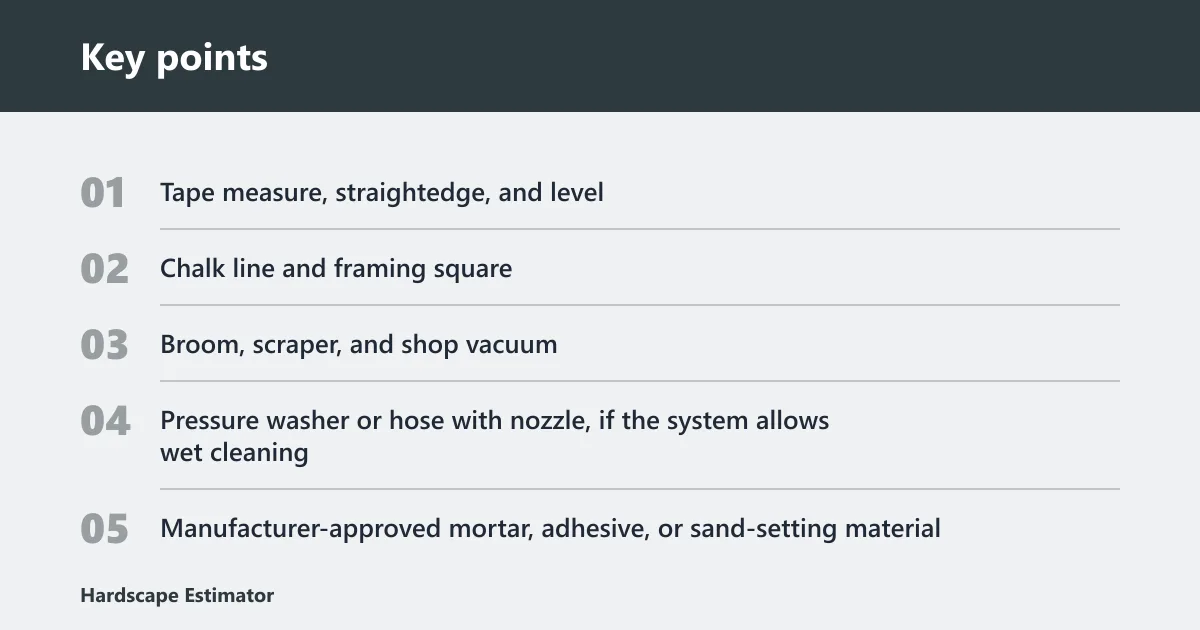
- Tape measure, straightedge, and level
- Chalk line and framing square
- Broom, scraper, and shop vacuum
- Pressure washer or hose with nozzle, if the system allows wet cleaning
- Manufacturer-approved mortar, adhesive, or sand-setting material
- Thin pavers sized for the overlay system
- Border pavers, if the layout uses a different edge size
- Polymeric sand or grout approved for the joint width and installation method
- Safety gear and knee protection
One measurement matters before anything else: total build-up. That means paver thickness plus bedding or bond layer plus joint treatment, plus any edge restraint or transition detail. The same slab can pass on a patio and fail at a doorway.
Materials and setting products
Bedding or bonding can be mortar, adhesive, or sand, depending on the system. Manufacturer specifications control the method. The wrong bedding material can fail even if the slab is perfect. For sand-set work, The Stone Quarry says porcelain or ceramic tile should not be set over concrete in sand, and porcelain tile needs to be at least 2 cm thick for sand setting.
Measurement checks before you start
Measure the height at doors, steps, siding, and drains. Check slope and flatness. Atlantic Hardscape says the existing concrete should have at minimum one inch of drop for every eight feet. Also note material thickness: standard pavers range from 1.25 inches to 2.375 inches thick, and Family Handyman says border pavers must be at least 3/4 inch thicker than field pavers when that two-thickness layout is used.
Can your slab support it?
Yes, if the slab is structurally sound, stable, clean, and properly sloped. Hairline cracks are usually acceptable. Settlement, heave, displacement, or spalled sections are red flags because the overlay will copy that movement. Cleanliness matters too; dirt, paint, sealers, and loose material reduce bond and can keep the system from sitting flat.
Acceptable cracks versus movement
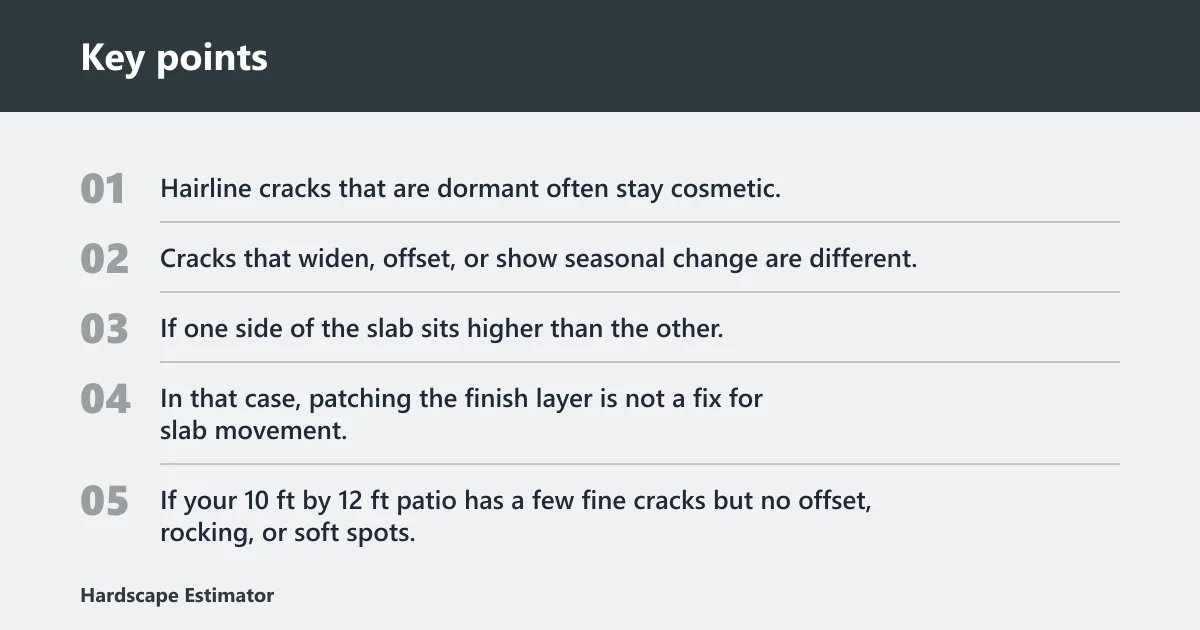
Hairline cracks that are dormant often stay cosmetic. Cracks that widen, offset, or show seasonal change are different. If one side of the slab sits higher than the other, the overlay will usually telegraph that step. In that case, patching the finish layer is not a fix for slab movement.
If your 10 ft by 12 ft patio has a few fine cracks but no offset, rocking, or soft spots, it may be a candidate for an overlay. That can be a candidate for an overlay if drainage and height also check out. If the same patio has about a 1/4 in lip at a crack, treat it as a movement problem, not a surface flaw.
Surface soundness and cleaning
Remove dirt, paint, grease, curing compounds, and any loose patch material. Probe weak spots and hollow areas. If the slab sounds detached in sections or crumbles at the edge, stop and repair before you lay anything. The overlay should sit on a stable, continuous surface.
Slope and flatness checks
Check whether water runs away from the house. Flat spots that hold water are a problem even if the slab looks intact. Ponding raises freeze-thaw damage and can leave moisture trapped under the pavers, which raises the risk of efflorescence and heave.
How much height will it add?
An overlay usually adds the paver thickness plus the setting layer and joint finish, so the final surface can rise fast. That is why door clearance, step heights, siding gaps, and threshold details must be checked first. If the added build-up interferes with a door sweep or creates a trip at a step, the plan needs revision.
Finished height formula
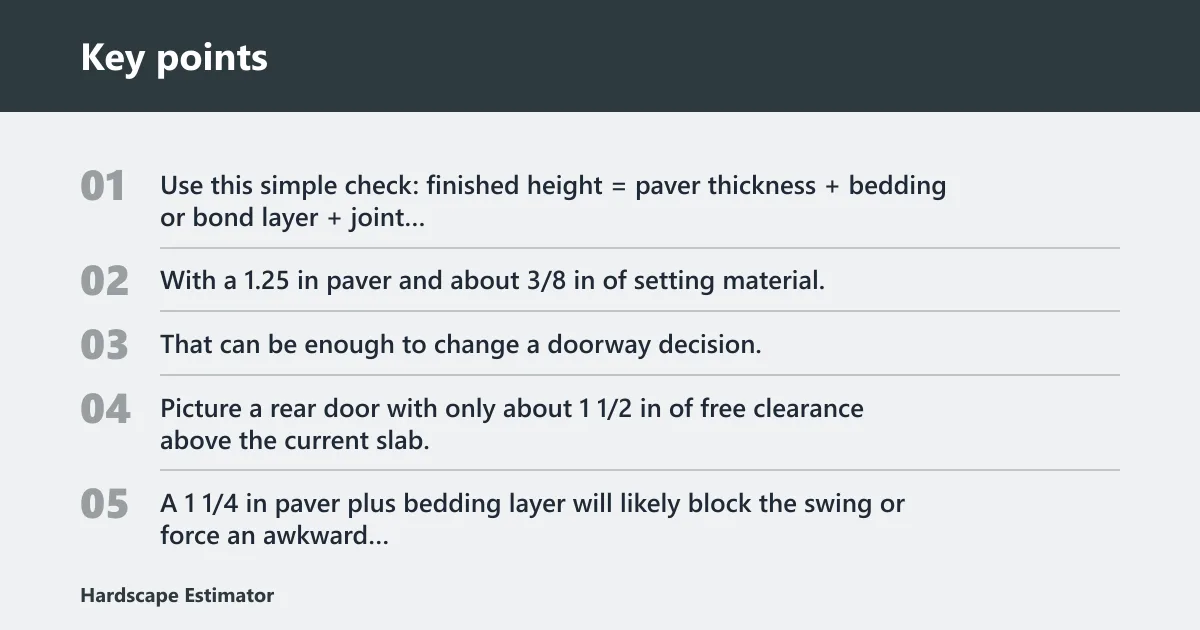
Use this simple check: finished height = paver thickness + bedding or bond layer + joint finish allowance. With a 1.25 in paver and about 3/8 in of setting material, the surface may rise roughly 1 5/8 in before edge treatment. That can be enough to change a doorway decision.
Picture a rear door with only about 1 1/2 in of free clearance above the current slab, or roughly that amount. A 1 1/4 in paver plus bedding layer will likely block the swing or force an awkward threshold fix. In that case, the slab may be suitable structurally but unsuitable by height.
Door, step, and threshold clearance
Check every transition. A raised surface can interfere with steps, siding, and sill details. A patio that looks fine at one door may fail at another because of a lower threshold or a tighter screen-door sweep. Plan the final height before you buy materials.
Drainage and moisture checks
Water must move away from the house. The overlay should not trap runoff, and it should not create a shallow basin where rain sits under the surface. Concrete Network notes that conventional pavers are most commonly installed over a compacted base of soil and sand, and that those joints allow water to pass through because there is no grout between them. Over concrete, the drainage path is different, so the slab slope matters even more.
Runoff away from the house
Start with the slab slope. If water already runs toward the wall, the overlay can make the problem worse by slowing evaporation and hiding wet spots. Rework the drainage plan before any paver layout if runoff is wrong.
Ponding and trapped moisture
Moisture trapped under thin pavers can cause efflorescence, soft bond areas, and edge lift. In cold climates, it can also freeze and expand. The pavers may look fine for a season, then pop loose after repeated wetting and freezing.
Freeze-thaw risk
Thin pavers can work in freeze-thaw regions only when the slab slopes well, water escapes, and the system is approved for that climate. Cold weather raises the penalty for every wet pocket under the surface. If the area ponds now, do not assume the overlay will fix it.
Install the overlay
- Inspect the slab for movement, soft spots, cracks, and standing water.
- Repair only minor surface defects that the chosen system allows, then clean and dry the slab fully.
- Snap your layout lines, confirm final height at doors and steps, and plan borders before setting field pavers.
- Apply the manufacturer-specified bedding or bond layer and set the pavers in place with consistent joints.
- Fill joints with the approved polymeric sand or grout, then compact or strike the surface as the system requires.
- Detail edges, thresholds, and transitions so the finished surface sheds water and does not create a trip edge.
Do not substitute a different setting product because it seems close enough. The bond layer, joint filler, and paver type must all match the system. A porcelain unit that works in one method may fail in another.
Overlay decision matrix
| Slab condition | Overlay verdict | Likely failure mode | Estimator note |
|---|---|---|---|
| Hairline cracks | Usually pass | Telegraphing if the crack later moves | Allow only if there is no offset, heave, or active widening. |
| Active settlement | Fail | Broken bond, uneven joints, trip edges | Do not overlay a slab that is still moving. |
| Ponding water | Fail until corrected | Moisture trapping, efflorescence, freeze damage | Fix slope and runoff first; the overlay is not the repair. |
| Low door clearance | Fail unless build-up is reduced | Door bind, threshold blockage, step conflict | Measure final height before material takeoff. |
| Freeze-thaw exposure | Conditional pass | Heave from trapped moisture | Require drainage, approved joints, and a climate-suitable system. |
| Driveway traffic | Usually fail for light-duty systems | Crushing, joint failure, edge breakup | Use only a vehicle-rated system, and confirm thickness and bond method. |
Do thin pavers work for driveways?
Only sometimes. Driveways need a vehicle-rated system, and many thin overlays are better suited to patios and walkways. Traffic load changes the answer because tires concentrate force at the surface and at the edges. If the product, bedding method, and thickness are not rated for vehicles, stop there and specify tear-out instead.
When a driveway overlay can pass
A driveway may be a candidate only if the slab is sound, the overlay system is rated for vehicle traffic, drainage is correct, and final height still works at garage doors and adjacent walks. That is a narrow path. It is not the default.
When to stop and specify tear-out instead
If the slab is cracking with offset, the surface ponds, or the required build-up causes door or garage conflicts, full removal is the cleaner call. A short-term save on demolition is not worth a surface that fails under vehicle load.
Common mistakes
The most common errors are simple: skipping the slab check, ignoring finished height, using the wrong bedding or joint material, and treating a driveway like a patio. Any one of those can turn a neat-looking overlay into a repair job.
A common mistake is to check the paver depth and overlook whether the concrete slab is level, sound, and able to hold the added buildup. That misses the bond layer, the joint material, and the threshold allowance. The finished surface is what matters, not the paver alone.
Another common miss is assuming polymeric sand or grout will solve movement. It will not. Those products help with joints and moisture control only when the slab below them is stable and the system allows them.
Prevention: confirm slope, clearance, and traffic class before ordering materials, and keep the installation method tied to the manufacturer’s spec from the start.
Frequently asked questions
Can I put thin pavers over concrete if the slab has hairline cracks?
Usually yes, if the cracks are stable and there is no vertical offset, settlement, or heave. Clean the slab, verify slope, and keep the system within the manufacturer’s bonding or bedding limits. A moving crack is a different problem and should be treated as a no-go.
How much height does a paver overlay add over an existing slab?
Use paver thickness plus the setting layer plus the joint finish allowance. A 1.25 in paver with a thin bond layer can still add enough height to block a door or create a step conflict. Measure every transition before you choose materials.
What concrete conditions make an overlay a no-go?
Active settlement, heave, displacement, soft spots, ponding water, and poor slope are the main stop signs. A slab that is not clean or not stable can also fail the bond. Hairline cracks alone are usually less serious than movement or moisture problems.
Do thin pavers over concrete work for a driveway?
Only if the product and installation method are rated for vehicle traffic. Many thin overlay systems are better for patios and walkways. Driveways add load, turning forces, and edge stress, so a standard pedestrian system is not enough.
How do you keep water from getting trapped under overlay pavers?
Start with slope away from the house, then use the approved bond layer and joint material for the system. Do not rely on joints alone if the slab ponds. In cold regions, trapped water raises freeze-thaw risk, so drainage has to come first.
What thickness should border pavers be over concrete?
Family Handyman says border pavers must be at least 3/4 inch thicker than field pavers in the two-thickness layout. That gives the edge more visual weight and helps with transitions. Match the border thickness to the system, then recheck final height at the perimeter.
Can pavers over concrete handle freeze-thaw climates?
They can, but only if drainage is right and the system is approved for that exposure. Trapped moisture is the problem. If water sits under the overlay and freezes, it can lift the pavers or break the bond. A dry, sloped slab is the safer condition.