What Are Cap Blocks, and What Are They Used for?
Cap blocks are commonly used as the top pieces on retaining walls, columns, and fire pits. They shed water, protect the structure, and finish the edge. Choose a size that overhangs the wall by about 1 in on each side. Skip them or size them poorly, and water gets into the core, freeze-thaw damage starts, and the wall or column wears out faster. This guide explains cap block types, where they belong, and how to match stone, concrete, or manufactured stone caps to your project.
What are cap blocks?
Cap blocks are topper units that finish the top of a wall, column, or fire pit. They are not the base structure. Their job is to close off the top course, shed water, and give the finished edge a cleaner profile than the blockwork below.
Topper units for walls and features
On a retaining wall, a cap block sits on the last course and extends past the face slightly. That overhang moves water away from the wall face. On columns and fire pits, the same idea applies: cap the top so the visible edge looks deliberate and the upper surface is less exposed.
How they differ from base blocks
Base blocks carry load, retain soil, and set the wall geometry. Cap blocks do not replace that function. They are chosen for fit, finish, and exposure control. A wall can be structurally sound and still fail early if its cap is loose, undersized, or wrong for the wall shape.
What do cap blocks do on a wall?
Cap blocks protect the top of a wall from water intrusion and weathering while giving the wall a finished edge. The cap is the first line of defense at the top course, where open joints and exposed surfaces can let water in. It also changes the wall from a stack of units into a complete feature.
Protection from water and weather
Water that reaches the wall core can create long-term trouble. In cold weather, trapped moisture can freeze, expand, and loosen units. Even in mild climates, repeated wetting and drying can weaken joints. A proper cap reduces that exposure, especially when the top surface slopes slightly or includes a drip edge.
Why the overhang matters
A slight overhang helps keep runoff off the wall face. A common target is about 1 in on each side, but the right amount depends on the block depth and the manufacturer’s profile. Too little overhang looks unfinished. Too much can look awkward and may leave the cap poorly supported.
How the finished top changes appearance
The cap is what most people see from standing height. It frames the wall and can either match the wall color or create contrast. Flat, beveled, and chamfered profiles each read differently. A flatter top looks formal. A beveled or chamfered edge softens the line and can hide small alignment differences.
Cap blocks and wall coping
Cap blocks, wall caps, and coping overlap in use, but they are not always the same thing. A retaining wall cap is the unit placed on a retaining wall. Wall coping is a broader term for a finished protective top on a wall, often used on freestanding walls. Coping may have a drip edge or eased edge.
Retaining wall cap vs wall coping
A retaining wall cap is usually sized to fit the wall block depth and follow the wall line, including a curve radius if the wall turns. Coping can serve the same protective role on a freestanding wall, where both faces are exposed. The details matter because the edge treatment affects runoff and the final look.
When a freestanding wall needs coping
Freestanding walls expose both sides to weather, so the top layer is even more important. Coping protects the top surface and gives the wall a finished top edge from both directions. On these walls, the cap should suit the wall width and any visible return corners, not just the front face.
Edge profiles: flat, beveled, and chamfered
Flat caps are common on modern walls and seating edges. Beveled caps shed water while keeping a clean line. Chamfered edges soften sharp corners and reduce the blocky look. The right edge profile depends on the project type, traffic near the wall, and how much visual weight the top should carry.
Cap block materials
Cap blocks are sold in concrete, natural stone, and manufactured stone. Concrete, stone type, thickness, and price change how the cap performs and how it looks. Concrete cap block is the most common modular option. Natural stone cap is the premium choice when a more natural look is wanted. Manufactured stone fills the middle ground in look and consistency.
Concrete cap block
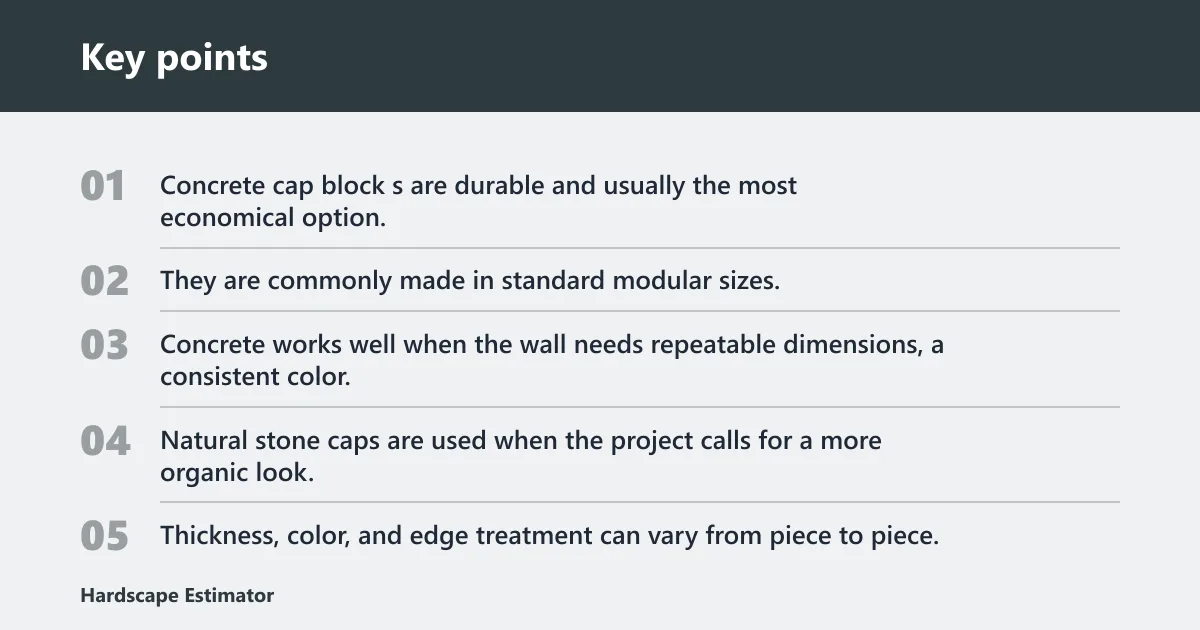
Concrete cap blocks are durable and usually the most economical option. They are commonly made in standard modular sizes, which makes layout easier for straight runs. Concrete works well when the wall needs repeatable dimensions, a consistent color, and straightforward installation with adhesive or mortar.
Natural stone cap
Natural stone caps are used when the project calls for a more organic look. Thickness, color, and edge treatment can vary from piece to piece. That variation can be attractive, but it also means fit and leveling matter more. Natural stone is often chosen for higher-visibility walls and custom features.
Manufactured stone options
Manufactured stone caps are made to imitate the look of cut stone while holding more uniform dimensions than random natural stone. They can be a practical choice where a consistent color range is wanted and the wall geometry is regular. Check the manufacturer’s sizing, because not every profile works for curves or wide wall tops.
| Project type | Material | Edge profile | Fit considerations | Adhesive notes |
|---|---|---|---|---|
| Retaining wall | Concrete cap block | Flat or beveled | Match wall depth; allow slight overhang; confirm curve radius | Use masonry-rated construction adhesive or mortar per maker guidance |
| Freestanding wall | Natural stone cap | Chamfered or eased edge | Cover both faces; check width and corner returns; keep joints aligned | Bond with outdoor-rated adhesive approved for masonry |
| Column | Manufactured stone cap | Flat or lightly beveled | Fit the column footprint; keep overhang even on all sides | Apply adhesive in beads or spots if the unit is large |
| Fire pit | Concrete or stone cap | Flat, with eased edge preferred | Confirm opening size and heat exposure; avoid tight seams at the rim | Use product approved for outdoor heat exposure; follow cure guidance closely |
Cap blocks selection checklist
Choose cap blocks by project type first, then by fit. Wall width, curve radius, alignment, and edge detail all control whether the cap will look right and stay put. A cap that is visually correct but too narrow, too wide, or wrong for the curve can create loose joints and exposed edges.
Retaining wall fit
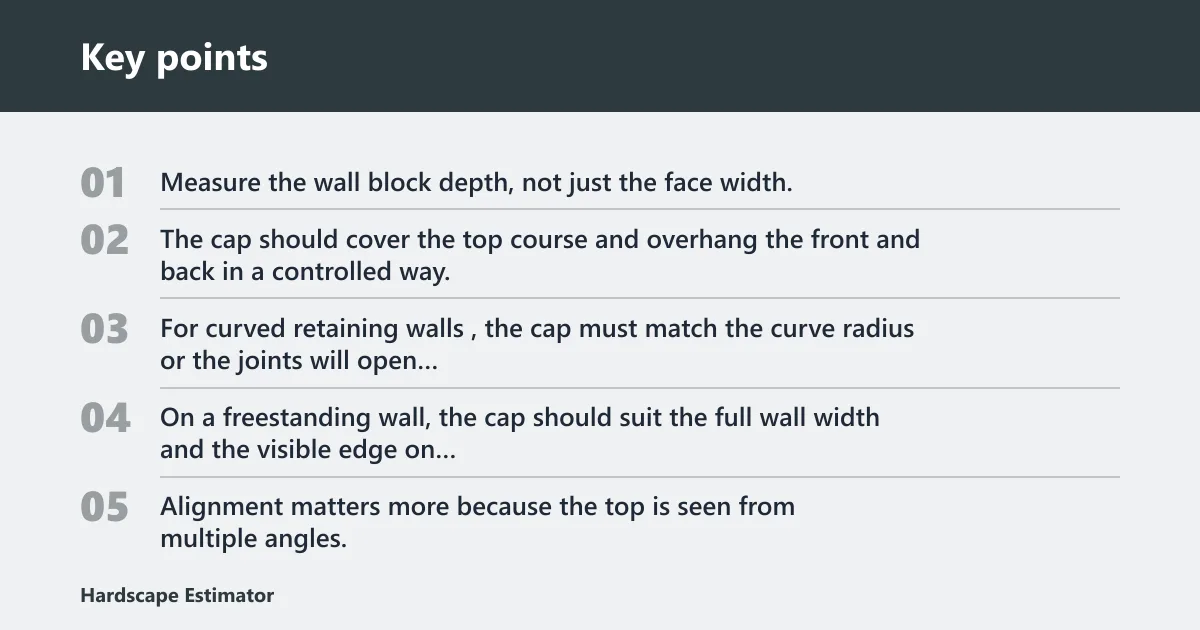
Measure the wall block depth, not just the face width. The cap should cover the top course and overhang the front and back in a controlled way. For curved retaining walls, the cap must match the curve radius or the joints will open on the inside or outside of the turn.
Freestanding wall fit
On a freestanding wall, the cap should suit the full wall width and the visible edge on both sides. Alignment matters more because the top is seen from multiple angles. If the wall is segmented, check each run so the cap joints land where the wall layout allows them to land.
Column fit
Column caps need a clean finished top and a balanced overhang on every side. The footprint has to match the column size closely. A cap that hangs too far off one edge looks wrong and can stress the bond line. A square column usually needs a square cap, not a stretched wall unit.
Fire pit fit
Fire pit caps must handle heat exposure and still fit the rim cleanly. Heat can affect both the cap material and the adhesive. Keep clear of products that are not rated for the expected temperature range, and confirm whether the cap can sit close to an open flame or burner assembly.
Say your retaining wall is 12 in wide and runs 24 ft with a 10 ft curve. A 14 in cap gives about 1 in overhang on each side on the straight section, but the curved section may need a specialty piece or a tighter joint layout. The curve is the detail that changes the order.
A common first-timer mistake is choosing cap blocks only because they match the deck boards, without checking whether they fit the post size and hardware requirements. A common example is a 16 in cap placed on a 12 in wall. The overhang becomes excessive, the line looks top-heavy, and the bond area may be too small for a stable fit. Matching width comes before matching shade.
Can cap blocks be used on fire pits and columns?
Yes. Cap blocks are often used on fire pits and columns, not just retaining walls. On a fire pit, they create a finished rim or seating edge. On a column, they close the top and make the post look complete. Heat, footprint, and edge profile matter more on these features than many buyers expect.
Fire pit heat exposure
Heat exposure can change what material and adhesive are appropriate. Some cap products are fine for a decorative fire pit but not for direct flame contact. Others are rated for higher temperatures but still need a compatible adhesive and a gap layout that lets the assembly move a little with heat.
Column tops and seating edges
Columns need a cap that looks centered and stays secure. Seating edges around a fire pit need a profile that is comfortable and durable. A flat or slightly eased top is often better than a sharp chamfer where people may sit or rest a hand. The cap should be sized to the visible top, not guessed from the block below.
When a different cap profile is better
If a cap will be sat on, leaned on, or exposed to repeated heat, a flatter profile with a moderate edge treatment is often a better fit than a thin decorative piece. For small columns, a heavy overhang can feel awkward. For fire pits, a profile that limits sharp edges is usually the safer choice.
How are cap blocks installed?
Cap blocks are commonly installed with construction adhesive or mortar, depending on the unit size, the wall material, and the manufacturer’s instructions. The bond needs to be compatible with masonry and outdoor exposure. Good alignment, even spacing, and cure time matter as much as the adhesive itself.
Construction adhesive basics
Use an outdoor-rated construction adhesive approved for masonry. Apply it in beads or spots, following the cap size and the manufacturer’s guidance. Too little adhesive can leave voids. Too much can squeeze out and make leveling harder. Clean, dry contact surfaces improve bond quality.
Mortar as an alternative
Mortar can be used when the project calls for a bedding layer or when the wall surface needs small adjustments. It is not a universal substitute for adhesive. The decision depends on the cap material, the base surface, and the installation instructions. Some systems call for both a leveling bed and adhesive.
Spacing, alignment, and cure time
Keep joints even and check the run as you go. A cap that drifts off line makes the whole wall look uneven. Allow the bond to cure before exposing the top to heavy use or water, and follow the product’s timing exactly. Rushing the cure is one of the fastest ways to end up with loose caps.
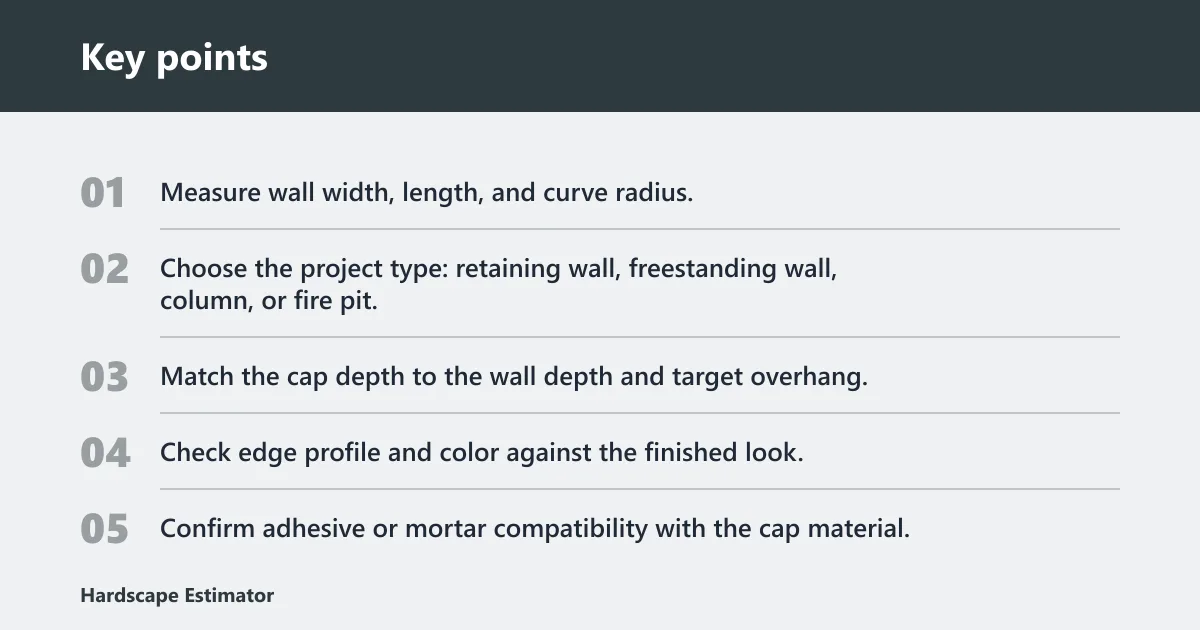
- Measure wall width, length, and curve radius.
- Choose the project type: retaining wall, freestanding wall, column, or fire pit.
- Match the cap depth to the wall depth and target overhang.
- Check edge profile and color against the finished look.
- Confirm adhesive or mortar compatibility with the cap material.
- Verify heat exposure if the cap will go on a fire pit.
Frequently asked questions
What are cap blocks used for?
Cap blocks are used to finish and protect the top of retaining walls, freestanding walls, columns, and fire pits. They help keep water out of the wall core, reduce weathering at the top course, and give the project a cleaner edge. They also help define the final look of the structure.
What are 1-2-3 blocks used for?
In hardscape shopping, “1-2-3 blocks” usually refers to modular wall units used in certain wall systems, not cap blocks. They are part of the wall structure, while cap blocks finish the top. If a supplier uses that label, check whether it refers to a base unit, a segmental block, or a cap in that product line.
Do cap blocks only go on retaining walls?
No. Retaining walls are the most common use, but cap blocks are also used on freestanding walls, columns, and fire pits. The cap’s job changes slightly by project, but the basic needs stay the same: proper fit, stable bonding, and a top surface that sheds water and finishes the edge.
Are cap blocks the same as wall caps or coping?
Not exactly. A retaining wall cap is the cap placed on the top course of a retaining wall. Wall coping is a broader term for a finished protective top layer, often on freestanding walls. Coping may include a drip edge or eased edge, while cap blocks may be flat or shaped for different uses.
What should I measure before buying cap blocks?
Measure the wall depth or column footprint, the run length, the curve radius if there is one, and the amount of overhang you want. Also check the finish height and the edge style. Those numbers tell you whether a standard modular cap will fit or whether you need specialty pieces.