How to Level a Paver Base Before Laying Pavers
Level a paver base by fixing the subgrade, compacting the aggregate in lifts, and screeding a 1 in sand layer so the finished surface stays within about 1/8 in over 10 ft before the first paver goes down. Skip that sequence, and pavers rock, joints open, and low spots hold water. Check, correct, and recheck each layer before moving on.
What you’ll need
- Plate compactor
- Hand tamper for edges and tight spots
- String line, stakes, and line level or laser level
- Long straightedge or screed board
- Two screed pipes for the sand bed
- Crushed aggregate base, such as 3/4-in minus or Class II road base
- Clean, sharp masonry sand or coarse sand for bedding
- Shovel, rake, and broom
- Measuring tape
- Edge restraints and fasteners
📊 The wikiHow article says the base is about 4 inches deep. Source: Wikihow.
How flat should the base be?
The base should be flat enough for the sand bed to screed evenly, while still following the planned drainage slope. A practical target is about 1/8 in over 10 ft for flatness, with slope built into the whole run. The surface should feel firm underfoot, not springy or hollow.
Target plane and slope
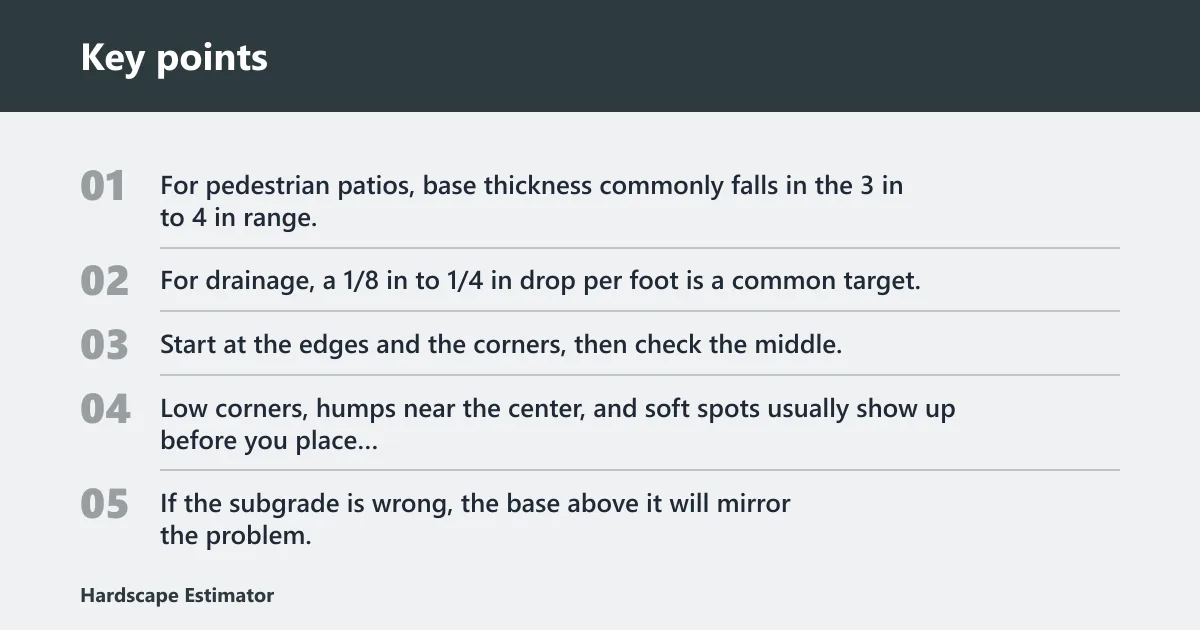
For pedestrian patios, base thickness commonly falls in the 3 in to 4 in range, with some guides using 4 in and others 4 in to 6 in for a patio build. For drainage, a 1/8 in to 1/4 in drop per foot is a common target. Keep the fall steady. Do not let the plane wander.
Where to check first
Start at the edges and the corners, then check the middle. Low corners, humps near the center, and soft spots usually show up before you place bedding sand. If the subgrade is wrong, the base above it will mirror the problem.
Step 1: Check and compact the subgrade
Strip the soil to the required depth, then compact the exposed subgrade before any base material goes down. Soft or unconsolidated soil can settle later and ruin the plane above it. If the ground pumps, ruts, or scrapes out easily, it needs more work before base placement.
Fix soft spots first
Remove mud, roots, and loose material from any weak area. Backfill with suitable fill, compact it, and recheck. A soft corner under the finished patio usually becomes a low corner in the pavers.
Use the compactor early
Run the plate compactor over the subgrade in overlapping passes. On edges and around utilities, use a hand tamper where the machine cannot reach. The goal is a firm, even platform, not a finished decorative surface.
Step 2: Level the aggregate base
Place the aggregate base in lifts, compact each lift, and check both height and slope as you go. The base should follow the planned pitch, so water moves away without leaving a wavy surface under the sand.
Set the base high enough for compaction
Expect the base to settle after compaction. A material check helps avoid ending up thin. If a patio needs 4 in of compacted base, place a little more loose material first, then compact and measure again. Otherwise the final layer can come out short.
Correct humps and low corners
Scrape off high spots with a rake or shovel, then compact again. Fill low areas with more base in thin additions, no more than about 1 in per pass at the very end, and recompact. Say your left edge is 3/8 in low over a 6 ft run; add base there, compact, and recheck before moving on.
Step 3: Screed the bedding sand
Screed the bedding sand to a uniform 1 in layer, then leave it alone. This layer is for fine adjustment, not support. Use screed pipes or a straightedge to set thickness, pull the board across the guides, and do not walk on the finished bed.
Set the guide pipes
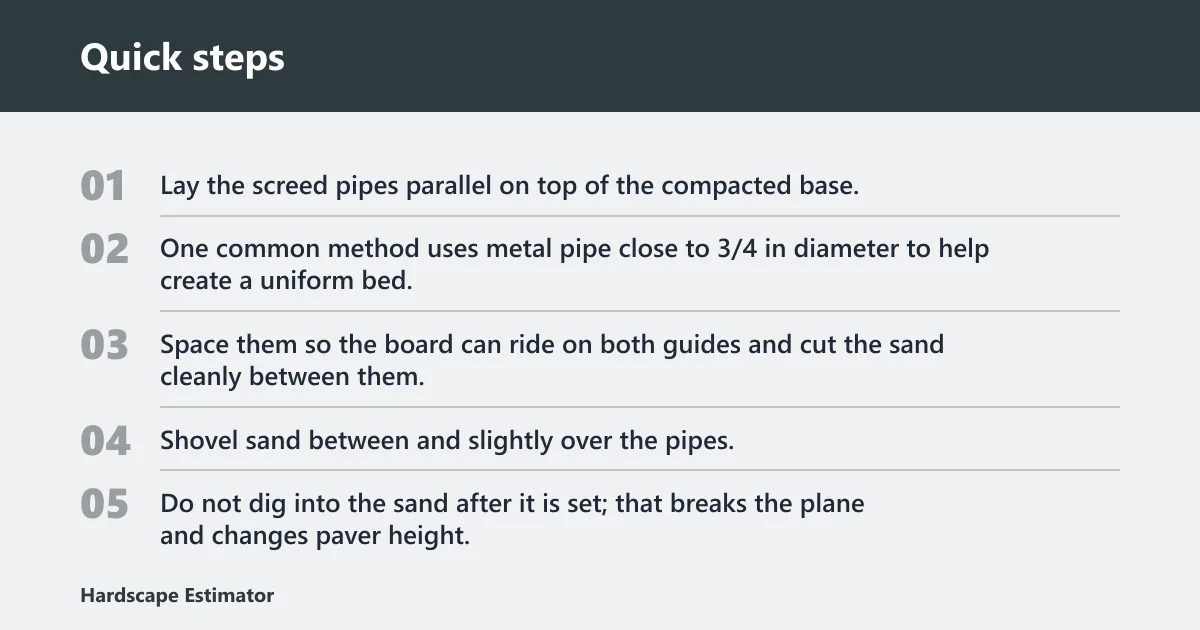
Lay the screed pipes parallel on top of the compacted base. One common method uses metal pipe close to 3/4 in diameter to help create a uniform bed. Space them so the board can ride on both guides and cut the sand cleanly between them.
Pull the screed board
Shovel sand between and slightly over the pipes, then drag the board toward you in a smooth pass. Fill small voids and screed again. Do not dig into the sand after it is set; that breaks the plane and changes paver height.
Protect the finished sand
Set pavers immediately after screeding a section. If you must reach across the bed, use boards placed on top of the pavers already set, not on the loose sand. A common first-timer mistake is to smooth one corner twice and leave the rest untouched, which creates a visible dip later.
What if the base is already uneven?
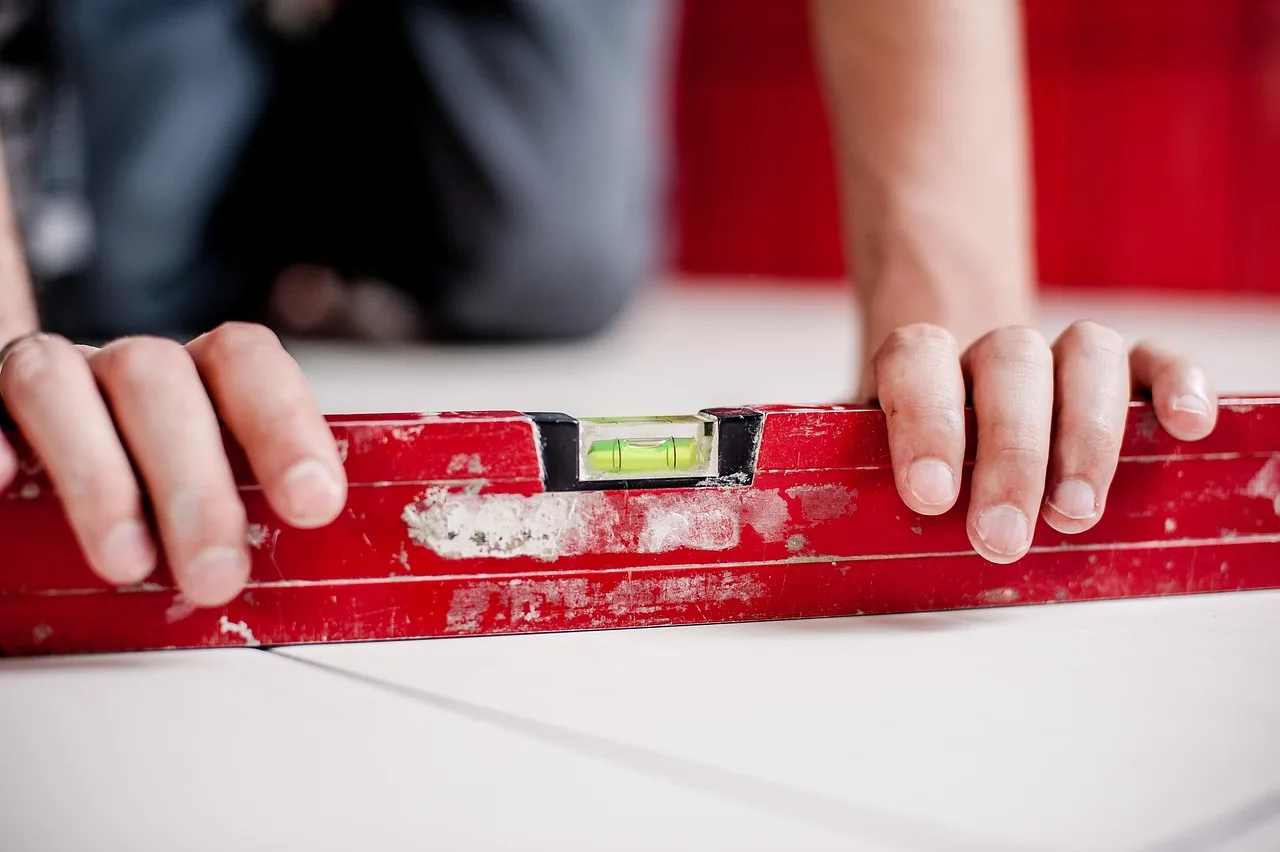
Fix the shape in the layer where the problem appears. A soft spot belongs to the subgrade, a hump belongs to the aggregate base, and a low corner often needs both more base and another check on the slope. Do not hide a bad base with extra sand.
Soft spot
Excavate the weak area until you reach firm soil, then refill and compact in thin layers. If the spot returns after compaction, remove more material. A temporary surface fix will not hold under the pavers.
High spot
Rake or shave down the aggregate, then compact again. If the hump is locked in, remove the affected lift and replace it. For a small rise near an edge, scrape it down in about 1/4 in to 1/2 in adjustments and recheck with a straightedge.
Low corner
Add base in thin lifts, compact, and measure again. If the corner is also out of slope, taper the correction so the drainage line stays consistent. Picture a 10 ft run that falls toward the yard but dips in the middle; fix the dip without flattening the whole pitch.
Base leveling checklist
This checklist separates the three layers. Check each one before moving to the next. The most common failure is solving a subgrade problem with sand, which only hides the issue until the patio settles.
| Layer | What to check | Tool to use | Good enough looks like | Fix if out of level |
|---|---|---|---|---|
| Subgrade | Firmness, soft spots, and general plane | Plate compactor, hand tamper, string line | No pumping, no ruts, no loose pockets | Remove weak soil, backfill, compact again |
| Aggregate base | Flatness, height, and drainage slope | Straightedge, level, rake, plate compactor | Even plane with steady pitch and no humps | Scrape high spots, fill lows in thin lifts, recompact |
| Bedding sand | Thickness and surface smoothness | Screed pipes, screed board | Uniform 1 in bed with clean cut lines | Lift out the section and screed it again |
Common mistakes
These errors create the most rework. Catch them before the first paver is set.
- Thin base after compaction: Place enough loose aggregate to reach the final compacted depth, then remeasure.
- Disturbed screed: Stop walking on fresh sand. Reset the section if the surface has been marked or rutted.
- Missing edge restraint: Install restraint before the field spreads. It keeps the pavers and bedding sand from shifting sideways.
- Too much slope in one spot: Keep the pitch even across the run instead of pitching each section separately.
Do you need a slope for drainage?
Yes. A slight slope away from a structure is normal, and it should be built into the whole base, not added as a last-minute correction. A 1/8 in to 1/4 in drop per foot is a common target. The surface can still be flat in cross-section while the whole run falls away.
How to keep the plane even
Set your reference lines to the finished slope before placing base material. Then keep checking both measurements: height from the line and level across the width. The run should fall consistently, with no belly or crown in the middle.
Where edge restraints fit
Edge restraints lock the perimeter so the pavers and bedding sand do not creep outward during use. They are commonly made from plastic, metal, or concrete. Install them after the base is prepared and before the field is laid, so the edges stay true while you work.
Frequently asked questions
How to level the ground for pavers
Strip loose soil, remove soft spots, and compact the exposed ground until it feels firm and even. Then check it with a line or straightedge before adding base. If the soil is unstable, excavate deeper and replace the weak section.
How to level a paver patio
Use the same three-layer sequence on the whole patio: subgrade, aggregate base, and bedding sand. The patio should have a steady drainage pitch, often 1/8 in to 1/4 in per foot, while staying flat enough that pavers do not rock.
How to level existing pavers
Lift the affected pavers, correct the sand or base underneath, and reset the stones. If only the sand shifted, re-screed that section. If the base settled, remove the pavers over the low area, rebuild the layer, and relay the field.
How to level brick pavers
Pull the uneven bricks, inspect the bedding layer, and fix the support underneath before resetting them. Brick or concrete pavers should sit hand-tight on a uniform sand bed. If the base is off, the brick surface will not stay even for long.