How to Set Slope for a Concrete Patio
Set a concrete patio to slope 1/8 to 1/4 in. per ft away from the house, with 1/4 in. per ft as the usual target for drainage. Bad slope sends water toward the slab, causing ponding, staining, freeze damage, and trips at the edge. This article shows how to mark the high point, set stakes, check grade with a level or stringline, and adjust the form boards before you pour.
Choosing and calculating the right slope for your patio
Most concrete surfaces need a slight slope, and 1/4 in. per ft away from the house is a common drainage target. A 1/8 in. per ft slope can work when the site has little vertical room, but the surface still has to move water off the slab. Keep the fall mild enough that the patio still feels level underfoot.
Use the slope that fits the site, the door threshold, local code, and any adjacent slab. If the run is long, the total drop grows fast, so check the math before you set forms. A 10-foot run at 1/8 in. per ft equals 1 1/4 in.
How to read slope in inches over a patio run
Multiply the run in feet by the slope rate in inches per foot. For 1/8 in. per ft, the drop is the run divided by 8. For 1/4 in. per ft, the drop is the run divided by 4. That gives the exact vertical difference between the high end and the low end.
Patio slope worksheet
Use this worksheet to turn slope rate into stake drops and form heights. The numbers below show the total drop from the high end to the low end of the patio run.
| Patio run | Drop at 1/8 in. per ft | Drop at 1/4 in. per ft |
|---|---|---|
| 8 ft | 1 in. | 2 in. |
| 12 ft | 1 1/2 in. | 3 in. |
| 16 ft | 2 in. | 4 in. |
8 ft run
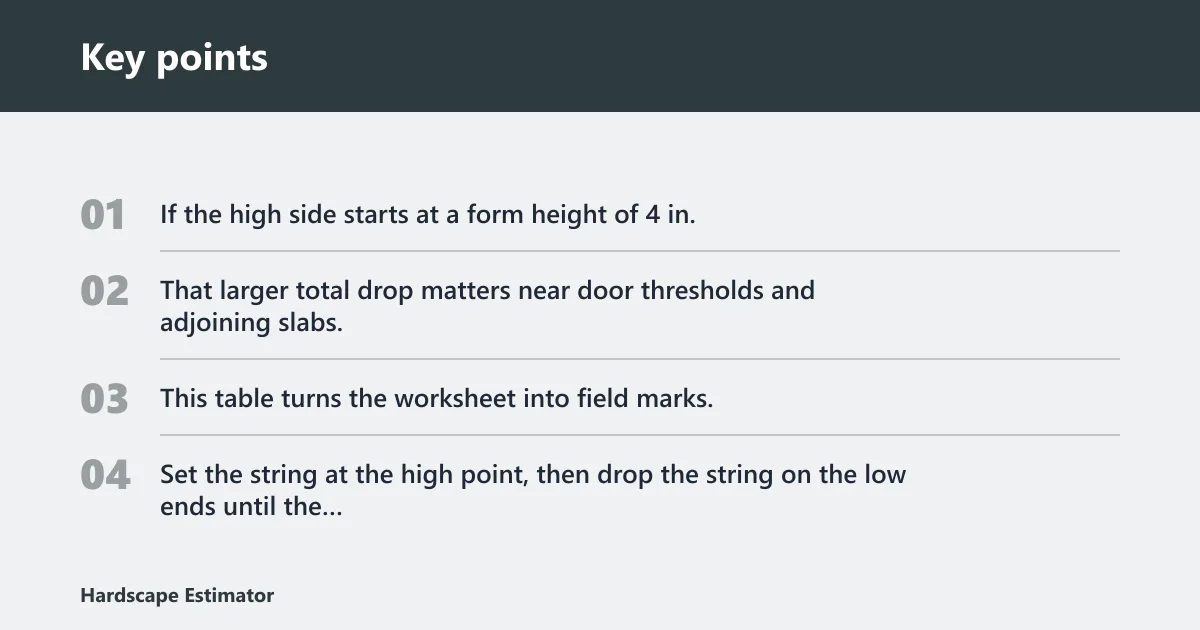
An 8 ft patio run drops 1 in. at 1/8 in. per ft and 2 in. at 1/4 in. per ft. If the high side starts at a form height of 4 in. above grade, the low side becomes 3 in. above grade at 1/8 in. per ft, or 2 in. above grade at 1/4 in. per ft.
12 ft run
A 12 ft run drops 1 1/2 in. at 1/8 in. per ft and 3 in. at 1/4 in. per ft. If the high side is set at 4 in. above grade, the low side ends at 2 1/2 in. above grade for the lighter slope, or 1 in. above grade for the steeper slope.
16 ft run
A 16 ft run drops 2 in. at 1/8 in. per ft and 4 in. at 1/4 in. per ft. That larger total drop matters near door thresholds and adjoining slabs, where the form board on the low side may need to sit much lower than the high side.
Field check table for stake heights, string offsets, and form adjustments
This table turns the worksheet into field marks. Set the string at the high point, then drop the string on the low ends until the measured offset matches the planned fall.
| Run | High stake setting | Low stake setting | String-to-ground check | Form adjustment note |
|---|---|---|---|---|
| 8 ft at 1/8 in. per ft | Set to level reference | Lower 1 in. | Check for 1 in. total difference | Trim or shim the low form board by 1 in. from the high side reference |
| 12 ft at 1/4 in. per ft | Set to level reference | Lower 3 in. | Check for 3 in. total difference | Drop the low end form board so the finish line follows the planned fall |
| 16 ft at 1/8 in. per ft | Set to level reference | Lower 2 in. | Check for 2 in. total difference | Adjust both stakes and board height before fastening the forms |
How do you set the fall with stakes and string?
Set a level reference line with mason’s string, then use a level or measured drop to lower the far end of the string by the planned amount. On longer runs, measure carefully because string sag and tool accuracy can affect grade. That gives you a repeatable guide for the finished slab and the form tops. Measure the string-to-ground difference at each stake so the fall matches the layout, not a guess.
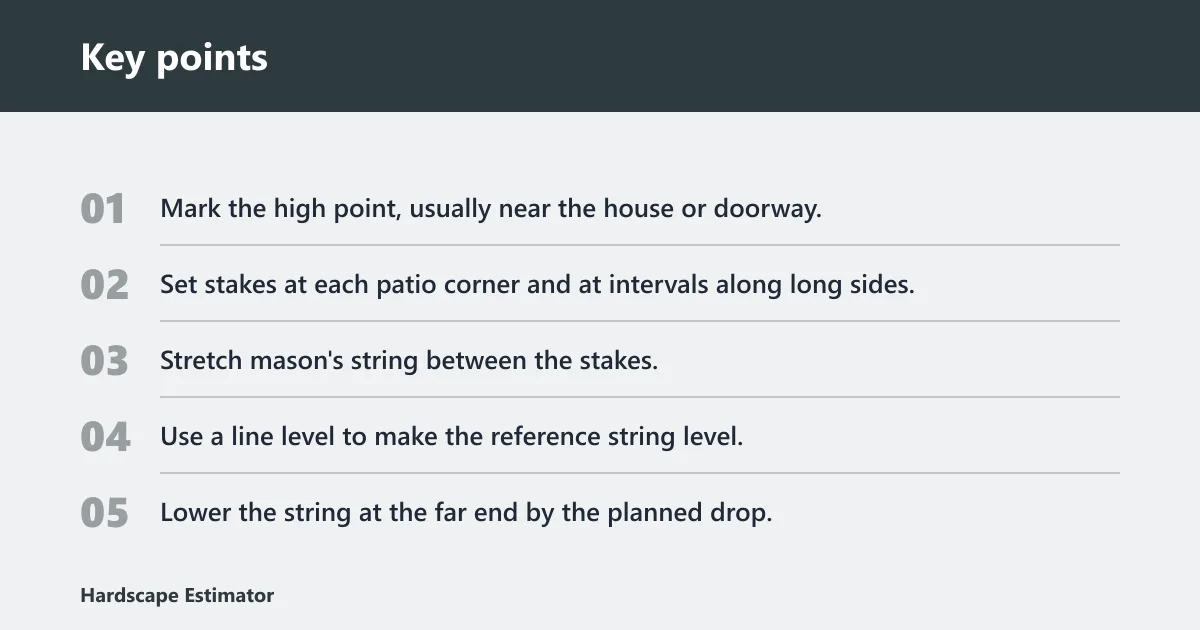
- Mark the high point, usually near the house or doorway.
- Set stakes at each patio corner and at intervals along long sides.
- Stretch mason’s string between the stakes.
- Use a line level to make the reference string level.
- Lower the string at the far end by the planned drop.
- Measure the string-to-ground difference at each stake.
- Move the stakes until the drop matches the worksheet.
Transfer the slope from the high point to the low point
Fix the high side first. From there, subtract the slope drop across the run and reset the low side string to that lower finished elevation. Say your patio runs 12 ft and you want 1/4 in. per ft. The low end string should sit 3 in. below the high end reference.
Check string-to-ground difference at each stake
Do not rely on the end points alone. Check each intermediate stake so the line does not belly or rise between corners. A line that looks close at the ends can still leave a hump in the middle once the concrete is placed and struck off.
How do you set form heights and excavation depth?
Use a story pole to mark slab thickness, subbase depth, and excavation depth. The excavation depth includes the gravel base plus the concrete thickness, and the slope changes that cut depth from one end to the other. Keep the form boards lined up with the planned finished surface, not with the raw soil line.
Picture a 14 ft patio that needs a 4 in. compacted base and a 4 in. slab. The low end excavation will be deeper than the high end because the slab top drops across the run. That difference has to be built into the story pole before digging starts.
Use a story pole to mark slab, subbase, and excavation depths
A story pole is a simple reference stick with marks for the slab, the gravel base, and the bottom of excavation. It keeps the layout consistent from stake to stake. Mark the finished top, the bottom of concrete, and the bottom of subgrade so the whole patio follows one plan.
Account for slope when measuring the cut depth
If the patio slopes 3 in. from high end to low end, the excavation on the low end must account for that extra drop. Otherwise the slab thickness can end up too thin at the low side or too thick at the high side. Check both ends before the dig is finalized.
Subbase, joints, and finish details
For most building projects, gravel should be about 5 in. thick before compaction and compacted to 4 in., though required base depth can vary with soil, climate, and local code. The gravel base improves drainage and supports the slab. Control joints should be spaced based mainly on slab thickness and panel dimensions, and they are commonly cut or tooled to about one-quarter the slab thickness. Where the patio meets a structure, use an asphalt-impregnated fiber board isolation joint so the slab does not bond to the wall or footing.
Compactible gravel subbase depth before and after compaction
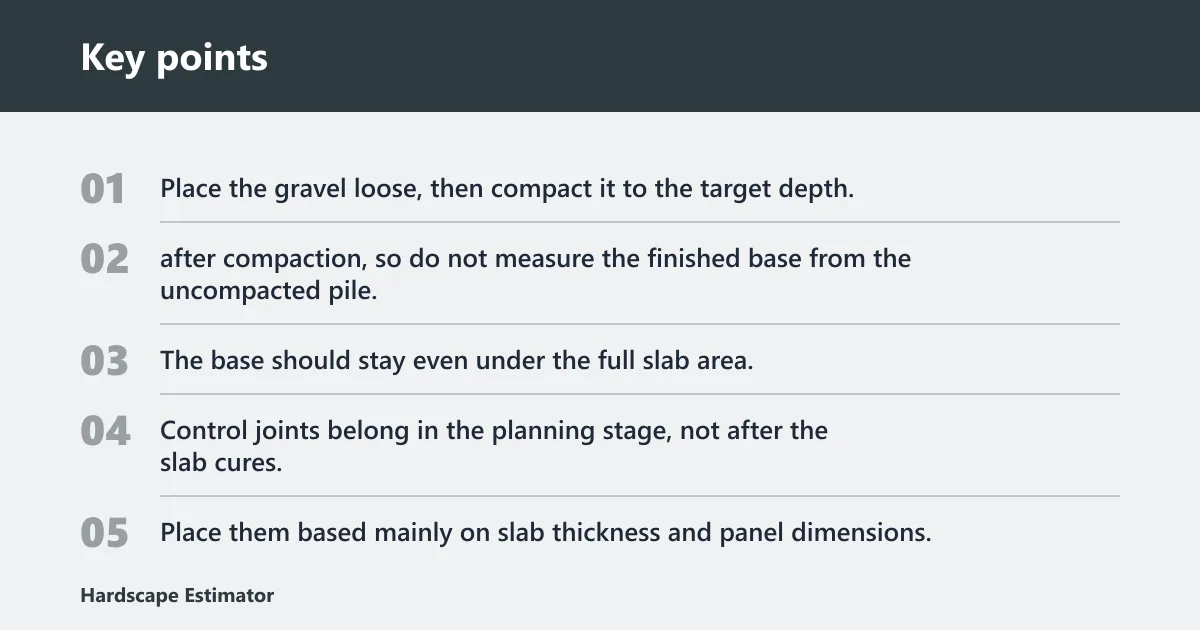
Place the gravel loose, then compact it to the target depth. A loose 5 in. layer can settle to roughly 4 in. after compaction, so do not measure the finished base from the uncompacted pile. The base should stay even under the full slab area, including the low side where drainage matters most.
Control joints for patios larger than 10 ft. x 10 ft
Control joints belong in the planning stage, not after the slab cures. Place them based mainly on slab thickness and panel dimensions, and cut or tool them to about one-quarter the slab thickness. Place them before finishing is complete, and keep the joint pattern consistent with the slab shape.
Isolation joint where the patio meets the structure
Install asphalt-impregnated fiber board where the slab meets the house or another fixed structure. That board prevents bonding to the structure and reduces movement-related damage. It also helps keep the patio from pushing against a wall when temperature and moisture change the slab.
Straightedge, level, trowel, and broom finish checks
Use a straightedge to check the surface plane, a level to verify the fall, a trowel to close the surface, and a broom finish for traction. The finish should follow the planned slope without flat spots that trap water. Check the surface before the concrete sets too hard to correct.
How do you make sure a patio slopes away from the house?
Set the high point near the structure, then lower the stakes and form boards as you move away from it. The finished slab should shed water away from the house, not back toward it. If the patio must meet a threshold, the slope may need to be limited so the top of concrete does not create a trip edge.
Avoid a trip edge at the threshold
Keep the patio top low enough that the transition at the door is safe and smooth. If the slope required for drainage would make the edge too high or too low, the layout needs another solution. That may mean changing the patio size, changing the adjacent grade, or adding drainage hardware.
Decide when slope alone is enough
Slope alone works when the patio can fall freely away from the structure without creating an access problem. If the run is short and the drop is modest, the 1/8 in. to 1/4 in. per ft range may be enough. If the required fall gets too large for the site, use drainage correction instead of forcing more slope.
What if the patio must meet a door or existing slab?
When a patio must tie into a door threshold or an adjacent slab, the slope has to balance drainage with the finished edge height. Check local code and door-clearance or waterproofing requirements before setting the layout. Where the patio meets a threshold, the slope and finished height must be checked together with the door opening and any waterproofing details.
A common first-timer mistake is to hold the new slab flush with the door and forget the fall. The patio looks clean on paper, then water backs up against the wall after the first storm. That is the point where slope, threshold height, and drainage hardware all have to be checked together.
Use regrading, a channel drain, a catch basin, or a French drain when needed
Regrading changes the yard or hardscape elevation so the patio can drain correctly. A channel drain fits where surface water must be collected at a fixed edge. A catch basin works when runoff needs a collection point, and a French drain helps move water through the soil. If slope correction is not enough, one of these systems can help solve the drainage problem.
Frequently asked questions
How much slope for a concrete patio?
A common drainage target is 1/4 in. per ft, while 1/8 in. per ft can work on some patios where the layout is tight. The goal is a slight slope that moves water off the slab without making the surface feel pitched underfoot.
How do you measure patio slope before pouring concrete?
Stretch a level string between stakes, then measure the vertical difference from the string to the ground or grade at each point. Compare that difference to the planned drop from your worksheet. The measured fall should match the target before the forms are locked in place.