How to Install No-Dig Landscape Edging
Install no-dig edging by setting a shallow groove, keeping the top edge at the finished grade, and anchoring it with stakes close enough to stop lift and waviness. A practical starting point is about 1 stake every 2 to 3 ft, with closer spacing on curves and slopes. Bad spacing or poor grade control leads to heaving, pullout, and wavy borders.
What no-dig edging is and when to use it
No-dig edging is a border system that sits at grade and is held with stakes, with minimal disturbance to the bed edge. It works well for lawn-to-bed borders, mulch containment, and sweeping curves where a full trench would be slow or unnecessary. It is usually plastic, metal, or recycled rubber.
For many DIY borders, it is the faster choice. For crisp straight runs, metal is often the cleaner fit. For tight curves or light-duty lawn edges, flexible plastic or rubber usually bends more easily.
Where no-dig edging works best
Use it where the soil can hold a stake and where the edge does not need a poured footing or a deep buried base. It fits beds, turf edges, and mulch borders that need clear definition without heavy excavation.
When a shallow trench or more rigid border is the better choice
A shallow trench or deeper set border makes more sense when the soil is loose, rocky, or subject to freeze-thaw movement. Bob Vila recommends a trench about 3 to 4 inches deep and 4 to 6 inches wide, with edging sitting slightly below ground for a natural look. For grass control, the trench should go just below the grass root line.
If the project includes pavers or bricks, Bob Vila notes a 1-inch bed of sand under them. That is a different install method from no-dig edging and belongs in a more rigid border plan.
What failure modes to expect if the soil is loose or icy
The main risks are stake pullout, heaving, and wave-buckling. Loose soil gives the stake less grip. Freeze-thaw can push the edging upward if the base is not stable. A border that starts straight can later ripple if one section moves and the next section stays fixed.
Choose the right edging material
Material choice should match the run, the curves, and the soil. Plastic is usually the easiest for DIY curves and lower-cost installs. Metal is better for straight runs and sharper visual lines. Recycled rubber and other flexible types can suit lawn borders where bendability matters more than a rigid edge.
Plastic edging for gentle curves and lower cost
Plastic edging bends easily, and Its All Garden highlights UV-resistant plastic as a key choice for no-dig edging. It fits gentle curves well and is often the simplest option for a homeowner install. The tradeoff is that it can warp or crack if it is over-bent, over-driven, or poorly supported.
Metal edging for straight runs and cleaner lines
Metal edging is stiffer than plastic and can hold a crisp line on long straight sections. The same source notes metal edging can be used in strips between three to five inches high. Landscape Improvements lists metal edging at $2.50 to $6.50 per foot.
Metal is less forgiving on tight curves. It also needs the right material choice for corrosion resistance, since some metals can rust depending on the product.
Recycled rubber and other flexible options for lawn borders
Flexible rubber-style edging helps where the border needs to absorb minor bumps and follow broader curves. It can suit lawn edges that do not need a very hard visual line. The installer still has to keep the stakes tight and the grade even.
How do you lay out the border before installation?
Lay out the border before fastening anything. Use a hose to shape the curve, then mark the final line once the shape looks right. Measure the full run, note corners and transitions, and add waste for cuts and tie-ins. That keeps the stake count and material order closer to reality.
Use a garden hose to shape curves
The same source says curved edging can be laid out with a hose guide. That makes the hose a useful temporary pattern for arcs and irregular beds. Once the shape looks right, mark the edge with spray paint or stakes and string.
Mark straight sections, corners, and transitions
Mark where the border changes direction, where it meets a walkway, and where the grade changes. These spots usually need extra attention because they are where the edge tends to kick out or dip. A straight run can hide small mistakes; a corner usually cannot.
Measure total linear feet and note waste at cuts
Measure the run in linear feet, then add waste for cuts, overlaps, and failed ends. A simple estimate is to add about 5% to 12% depending on how many turns the layout has. Tight curves and multiple endpoints push waste higher.
Say your bed edge is 28 ft long with two broad curves and one corner by the driveway. The layout might still need only a modest waste allowance, but the stake count rises because the curve and corner need tighter control than the straight sections.
No-dig edging install steps
The basic sequence is the same across most brands: prepare the line, place the edging, lock the first section, add stakes, check level, then backfill and finish the grade. Keep the top edge where you want the finished line before you drive the next stake. Small height errors become visible fast on long borders.
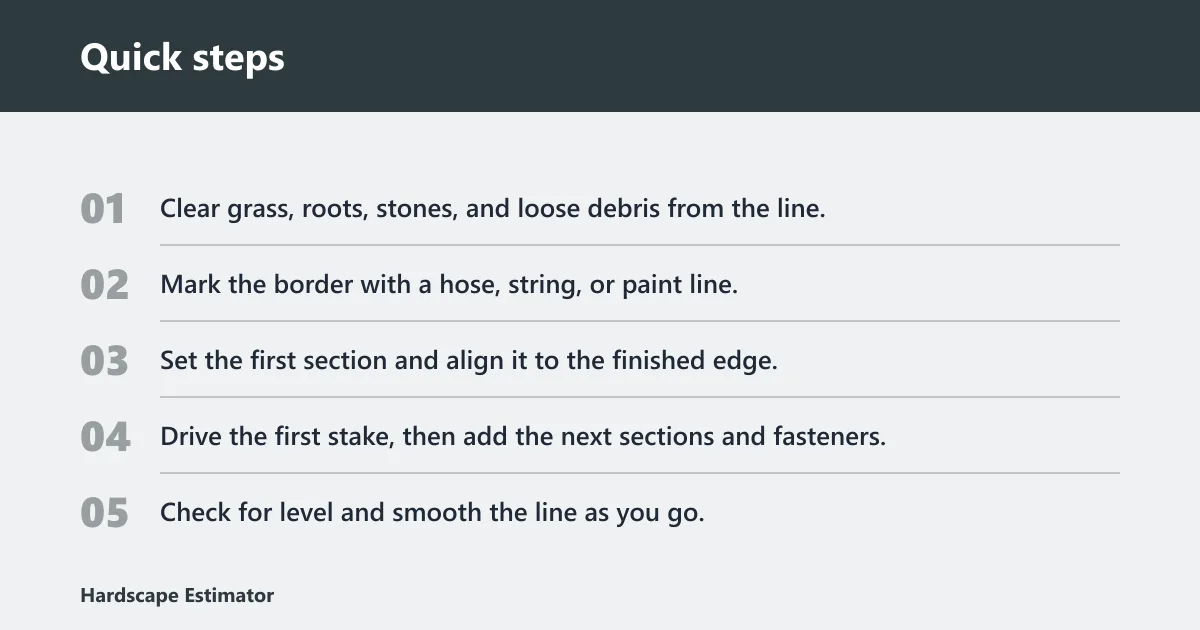
- Clear grass, roots, stones, and loose debris from the line.
- Mark the border with a hose, string, or paint line.
- Set the first section and align it to the finished edge.
- Drive the first stake, then add the next sections and fasteners.
- Check for level and smooth the line as you go.
- Backfill with soil or sand where the product and site call for it.
- Tamp gently, then recheck the top edge after the first pass.
Prep the line and clear debris
Remove anything that keeps the edging from sitting flat. Roots, stones, and clods can create a lift point under the edging body or under a stake. That lift point often turns into a visible wave later.
Set the edging and lock the first section
Start with the most visible section or the longest straight run. Locking the first section well makes the rest easier to align. If the first piece is off, every added piece tends to follow the same error.
Drive stakes, join sections, and check level
Use a hammer or mallet if the manufacturer allows it. The same source says softer soil may allow pounding edging with a wood block, which can help spread impact on a vulnerable edge. Stakes should go in straight and firm, not at a lean that invites pullout later.
Backfill, tamp, and make final alignment corrections
Backfill with soil or sand where needed to lock the edge in place. Sand is especially relevant under pavers and bricks, where Bob Vila notes a 1-inch bed of sand. Tamp lightly, then check whether the top edge still sits where you want it.
Suppose a 16 ft border looks good on day one but the middle starts to wave after a week of rain. The likely issue is not the panel length; it is stake spacing, soft soil, or a section that was left slightly high and then moved under load.
How deep should no-dig edging go?
For no-dig edging, the goal is usually a stable seat rather than a deep trench. A minimal pilot hole may be enough in firm soil, while soft or rocky soil may need a shallow groove or more careful prep. The top edge should still land at the finished height you want.
Minimal pilot holes versus shallow trench prep
Use pilot holes when the soil is firm enough to accept stakes cleanly. Use a shallow groove when the line needs better control or the soil surface is uneven. The same source recommends a trench about 3 to 4 inches deep and 4 to 6 inches wide for general edging guides, but that is deeper than many no-dig installs need.
How depth changes in soft, rocky, or freeze-thaw soil
Soft soil can call for deeper stake seating and closer spacing. Rocky soil may force more pilot work and slower stake installation. Freeze-thaw exposure raises the risk of heave, so the border needs better contact and tighter anchoring than a sheltered bed edge.
How to keep the top edge at the right finished height
Keep checking from the lawn side and the bed side. The same source says edging should sit slightly below ground for a natural look, and grass-control trenches should go just below the grass root line. That height keeps the border visible without turning it into a trip edge.
Edging stake and waste calculator
This table is a planning tool. It uses simple install assumptions so the run can be estimated before purchase. For a real order, confirm the usable length per kit on the package and adjust for the exact curve count, soil firmness, and connection style.
| Edging type | Recommended stake spacing | Expected waste | Typical usable length per kit | Straight-run failure to watch | Curve failure to watch | Soft-soil failure to watch |
|---|---|---|---|---|---|---|
| Plastic | Every 2 to 3 ft | 10% | 20 ft | Waving if the stakes are too far apart | Cracking or flattening from over-bending | Stake pullout if the base stays loose |
| Metal | Every 3 to 4 ft on straight runs; closer on curves | 5% | 10 ft | Wave-buckling if the line is forced | Kinking at a tight radius | Heaving if the stake does not bite deep enough |
| Recycled rubber | Every 2 to 3 ft | 12% | 20 ft | Section creep if joints are left loose | Bulging on broad curves if support is uneven | Pullout in wet soil unless anchored tightly |
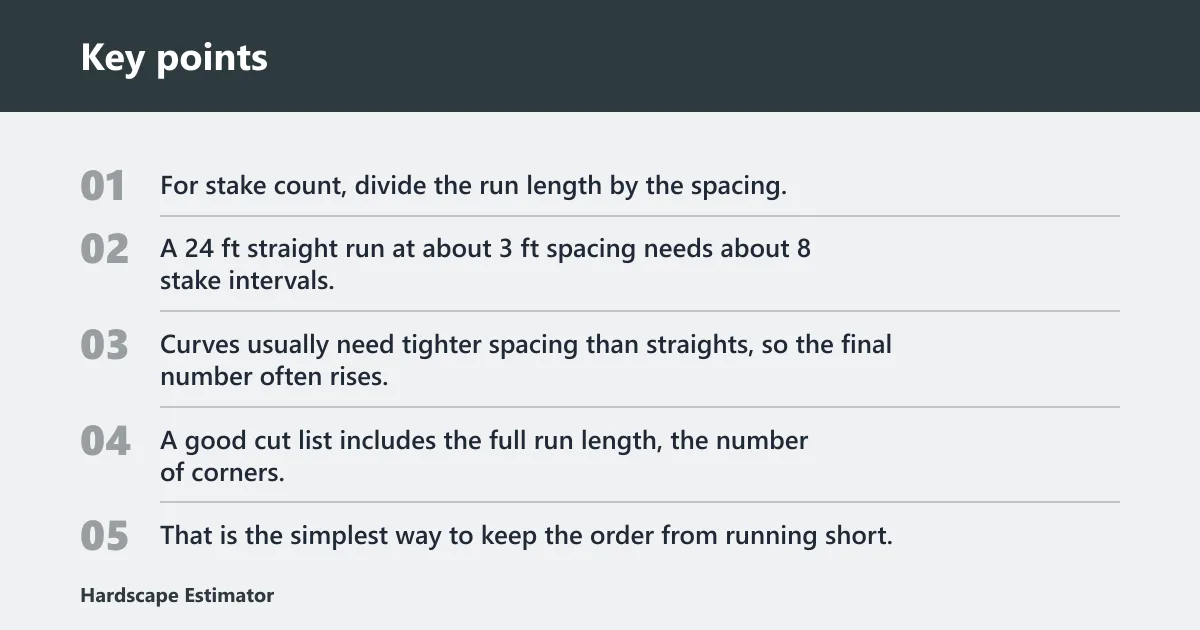
For stake count, divide the run length by the spacing, then round up and add one end stake for each open end. A 24 ft straight run at about 3 ft spacing needs about 8 stake intervals, plus end control where the system terminates. Curves usually need tighter spacing than straights, so the final number often rises.
A good cut list includes the full run length, the number of corners, the number of end caps or termination pieces if the system uses them, and the waste allowance. That is the simplest way to keep the order from running short.
How do you install no dig edging around curves?
Curves need closer stake spacing than straight runs because the outer edge wants to spring outward. Use the hose layout first, then tighten the spacing as the radius gets smaller. On broad curves, flexible plastic or rubber usually bends more easily than metal.
Set tighter spacing on tight arcs
KC Plants recommends driving stakes every 3 to 4 feet. That is a reasonable straight-run baseline, but curves usually need closer spacing than that. If the border starts to drift outward, add a stake before the wave gets locked in.
Avoid forcing the edging into a sharp bend
Do not make the product carry a bend it cannot hold. If the curve is tighter than the material wants, switch to a more flexible edging or shorten the spacing. A forced bend often becomes a crack, kink, or lifted edge later.
Keep the outside edge supported
The outside of the curve is where the material wants to move first. If the soil there is soft or sloped, backfill and tamp that side carefully. That support matters more than a perfect-looking stake head.
How do you cut no dig edging?
Cut no-dig edging with the tool that matches the material and follow the product directions for your model. Clean cuts matter because a ragged end is harder to join, harder to anchor, and more likely to snag mulch or lift at the finish line.
Cut plastic edging cleanly
Plastic usually cuts with heavy shears, snips, or a fine-tooth saw depending on thickness. Mark the cut first, then cut once and dry-fit before final fastening. A rough edge can stop the next section from seating squarely.
Cut metal edging with the right blade or snips
Metal needs a tool that suits the alloy and thickness. Keep the cut end smooth enough that it does not catch hands, hoses, or fabric. If the edge is sharp after cutting, it needs dressing before final placement.
Cut rubber or composite edging carefully
Flexible rubber or composite products can compress or deform if the cut is rushed. Support the section firmly, then trim it so the end stays square. An angled cut can change the way the next section sits.
How do I install no dig plastic edging?
Install plastic edging by laying out the line, setting the first section flat, and staking it before the curve or run can drift. Plastic is the easiest material for gentle bends, but it still needs close support at corners and on soft soil. UV-resistant plastic is a better choice than untreated plastic where sun exposure is heavy.
Use about 1 stake every 2 to 3 ft as a starting point, then tighten that spacing on curves and slopes. Keep the top edge even, because plastic will show every dip if the run is not supported consistently.
How do I install no dig garden edging?
Install garden edging the same way you would install a lawn border: mark the line, set the edging, secure it, then backfill and check the final grade. Garden beds usually need the border to hold mulch in place and define the planting edge without creating a tall lip.
If the bed borders a path or gravel strip, make sure the finished height does not become a trip edge. The taller the border, the more important the grade check becomes at the walking side.
How do I install no dig lawn edging?
Install lawn edging so the border sits just low enough to look intentional while still keeping grass from creeping over the line. The same source says edging should sit slightly below ground for a natural look, and grass-control trenches should go just below the grass root line. That keeps mowing and trimming simpler.
On lawn edges, stake pullout is the most common issue when the soil stays soft. If the turf line is uneven, smooth it before the edging goes in, or the border will mirror that unevenness.
Frequently asked questions
How do I install no dig edging?
Lay out the border with a hose or paint line, measure the run, then set the edging and stake it before the shape moves. Keep the top edge at the finished height, tighten the spacing on curves, and backfill lightly so the border stays locked in place.
What tools do I need for no dig edging installation?
At minimum, use a tape measure, hose or marking paint, hammer or mallet if allowed by the manufacturer, and a cutting tool suited to the edging material. A wood block can help spread impact in softer soil, and a level helps keep the run from wandering.