How to Install Edging Pavers for a Walkway
Install walkway edging pavers by compacting the base, supporting the edge course all the way across, and using a concrete haunch or soldier-course restraint where the system calls for it. Plan on about 5% extra edging material for cuts and waste. If the border is built poorly, it shifts, opens joints, and lets the walkway spread, which drives rework and added material cost. This guide covers layout, excavation, base, edge restraint, and the material math for pavers, base rock, and bedding sand.
Why walkway edging fails

Edge failure usually starts at the perimeter, where the base can be the most vulnerable to movement. If the edging sits on loose bedding sand, uses too few spikes, or stops short of firm support, pavers creep outward, joints open, and the border settles unevenly.
Three failure modes show up most often. Edge creep is lateral movement from traffic or freeze-thaw. Settlement happens when the edge is not fully supported by compacted base. Spike pullout happens on soft subgrades or when stakes are too short for the base thickness.
What the edge has to resist
Paver edging is a restraint that holds walkway pavers in place at the perimeter so they do not spread. Flexible plastic, aluminum, and steel edging depend on spikes or stakes. Soldier-course pavers act as the restraint themselves, but they still need a stable bed and the restraint details vary by system.
Say a 4 ft wide path turns past a planting bed and the outer edge sits on only 1 in. of loose sand. The first few rain cycles can wash the sand toward the bed, the edge dips, and the field pavers begin to fan outward. The fix is support at the base, not more joint sand.
What you’ll need
- Flexible edging strip, aluminum edging, steel edging, or soldier-course pavers
- Edge restraint spikes or stakes sized for the base thickness
- Crushed stone base material
- Bedding sand for a screeded setting layer
- Polymeric joint sand
- Plate compactor or hand tamper
- Paver saw, cutoff saw, or masonry chisel
- String line, tape measure, level, and marking paint
- Rubber mallet and straightedge
- Eye protection and dust control gear
Walkway edging takeoff table
Use the perimeter length to size edging and spikes. Base, bedding sand, and joint sand depend on the full walkway layout and the products used. The table below assumes a 4 in. compacted base, a 1 in. bedding sand layer before compaction, 8 in. spike spacing, and pavers with about 1/8 in. joints. Add 5% to edging length for cuts and waste.
| Perimeter length | Edging pieces | Spikes or stakes | Compacted base | Bedding sand | Polymeric sand bags |
|---|---|---|---|---|---|
| 20 lf | 7 pieces at 3 lf each | 30 spikes | 0.25 cu yd | 0.06 cu yd | 1 bag |
| 40 lf | 14 pieces at 3 lf each | 60 spikes | 0.49 cu yd | 0.12 cu yd | 2 bags |
| 60 lf | 21 pieces at 3 lf each | 90 spikes | 0.74 cu yd | 0.19 cu yd | 3 bags |
| 100 lf | 35 pieces at 3 lf each | 150 spikes | 1.23 cu yd | 0.31 cu yd | 4 bags |
How do you prepare the perimeter?
Excavate the full walkway footprint so the edge restraint lands on compacted base, not loose fill. Build the subgrade to a steady slope away from structures, usually about 1/8 in. to 1/4 in. per ft, so water leaves the surface instead of sitting at the border.
- Mark the edge line. Snap strings or mark paint for both sides of the walkway, including curves and threshold transitions. Keep the outer line consistent so the edging follows the finished shape rather than the excavation wander.
- Excavate to depth. Dig for subgrade, base, and bedding sand together. A common 3 to 4 in. paver plus 4 in. base plus 1 in. bedding sand means about 8 to 10 in. of total excavation before any slope correction.
- Compact the subgrade. Run the plate compactor over the exposed soil and recheck the line. Soft spots should be dug out and replaced with compacted base, because edge stakes pull out more easily in weak soil.
How do you install edging pavers?
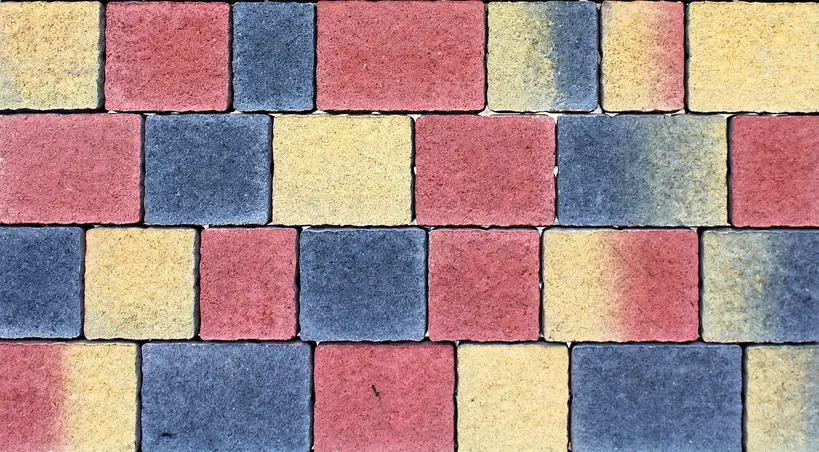
Set the edging so it bears on the compacted base edge, not on bedding sand alone. Flexible edging strips go down first and get anchored with spikes. Soldier-course borders use full pavers or cut pavers set tightly on a bed and restrained according to the specified system details.
Flexible edging strip method
- Lay the strip tight. Place the edging against the outside paver line and keep it flush to the finished perimeter. Use the manufacturer’s holes or slots for fasteners.
- Drive spikes through the base. Follow the edging manufacturer’s requirements for spike spacing and length, with closer spacing at curves or ends where needed. Use 8 to 10 in. spikes for thin bases only where allowed by the system, and longer stakes when the base is deeper or the soil is soft.
- Set pavers against it. Push the field pavers firmly into the screeded bedding sand until they contact the restraint. The edge strip should not float above the base or sit on sand that can wash out.
Soldier-course border method
Soldier-course pavers are installed upright or edge-set to form a decorative and structural border. Depending on the system, they may be set on compacted base with restraint details that provide stable support. Keep the units plumb, aligned, and consistent in joint width.
- Set the bed evenly. Place a firm concrete or mortar bed where the border will sit when specified by the system. The bed should support the full base of each border paver, not just a corner.
- Align each unit. Tap pavers to line and level with the rest of the edge. Check every few pieces so the border does not drift outward or pinch the field pavers.
- Lock the joints. Fill joints with mortar or the specified joint material after alignment is confirmed. Keep excess mortar off the face so the border reads as a clean edge.
How do you lock the edge and joints?
The edge locks when the restraint is anchored to compacted base and the joint sand is fully swept and activated. Bedding sand stays as a setting layer under the field pavers; it should never be the only thing holding the edge in place.
- Backfill the perimeter. Pack base material tightly against the outside of the edging or soldier course. A firm backfill helps resist lateral movement and fills voids that can lead to settlement.
- Sweep in joint sand. Fill joints only when the surface is dry, then sweep and compact as directed by the sand maker. For polymeric sand, remove all residue before activation so haze does not bond to the paver face.
- Top up and recheck. Add bedding or joint material in 1/8 to 1/4 in. increments where joints open after compacting, then recheck level and slope. Small corrections are easier than repairing a settled edge later.
Suppose a narrow 3 ft path meets a concrete step. If the edge at the step is cut short and left unsupported, traffic will drive the pavers toward the gap. A full border paver or a tight soldier-course return solves that transition better than loose fill at the step face.
Common mistakes
Most edge problems come from support, spacing, or moisture control. The border fails when the restraint is not anchored into compacted base, when the slope traps water against the edge, or when cuts leave a weak sliver at a corner.
- Setting edging on sand alone. Bedding sand is for leveling the pavers, not holding the border.
- Using too few spikes. Wide spacing lets the strip bow outward between fasteners.
- Skipping compacted base at the edge. Soft subgrade leads to settlement and pullout.
- Ignoring drainage slope. Water that runs toward the edge can wash out support.
- Cutting corners without checking alignment. Poor cuts telegraph through the whole border.
- Applying polymeric sand on damp joints. Moisture can cause clumping and weak joints.
If that didn’t work, try this next: for a border that keeps loosening, replace the short spikes with longer stakes and add one between every existing fastener on the softest section. If the problem is a dipped edge, lift the pavers, rebuild the base, and reset the restraint on firm support instead of adding more sand.
Frequently asked questions
How do you install edging pavers for a walkway?
Excavate for the full base, compact the subgrade, set the edging on the base edge, and anchor it with spikes or mortar depending on the border type. Then place the field pavers, compact the surface, and sweep polymeric sand into dry joints before activation.
Do paver edging pieces need to be set in concrete?
Flexible plastic, aluminum, and steel edging usually do not need concrete, but they do need spikes into compacted base. Soldier-course border pavers commonly use a mortar or concrete bed because the edge units need a stable, continuous support line.
How far below the paver surface should edging be installed?
Flexible edging is usually set low enough that the top of the restraint does not interfere with the paver face or joint fill, often just below the finished surface at the perimeter. The exact height depends on the paver thickness and edge profile, so keep the top edge consistent with the final line.
What base depth do I need for a walkway with edging pavers?
A common residential walkway uses about 4 in. of compacted crushed stone base under the pavers, with 1 in. of bedding sand above it. Heavier use, soft soil, or poor drainage may call for a deeper base, so the layout should be adjusted to site conditions.
How do you keep walkway pavers from spreading without metal edging?
Use a soldier-course border set in mortar or a concrete haunch at the perimeter. A full paver border with tight joints can restrain the field pavers, but it still needs solid support and consistent alignment to stop outward movement.
How many spikes or stakes are needed to hold paver edging in place?
Follow the edging manufacturer’s requirements for spike count and spacing. For a 40 lf perimeter, that often means about 60 spikes. Soft subgrades or taller edging may need more fasteners.