Do Retaining Wall Blocks Need to Be Buried?
Yes. The first course is typically started below finished grade. The usual rule is to bury at least half the block height as a minimum, with deeper embedment on taller walls, slopes, weaker soils, or where local building codes require it. If burial is too shallow, the wall can slide, bulge, or settle after rain and freeze-thaw cycles. Set the trench, base, and visible height from that rule.
Do retaining wall blocks need to be buried?
What you’ll need
- Retaining wall blocks and cap blocks
- Layout string and stakes
- 3/4-inch clean crushed stone for the base and drainage zone
- Hand tamper or plate compactor
- Level
- Rubber mallet
- Shovel and digging tools
- 4-inch perforated drain pipe
- Outlet materials to daylight
- Landscape fabric
How deep should the trench be for retaining wall blocks?
The trench needs enough depth for the compacted gravel base plus the buried part of the first course. A typical trench is 12 inches deep and 18–24 inches wide, but block height changes the final depth. Keep the base level the full length so the wall starts from a flat line.
For a 6-inch block, burying half means about 3 inches below grade and 3 inches above grade for the visible portion of the first course. On a slope or in weak soil, dig deeper. Extra embedment gives the wall more resistance to movement.
Set the first course below grade
- Excavate the trench to the planned depth and width.
- Add 3/4-inch clean crushed stone in 3-inch lifts and compact each lift.
- Bring the compacted base to about 6 inches deep.
- Place the first blocks on the base and tap them level front-to-back and side-to-side.
- Check the exposed face against the burial rule before stacking the next course.
Say your block is 8 inches tall. Half burial means 4 inches below finished grade and 4 inches exposed. If the trench is too shallow, the wall loses embedment at the toe. If it is too deep, the face can end up too low and the finished grade can hide more of the block than planned.
Burial depth quick reference
Use this as a fast check before you set the first course. The numbers below use the halfway rule and a typical 6-inch compacted gravel base; deeper bases may be needed in cohesive soils or where water tables are high. The visible height is what should remain above finished grade after the first course is set.
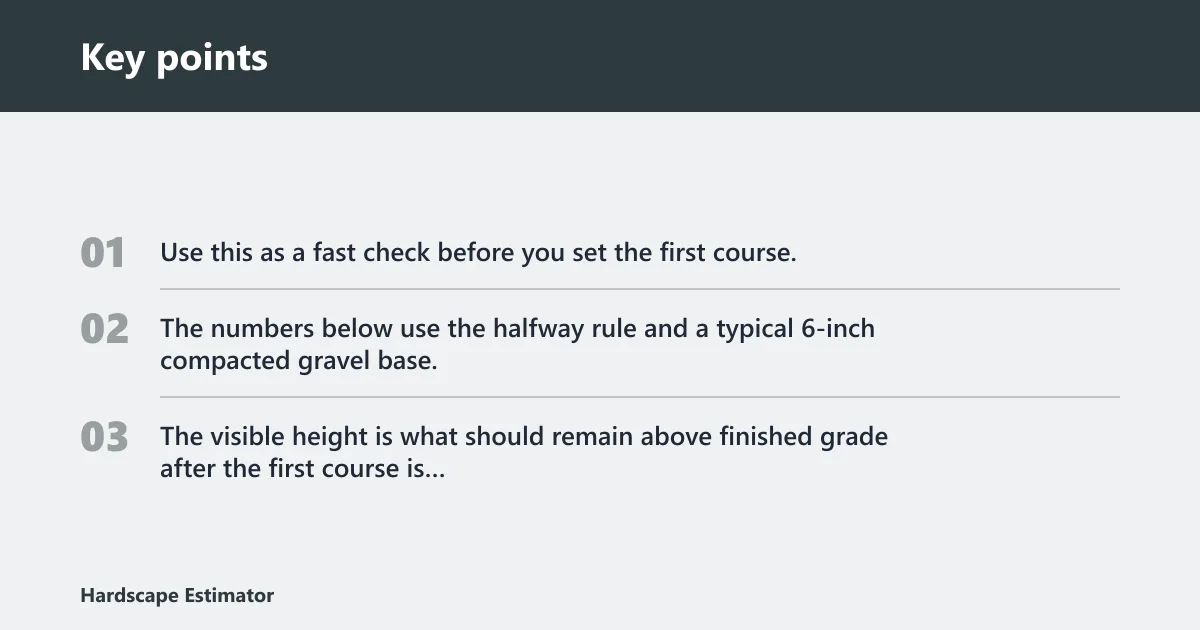
| Block height | Below-grade embedment | Trench depth | Visible first-course height | Failure-risk note |
|---|---|---|---|---|
| 6 in | 3 in | about 9 in | 3 in | Lowest risk when the base is compacted and level; shallow burial here can still shift after saturation. |
| 8 in | 4 in | about 10 in | 4 in | Good default for many small walls; too little embedment can let the face creep forward. |
| 10 in | 5 in | about 11 in | 5 in | Better for walls with more exposure; poor drainage makes settlement more likely if the trench is shallow or uneven. |
| 12 in | 6 in | about 12 in | 6 in | Safer on taller residential walls; under-burial here increases the chance of bulging at the base. |
Do you need drainage behind the wall?
Yes. A 4-inch perforated drain pipe belongs behind the base course, and it should slope to daylight at a minimum 1% grade. Drainage stone behind the wall helps reduce hydrostatic pressure, while landscape fabric keeps native soil from migrating into the gravel zone. The perforated pipe should be wrapped in geotextile fabric to help prevent clogging.
Without a drainage path, water loads the back of the wall and adds pressure that burial alone cannot solve. Set the pipe low, keep the outlet clear, and separate the drainage zone so fine soil does not clog the stone.
Install drainage behind the base course
- Lay landscape fabric against the native soil behind the trench.
- Place the 4-inch perforated drain pipe behind the base course.
- Slope the pipe to daylight at at least 1% grade.
- Cover the pipe with clean crushed stone.
- Fold the fabric over the drainage stone before backfill.
How do you set the first course of retaining wall blocks?
Set the first course on a compacted base, then level it carefully front-to-back and side-to-side before any upper courses go on. That first course sets the wall line and stability. If it starts out of level, every course above it copies the error.
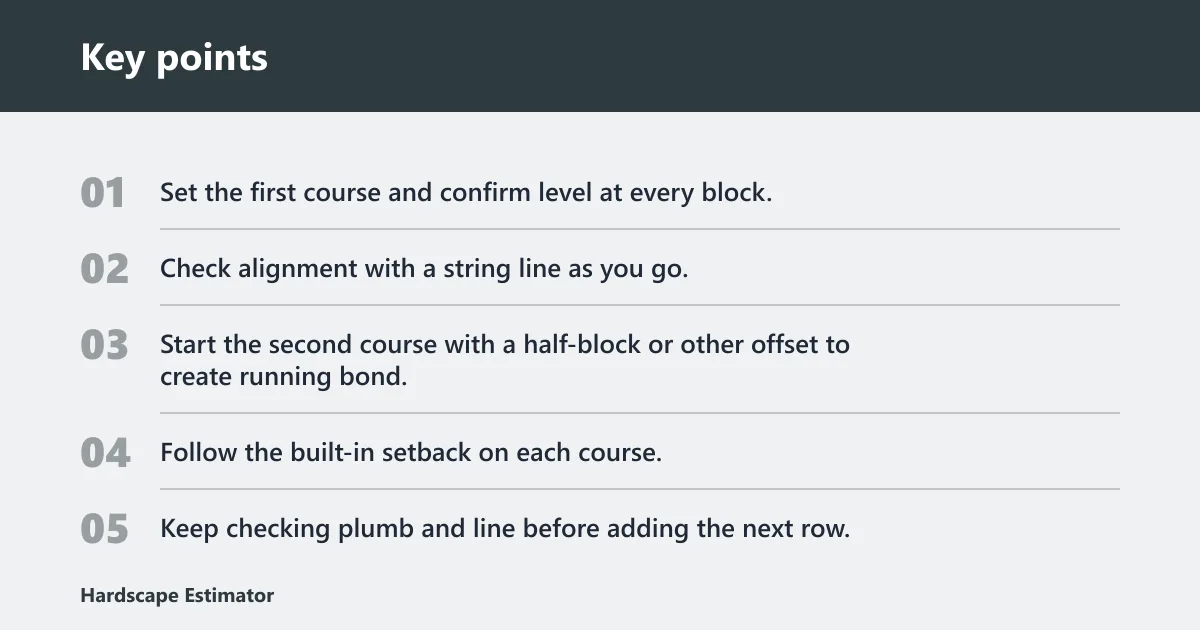
Most retaining wall blocks also have a built-in setback of about 1 inch per course, so the upper courses should follow that batter. Vertical joints should be staggered in a running bond pattern so stacked joints do not form a weak line through the wall.
Build the wall upward in correct order
- Set the first course and confirm level at every block.
- Check alignment with a string line as you go.
- Start the second course with a half-block or other offset to create running bond.
- Follow the built-in setback on each course.
- Keep checking plumb and line before adding the next row.
Suppose the first course sits 1 inch high on one end. That small error makes the wall lean or step as the courses rise. The upper faces can still look straight from a distance, but the base will carry uneven load and can settle or move later.
Common mistakes
Many failures begin at the base. A wall that is too shallow, saturated, or too uneven will move before the cap goes on. Fix the base, the drain, and the joint pattern before you worry about the finish.
- First course too high above grade: leaves too little embedment and raises the chance of sliding and tipping.
- Loose or uneven base: settles after backfill and opens joints.
- Stacked vertical joints: create a weak line through the wall instead of a running bond.
- Ignoring setback: can push the wall face out of line.
- No drainage outlet: traps water and increases pressure behind the wall.
A common first-timer mistake is to dry-fit the first row on soil and call it level enough. That may look fine on day one, then show a dip or bulge after the first hard rain because the base was not compacted and the trench was not deep enough.
How tall can a wall be without engineering?
Many areas do not require engineering for walls under 4 feet, but local rules still vary, and ICC International Residential Code (IRC) R607.6 or local amendments may apply. Taller walls, steep slopes, poor soils, or heavy surcharge loads can trigger permits or design review. Check the local code before you excavate, not after the block is in the trench.
Gravity retaining walls rely on their own mass, the setback, and the buried first course. As the wall gets taller, the forces rise faster than the block count, and the margin for error shrinks. If the wall is near the local height threshold, bring in the right professional.
Frequently asked questions
How far should retaining wall blocks be buried?
Start with at least halfway into the finished grade. For a 6-inch block, that means 3 inches below grade; for taller blocks, keep the same halfway rule unless the wall is more exposed or the soil is weaker, in which case deeper embedment is safer.
Should the first course of retaining wall blocks be level with the ground?
No. If the first course is level with the ground, it is too high and too exposed. Set it below grade so the wall starts on a buried base, then keep the top of that course level in both directions before stacking above it.
How much gravel goes under retaining wall blocks?
Use a compacted gravel base that is typically 6 inches deep. The stone should be 3/4-inch clean crushed stone, compacted in 3-inch lifts so the base stays dense and even under the first course.
Can you build a retaining wall without burying the blocks?
No. A wall built directly on grade is far more likely to move. The buried first course gives the structure a keyed base, and without it the wall has less resistance to sliding, settlement, and rotation after wet weather.