How to Lay Landscape Fabric Around Existing Plants
Lay weed fabric by cutting X-shaped slits or pie wedges around each plant, leaving about a 2 to 4 in gap around stems and the root flare so the fabric does not press tight. If you wrap stems or bury the flare, you can trap moisture, damage bark, and create a weak weed barrier that is hard to fix later. This guide shows how to measure, cut, and overlap fabric around shrubs, trees, and bed plants without choking roots or blocking water.
What weed fabric does
Weed fabric is a weed-control layer, not a permanent fix. Most garden fabrics are porous enough to allow water and oxygen to pass, but that movement changes as the fabric loads up with fine soil and mulch bits. Fabric adds no nutritional value to the soil, and it does not eliminate all weeding.
Woven, non-woven, and perforated types
Woven fabric is best around trees and shrubs because it is breathable. Non-woven fabric is less permeable than other types and is usually a poorer choice near live roots. Perforated styles sit between the two in use, but their hole pattern does not solve the main issue around established plants: the openings still need to stay clear around trunks, stems, and irrigation parts.
Why permeability matters near live roots
Water and oxygen must move through the bed. That matters more around existing plants than under a rock path. If fabric slows that movement too much, roots stay in a tighter, wetter zone than intended. Fabric can also suffocate earthworms, which is another reason it is a better fit only when permeability still matters to the planting.
What changes as fabric clogs over time
Benefits of weed fabric begin to decline after about a year. As it clogs, water and oxygen movement drop. Roots can grow into the fabric and jeopardize plant health, and fabric can girdle trees when not installed properly. That is why the cut size and the seam layout matter as much as the material choice.
Lay the fabric in one controlled pass: measure each plant, place the sheets with overlap, cut larger-than-tight openings, and anchor everything before adding mulch. The goal is open space around stems and the root flare, plus enough seam coverage that the fabric does not pull apart when the bed settles.
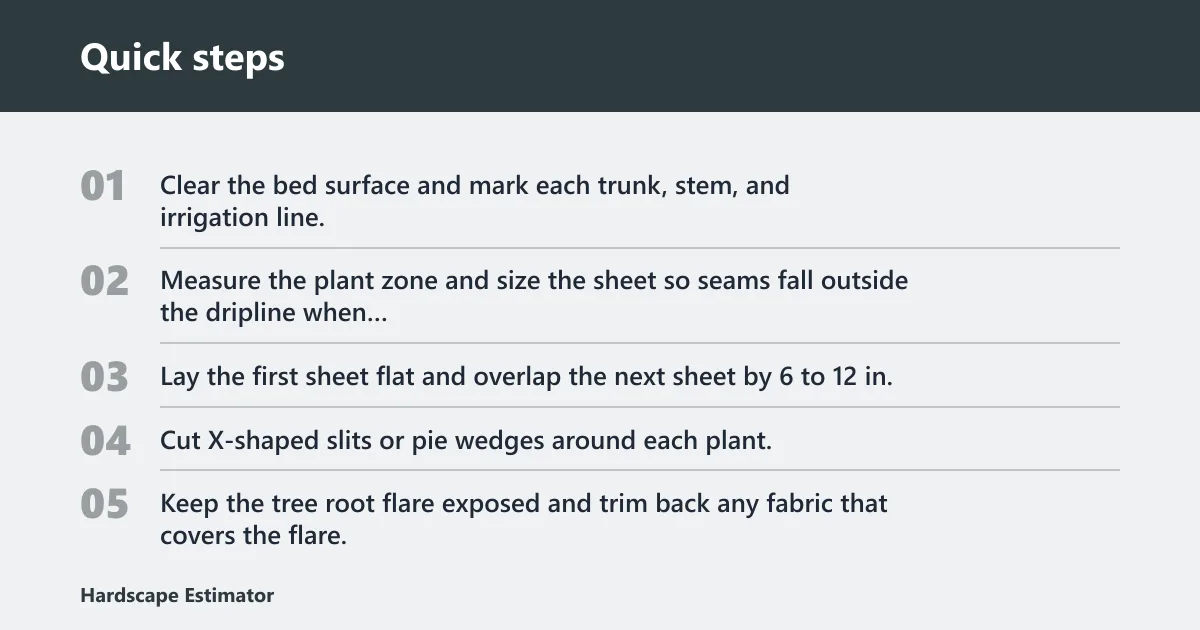
- Clear the bed surface and mark each trunk, stem, and irrigation line.
- Measure the plant zone and size the sheet so seams fall outside the dripline when possible.
- Lay the first sheet flat and overlap the next sheet by 6 to 12 in.
- Cut X-shaped slits or pie wedges around each plant, then widen the opening so the fabric does not press tight.
- Keep the tree root flare exposed and trim back any fabric that covers the flare.
- Pin seams and edges with staples before moving on to the next section.
- Route drip lines and soaker hoses above the fabric or through open channels that stay accessible.
- Add 2 to 4 in of mulch, then recheck every trunk opening for slack.
Step 1: Clear the bed and measure each plant zone
Measure the widest spread you need to cover, then mark each trunk or stem center. For trees, note the root flare, not just the trunk diameter. For shrubs, measure the outer stem cluster and leave extra space for growth. That keeps the fabric from binding as the plant expands.
Step 2: Lay sheets with planned overlap
Overlap adjacent sheets by 6 to 12 in. On sloped beds or high-traffic edges, use the larger end of that range. Pin the overlap before cutting openings. If the seams float loose, wind or foot traffic can shift the sheet and open gaps for weeds.
Step 3: Cut trunk and stem openings oversized
For a single trunk or stem, start with an X-shaped slit, then trim to a pie shape if needed. Leave about a 2 to 4 in gap around the stem or trunk flare. Larger holes reduce girdling risk because the fabric does not press tight as the plant moves or swells.
Step 4: Secure seams and route irrigation
Place emitters where they can be checked later. Do not bury a drip fitting under a sealed fabric edge. If the hose must cross a seam, run it in a shallow channel and pin it separately. A covered line that cannot be inspected is hard to correct after mulch is added.
Step 5: Add mulch without burying root flares
Add 2 to 4 in of mulch over the fabric. Keep mulch away from trunks and do not build a cone at the base of a tree. The root flare should stay visible, and the mulch edge should end several inches away from bark. More mulch is not better at the stem.
Which fabric should you use around plants?
Use woven fabric for trees and shrubs when you want a barrier that still breathes. Skip non-woven fabric near most established plantings unless the bed is meant for rock cover and the root zone is not sensitive to reduced permeability. Around mixed beds, the safest choice is often no fabric at all under tender perennials that are replanted often.
Best use cases for woven fabric
Woven fabric suits beds with woody plants that stay in place for years. It works best where you can keep the root flare visible, cut generous holes, and maintain mulch above the sheet. That combination gives you a weed barrier while still leaving an open path for water and air.
Why non-woven fabric is riskier near existing plants
Non-woven fabric is less permeable than other types. That makes it more likely to limit water and oxygen exchange around established roots. It may work better below rock mulch or rock pathways than around shrubs and trees. If a bed already has live plants, that tradeoff is often too steep.
When to skip fabric and use mulch instead
Skip fabric when a bed has seasonal perennials, very tight planting spacing, or roots and stems that will be divided or replanted. In those cases, mulch plus hand-weeding is simpler and safer. A fabric sheet cut around many small crowns can become a patchwork of slits that is hard to maintain.
Say your front bed has one 3 in caliper tree, two shrubs, and five perennial clumps that get moved every spring. Fabric may work around the tree and shrubs, but it is usually a poor fit across the whole bed because the perennials need repeated access and the sheet would be cut apart too often.
What you’ll need
- Weed fabric, preferably woven for trees and shrubs
- Utility knife or sharp scissors
- Measuring tape
- Landscape pins or staples
- Marker or chalk
- Mulch
- Optional: drip line, soaker hose, or emitters
- Optional: extra strips for seam patches
Materials for seams, mulch, and irrigation access
Plan for overlap at every sheet edge, plus extra material around each stem opening. Route drip line or soaker hose so it stays reachable after the fabric is down. If emitters need to sit at the base of a plant, leave them above the fabric or through a slit that does not pinch the line shut.
Waste allowance for overlap and plant cutouts
For estimating, add 10% to 15% waste for overlaps, corner trimming, and the extra material lost to trunk and stem openings. Beds with many shrubs or tight curves can need more. If the bed has several trees, size each cutout before you cut the main sheet so you do not run short on the final fit.
Weed fabric cutout checklist
Use this checklist before you cut. The table gives a simple yes-or-no decision for each plant type, plus the hole size, overlap, mulch depth, and skip call that fits the job.
| Plant type | Hole size | Overlap | Mulch depth | Fabric? |
|---|---|---|---|---|
| Mature tree | 2 to 4 in gap around flare | 6 to 12 in | 2 to 4 in | Yes, if flare stays exposed |
| Woody shrub | 2 to 4 in gap around stem cluster | 6 to 12 in | 2 to 4 in | Yes, if stems can grow without rubbing |
| Tender perennial | Loose slit only if permanent | 6 to 12 in | 2 to 3 in | No, usually skip |
| Newly divided plant | Temporary opening only | 6 to 12 in | 2 to 3 in | No, skip until settled |
| Mixed bed with many small crowns | Multiple small openings are impractical | 6 to 12 in | 2 to 3 in | No, mulch plus hand-weeding |
How do you cut weed fabric around shrubs and trees?
Cut around shrubs and trees with the loosest opening that still keeps the fabric flat. Start with a slit, then widen it into a wedge or collar so the sheet can lie without tension. The key is slack: tight collars around bark or stems can girdle the plant as it grows.
Cutting around trunks without tight collars
For a tree trunk, use an X cut, fold the flaps under, and trim only as much as needed to reach a 2 to 4 in gap from bark to fabric. Keep the root flare visible. If the flare slopes outward, trim the opening to match that shape instead of forcing a round hole.
Leaving room for stem growth
Shrub stems thicken over time. Give each stem cluster enough space for future growth, not just today’s diameter. A hole that looks neat but tight will be a problem later. If a shrub has several stems, a pie-wedge opening is often safer than a small round cut.
Handling mixed beds with perennials and shrubs
In mixed beds, use fabric only where it can stay in place for the long term. Around shrubs and trees, cut carefully and leave slack. Around perennials that will be lifted or divided, skip fabric and keep the bed covered with mulch only. That reduces the number of cuts and the chance of tearing the sheet.
Suppose a shrub stem cluster measures about 5 in across today. Cut for future growth, not the present size. A 7 to 9 in opening is safer than a 5 in collar, because the extra space helps prevent bark contact as the stems expand.
Common mistakes to avoid
Most trouble starts with tight cuts, buried flares, or too little seam coverage. Those errors are avoidable if you size the sheet before cutting and recheck the bed after the mulch goes down.
- Burying the root flare: keep the flare exposed and trim fabric back if it covers bark.
- Using too little overlap: keep seams at 6 to 12 in so gaps do not open later.
- Piling mulch against trunks: hold the mulch edge back and keep depth to 2 to 4 in.
- Blocking irrigation access: leave emitters and soaker hoses reachable.
- Choosing the wrong fabric: avoid less permeable material near established trees and shrubs when water and air movement matter.
What to do if the fit is too tight
If a hole is too snug, cut it larger by 1 to 2 in at a time, then recheck the fit. Do not force the fabric down around the stem with extra pins. If the opening still presses bark or covers the flare after one adjustment, remove that section and recut it.
Frequently asked questions
Can you put weed fabric around existing plants?
Yes, if the plant has a clear trunk or stem base and you can keep the root flare exposed. Woven fabric is the better choice around trees and shrubs because it is breathable. Skip it around plants that need frequent division or replanting, and use mulch instead.
Should root flares stay exposed under weed fabric?
Yes. The root flare should stay exposed during installation. If fabric or mulch covers it, the base can stay too wet and the trunk can stay in contact with material that should not touch bark. Keep the opening loose and check it again after watering and settling.
What kind of weed fabric is best around plants?
Woven fabric is the best fit around trees and shrubs because it is breathable. Non-woven fabric is less permeable than other types and is usually better for rock beds or paths than for live roots. Around established plants, permeability matters more than a dense barrier.
How deep should mulch be over weed fabric?
Use 2 to 4 inches of mulch over the fabric. Less than that leaves fabric exposed, while more can bury the root flare and create a mulch volcano around trunks. Keep mulch pulled back from bark so the flare and the lower trunk stay visible.
How long does weed fabric last around plants?
Its useful life starts dropping after about a year as it clogs. That does not mean every sheet fails at the same time, but water and oxygen movement decline as fine material fills the pores. Plan for periodic inspection and replacement where the bed stays in service.
How do you lay weed fabric around existing plants without harming them?
Use loose cutouts, 6 to 12 in overlaps, and 2 to 4 in mulch depth. Keep the root flare visible, route irrigation so it stays accessible, and skip fabric in mixed beds that need regular replanting. The safest fit is the one that never presses tight on bark.