How Much Extra Paver Waste Do Herringbone Patterns Need?
A common rule of thumb is to plan for about 5% to 8% waste on straight runs, about 15% to 20% for herringbone, and about 12% to 15% for lots of borders, curves, or tight cuts; 45-degree herringbone is often reported to need less waste than 90-degree if offcuts can be reused. Stop short and you need another delivery; buy too much and unused pavers sit on the shelf. This guide shows how pattern angle, edge length, and borders change waste, then turns that allowance into an order quantity.
Paver waste by layout pattern
Herringbone usually needs the most extra pavers among common patio patterns. A practical starting point is 15% to 20% for herringbone or chevron, compared with 5% to 8% for straight lay on simple rectangular areas and 6% to 9% for brick bond. Angled cuts at the perimeter create offcuts that often cannot be reused.
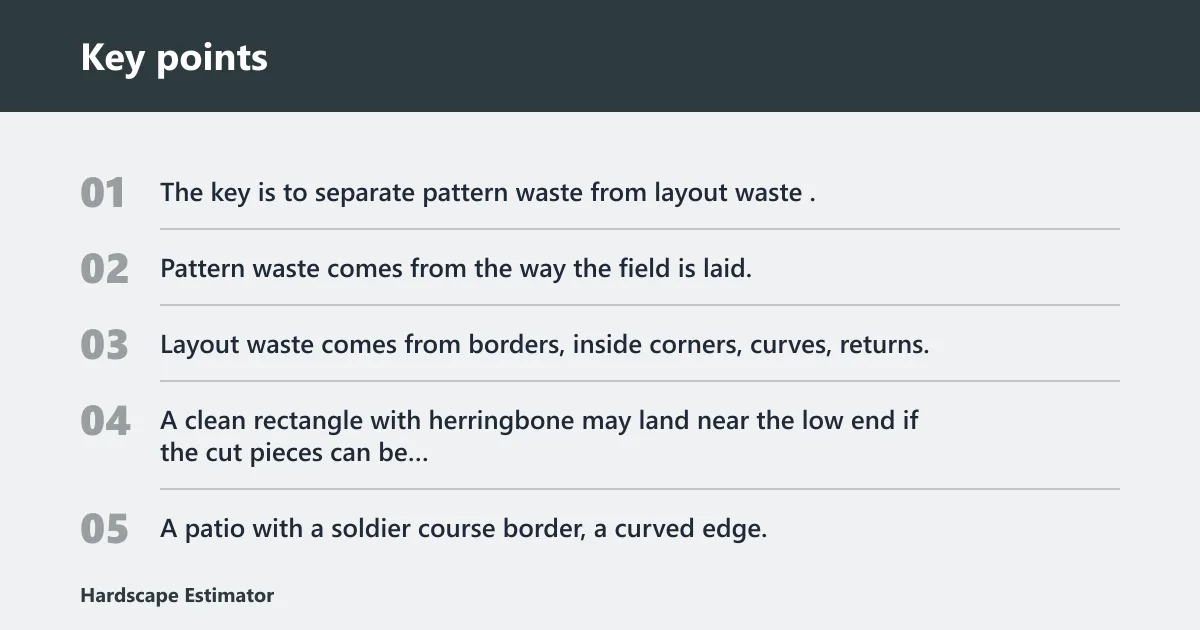
The key is to separate pattern waste from layout waste. Pattern waste comes from the way the field is laid. Layout waste comes from borders, inside corners, curves, returns, and small dead-end areas that force extra cuts.
That difference matters. A clean rectangle with herringbone may land near the low end if the cut pieces can be reused. A patio with a soldier course border, a curved edge, and a few inside corners pushes the allowance higher because more pieces become one-off cuts.
Paver waste table
This table gives a pattern-specific starting point, then shows where to choose the low end or the high end. The note on reuse matters because some layouts generate cutoffs that can go back into the field, while others create triangles and slivers that usually cannot.
| Layout type | Recommended extra | Choose the low end when | Choose the high end when | Offcut note |
|---|---|---|---|---|
| Straight | 5% to 8% | Simple rectangle, few cuts, experienced installer | Small area, many edge cuts, first-time layout | Most offcuts stay usable along edges |
| Running bond | 5% to 10% | Long straight runs with limited returns | Many ends, stair-step edges, frequent cut resets | End cuts are often reusable in the field |
| Basketweave | 7% to 10% | Regular rectangle, repeatable module, simple border | Short runs, corners, or mixed border details | Some offcuts reuse well; small returns do not |
| Stack bond | 3% to 5% | Large simple area with square edges | Any time the layout has many direction changes | Cleanest cuts among common patterns |
| Herringbone 90° | 10% to 15% | Simple perimeter, long edges, reusable cut strips | Small patio, inside corners, lots of border work | Triangular offcuts are often hard to reuse |
| Herringbone 45° | 12% to 20% | Large open area where cut strips can be reused | Short perimeter, curves, returns, or tight layout | More diagonal edge cuts; reuse is less predictable |
| Curved or bordered variant | 12% to 20% | Border is simple and perimeter is long | Inside corners, arcs, and many small cut pieces | Border cuts and curve cuts reduce reuse |
A simple patio pattern guide says herringbone and diagonal layouts often need a 15% waste allowance for most patio layouts. The same guide treats stack bond as the cleanest modern option and often the most efficient by waste. A calculator may start lower, with Herringbone 90° at 10%, Herringbone 45° at 12%, Running Bond at 5%, Basketweave at 7%, and Stack Bond at 3%.
Why herringbone needs more waste
Herringbone creates more cut loss because the pattern turns the field into short diagonals against the perimeter. Each edge cut often leaves a triangle or wedge. Those pieces may fit at the next row, but many are too small or the wrong shape to reuse cleanly.
Edge length changes the outcome. A long rectangle has fewer direction changes than a patio with bump-outs, alcoves, and inside corners. More direction changes mean more unique cuts, and more unique cuts mean more waste. That is why a herringbone square patio can do better than a small, cut-up patio in the same pattern.
Angle matters too. A 90° herringbone layout often gives cleaner, more predictable cut bands along the perimeter. A 45° herringbone layout usually has longer diagonal cuts and more waste risk, especially when the shape is not rectangular. The calculator defaults reflect that difference: 10% for 90° and 12% for 45°.
For a patio that is about 12 ft by 16 ft with a simple border and 90° herringbone, a common allowance is about 10% to 12%. The field is easy to lay, so the cut strips can be reused more often. A 10% to 12% allowance is a reasonable starting point before pack rounding. Add a curved edge, and the same layout may need more.
A common mistake is assuming a simple 90-degree layout will use the same amount of pavers as a herringbone patio of the same size. That skips the loss at the perimeter. Two patios with the same area can need different order quantities if one has straight edges and the other has a curved wall, a notch, or a row of posts.
Do diagonal paver patterns need more waste?
Yes. Diagonal layouts usually need more waste than running bond and stack bond because more cuts land at the perimeter. A common range is 10% to 15%, which sits above straight layouts and below the most cut-heavy herringbone cases. The extra comes from edge trim, not from the field area itself.
Diagonal patterns are often grouped with herringbone-style edge cutting because both force non-square perimeter pieces. That makes them less efficient than running bond in many patios and walkways. A calculator may still give a lower default for a very clean rectangle, but the safe ordering range rises fast once corners and borders appear.
Choose the low end for a wide-open layout, a simple perimeter, and reuse-friendly offcuts. Choose the high end when the patio is small, the edge length is high relative to area, or the diagonal field meets several turns and returns. Small layouts magnify waste because the border takes a larger share of the surface.
How borders and curves change the order
Borders change the count before waste is applied. A soldier course or perimeter border takes space away from the field pavers, and then the border itself adds cuts. Curves, inside corners, and alcoves push the allowance higher because they turn repeatable rectangles into one-off pieces.
Count the border first. Then apply waste to the remaining field and border material together, unless your supplier sells the border as a separate module. If you skip that step, you can undercount both the field and the border cuts.
The practical rule is simple. Straight edges and a large rectangle sit near the low end of the range. A patio with many corners, short returns, or a curved outer edge belongs near the high end. If the patio is small, add another buffer because each cut has a bigger effect on the total.
Suppose a 180 sq ft patio has a 24 ft perimeter border and a curved corner. The border reduces the field count, but it also adds saw cuts and fitting time. A 12% to 15% allowance is more defensible than a straight-layout number because the edge shape drives the loss.
How to choose the low end or high end
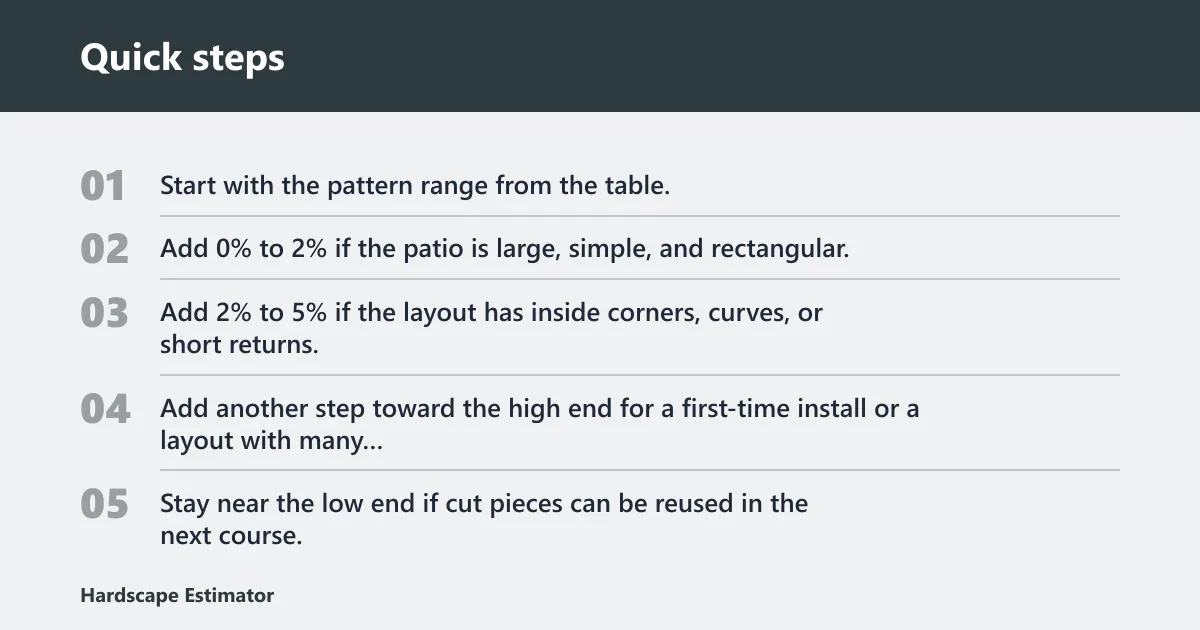
- Start with the pattern range from the table.
- Add 0% to 2% if the patio is large, simple, and rectangular.
- Add 2% to 5% if the layout has inside corners, curves, or short returns.
- Add another step toward the high end for a first-time install or a layout with many direction changes.
- Stay near the low end if cut pieces can be reused in the next course.
Installer experience matters here. A professional crew can usually keep miscuts lower and place the order nearer the bottom of the range. A DIY project or first-time install should sit higher because layout mistakes, saw kerf loss, and damaged cuts are more likely.
How do I order the right amount?
Convert area into pavers with one formula: base quantity × (1 + waste percentage). Then round up to the next full pack, box, or pallet. That rounding step matters because pavers are typically sold in fixed coverage units, not by the single piece.
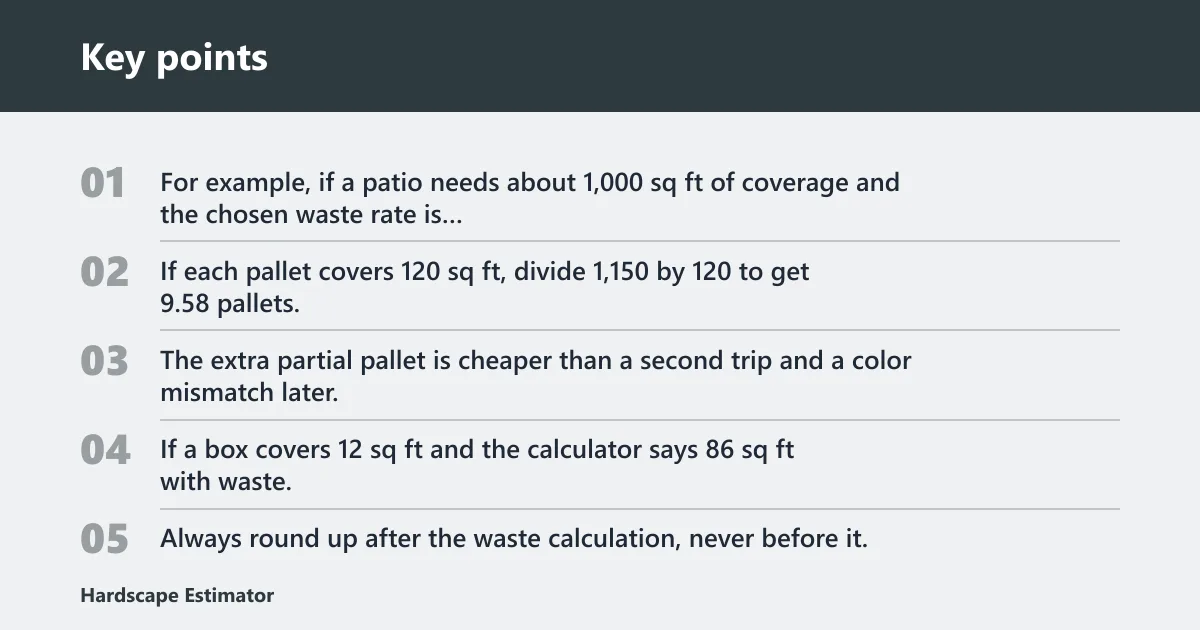
For example, if a patio needs about 1,000 sq ft of coverage and the chosen waste rate is about 15%, the order target is about 1,150 sq ft. If each pallet covers 120 sq ft, divide 1,150 by 120 to get 9.58 pallets. Round up to 10 pallets. The extra partial pallet is cheaper than a second trip and a color mismatch later.
The same rule works for smaller modules. If a box covers 12 sq ft and the calculator says 86 sq ft with waste, divide 86 by 12 to get 7.17 boxes. Buy 8 boxes. Always round up after the waste calculation, never before it.
Batch consistency matters if the project may need repairs later. If you underorder and return months later, the replacement pallet may come from a different batch and show a visible shade shift. Keeping a few extra matching pavers is usually safer than gambling on a later reorder.
Do not overbuy blindly, though. Store leftover pavers flat, dry, and in the same labeled bundle if you plan to keep them. If the supplier allows returns on unopened packs, that can reduce the risk of ordering too high. Check the pack count and coverage before you submit the order.
How do you avoid running short mid-project? Confirm the pattern, border count, and total coverage before the first pallet is opened. Then keep at least one unopened pack from the same batch until the project is finished. That gives you repair material and a cushion if a few pieces crack during cutting.
Frequently asked questions
How much extra paver waste do herringbone and other patterns need?
Use pattern-specific ranges, not one flat number. Straight lay usually needs 5% to 8%, running bond 5% to 10%, basketweave 7% to 10%, stack bond 3% to 5%, and herringbone 15% to 20%. Borders, curves, and small areas can move any of them higher.
How much waste should I add for herringbone pavers?
Start with 15% to 20% for herringbone if the layout is typical or cut-heavy. A simple rectangle with reusable offcuts may stay near the lower end, while a patio with inside corners, curves, or short border runs should move toward the upper end.
Do diagonal paver patterns need more waste than running bond?
Yes. Diagonal layouts usually need more waste than running bond because the edge cuts are more frequent and less reusable. A common planning range is 10% to 15% for diagonal work, while running bond often sits closer to 5% to 10% on simpler shapes.
How much extra should I order for a patio with borders or curves?
Count the border first, then apply waste to the total module quantity. Borders, curved edges, and inside corners raise the allowance because they add unique cuts. For many bordered or curved patios, 12% to 15% is a practical starting point, with small layouts often needing the higher end.
Does a 45° herringbone layout waste more than a 90° herringbone layout?
Usually, yes. A 45° herringbone layout often produces longer diagonal edge cuts and less reusable offcut material than 90°. A calculator may start at 12% for 45° and 10% for 90°, but the final choice depends on edge length, curve count, and how much reuse is possible.
How do I estimate paver waste for an irregular patio?
Break the patio into simple rectangles and triangles, estimate each section separately, then add the border and curved-edge allowance. Irregular shapes usually deserve the high end of the pattern range because the perimeter is long relative to area. After that, round up to the next pack or pallet.
Should I buy extra pavers for future repairs?
Yes, if the batch is available and storage is practical. Keep a few matching pavers after accounting for the waste allowance, because later reorders can bring visible shade differences. The safest choice is to buy enough for the project plus a small repair reserve, then store it dry and labeled.
Can I return unused pavers if I overorder?
Sometimes, but the return rule depends on the supplier and pack condition. Unopened boxes are usually easier to return than loose pieces or opened pallets. Because of that, round up carefully, keep packaging intact when possible, and confirm return terms before the delivery date.
How do I avoid running short on pavers mid-project?
Use the chosen waste range, then round up to full packs or pallets before ordering. Keep the same batch on site until the job is finished, and do not break open every pack at once. A small reserve prevents a stop-start project and reduces the risk of shade mismatch later.